Workflow Use-Case: Justuno + Smartrr
Grow your subscription sign ups by targeting past purchasers, Multivariate test
Use-Case Summary
- Objectives: Increase subscription sign ups, A/B test performance from a flyout design VS banner with timer design, same session conversions and AOV from return customers, and increase customer lifetime value and on-site engagement
- Targeted Audience: Any visitor that made a purchase during their last session on site
- Adjustable Options: CTA, pop-up position on site, conditions to trigger, targeting specific product purchased, time frame from last purchase, Multivariate Testing Scenario
- Implementation Time: 10-15 min
- Must Haves: Justuno account, Smartrr Account, Return Customers
Support Tip: Contact our support team via ticket or our Justuno Onboarding Manager by setting up a call or starting a chat with us.
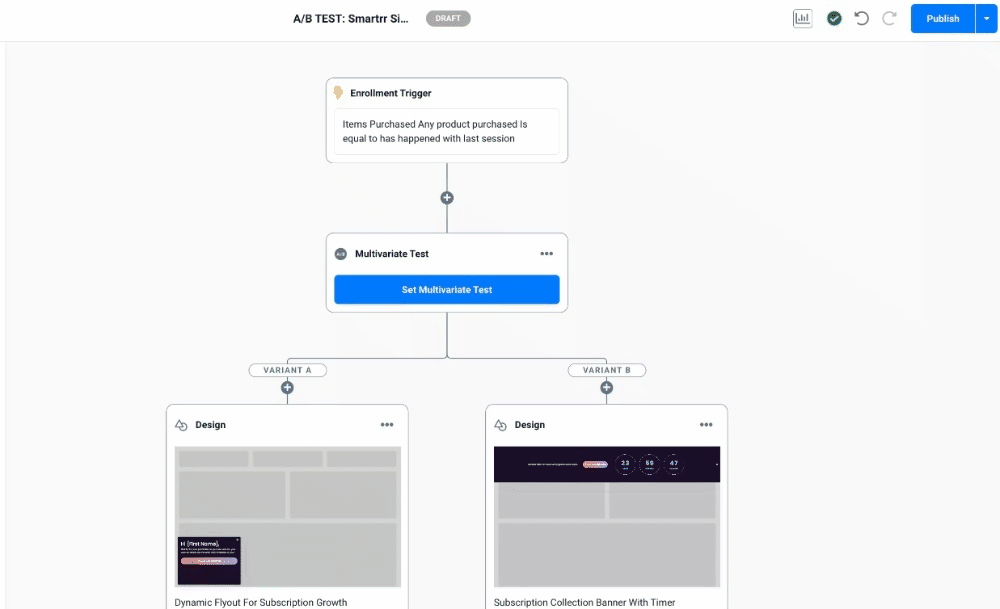
1. Go to the Smartrr Partner view and add this workflow to your account: A/B TEST: Smartrr Simple Past Purchaser Subscription Enrollment
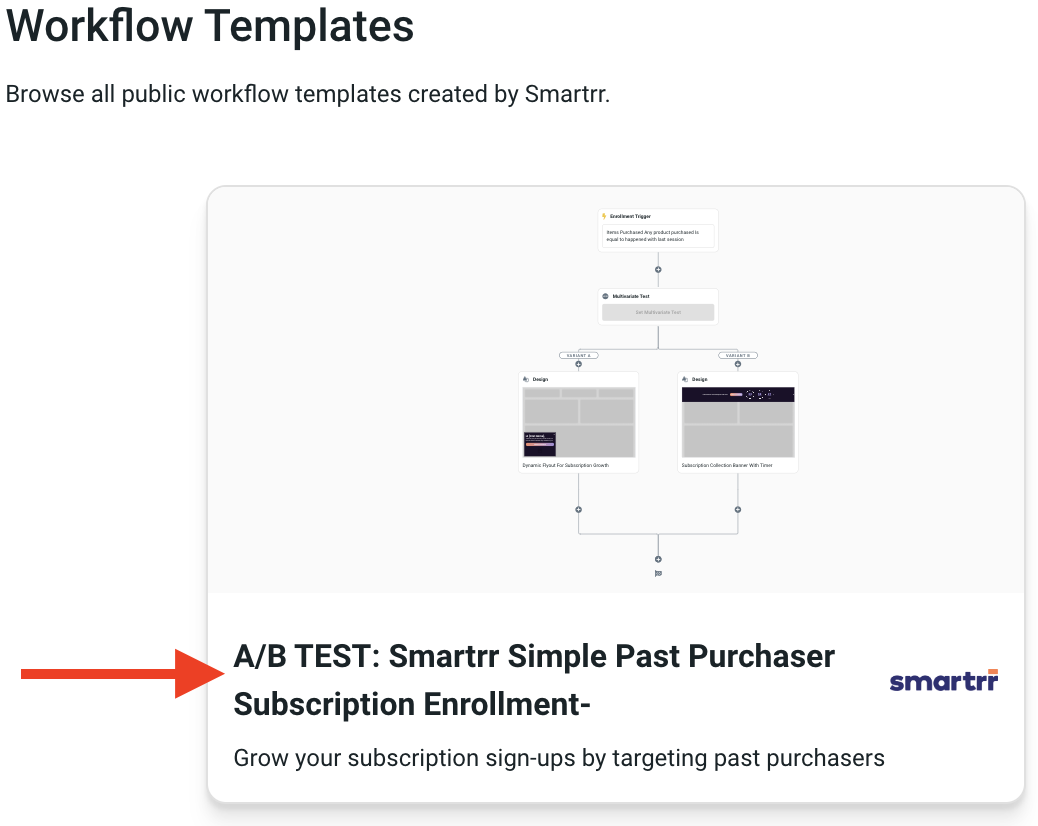
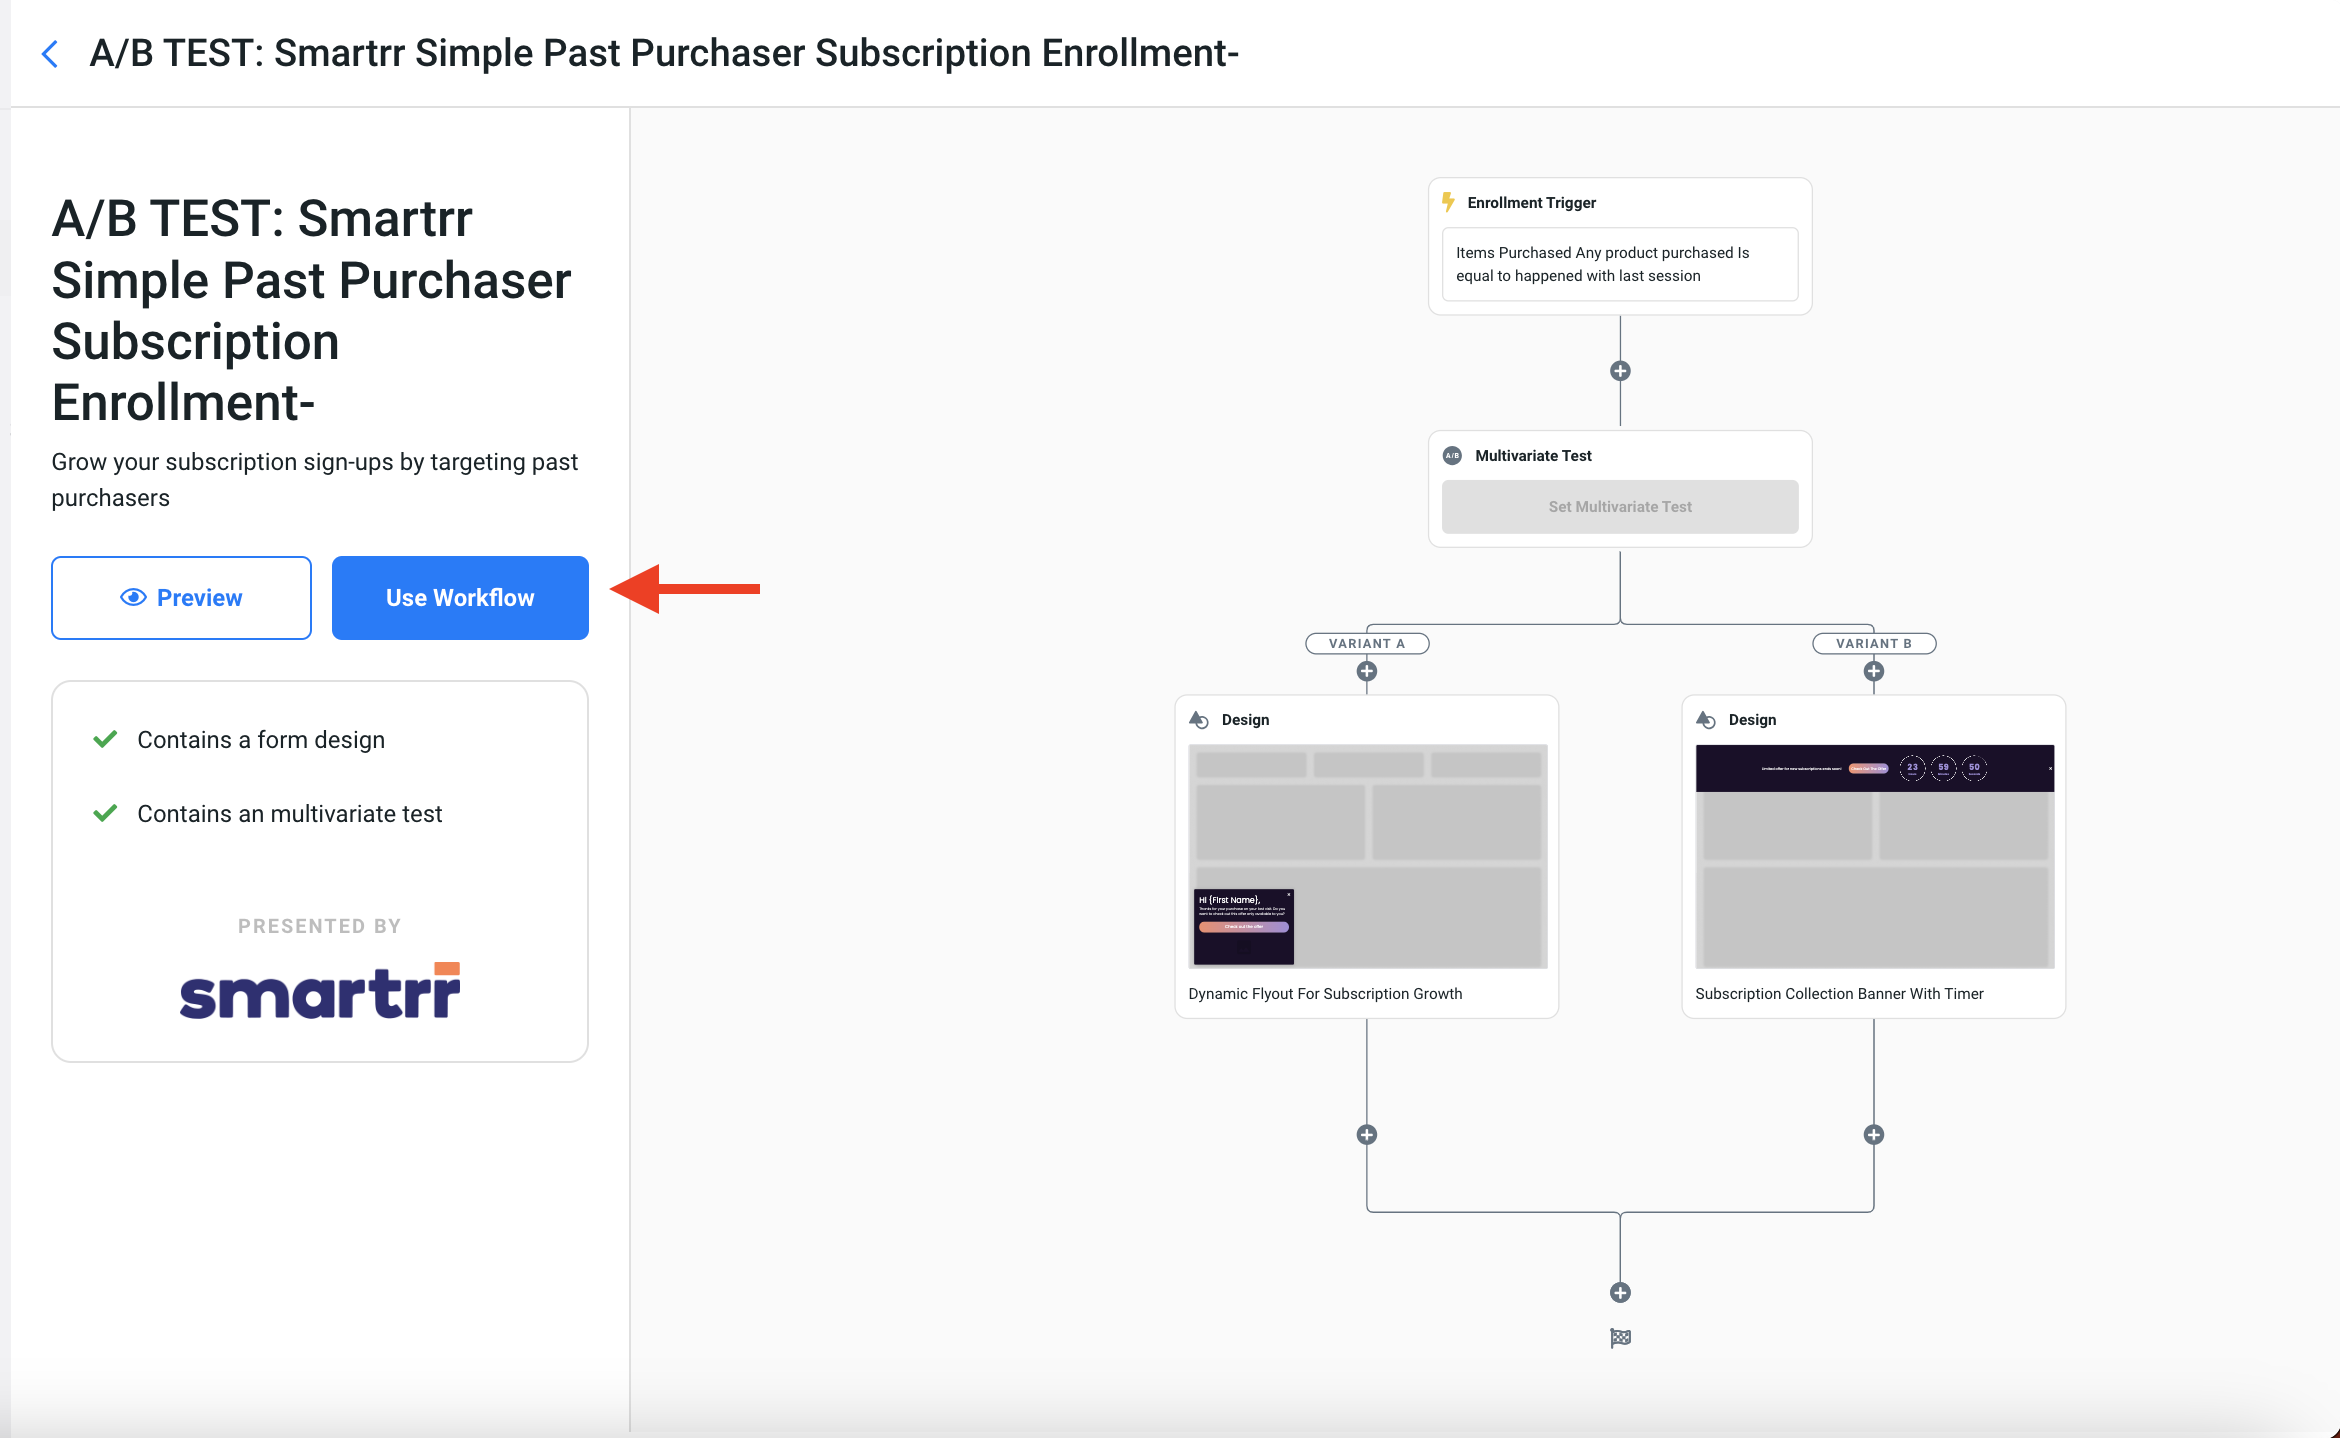
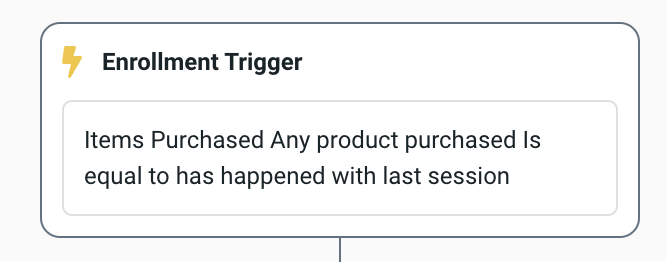
2. Once the Workflow is added to your account - you can click on the Enrollment Trigger tile to update the Enrollment Trigger & Settings to fit your targeting needs or leave it as is. The use case suggests that the following conditions in the Enrollment Trigger be used to start targeting a return customer.
a. Item was purchased during the last session on site
3. Now you can set the options for your Multivariate test. We advise running your test for at least 30 days or 10,000 total sessions before determining a winner.
Need an A/B & Multivariate testing guide? Check this one out for all the how-to's and explanations.
Multivariate Testing options include:
Goal Setting (this allows for your winner to automatically fire after the test ends)
- Lead Capture Rate
- Conversions
- Revenue
- AOV
- Conversion Rate
- CTA Clicks
- Engagements
- Engaged Conversions
- Engaged Revenue
- Engaged CVR
Variant Testing
Up to 10 Variants possible
Ability to change % of visitors to see each variant
Ability to enable a control group
Scheduling
Set start date
Set end date
Ability to run a specific variant before test starts
A/B Testing Note: Once a test has started it cannot be edited.
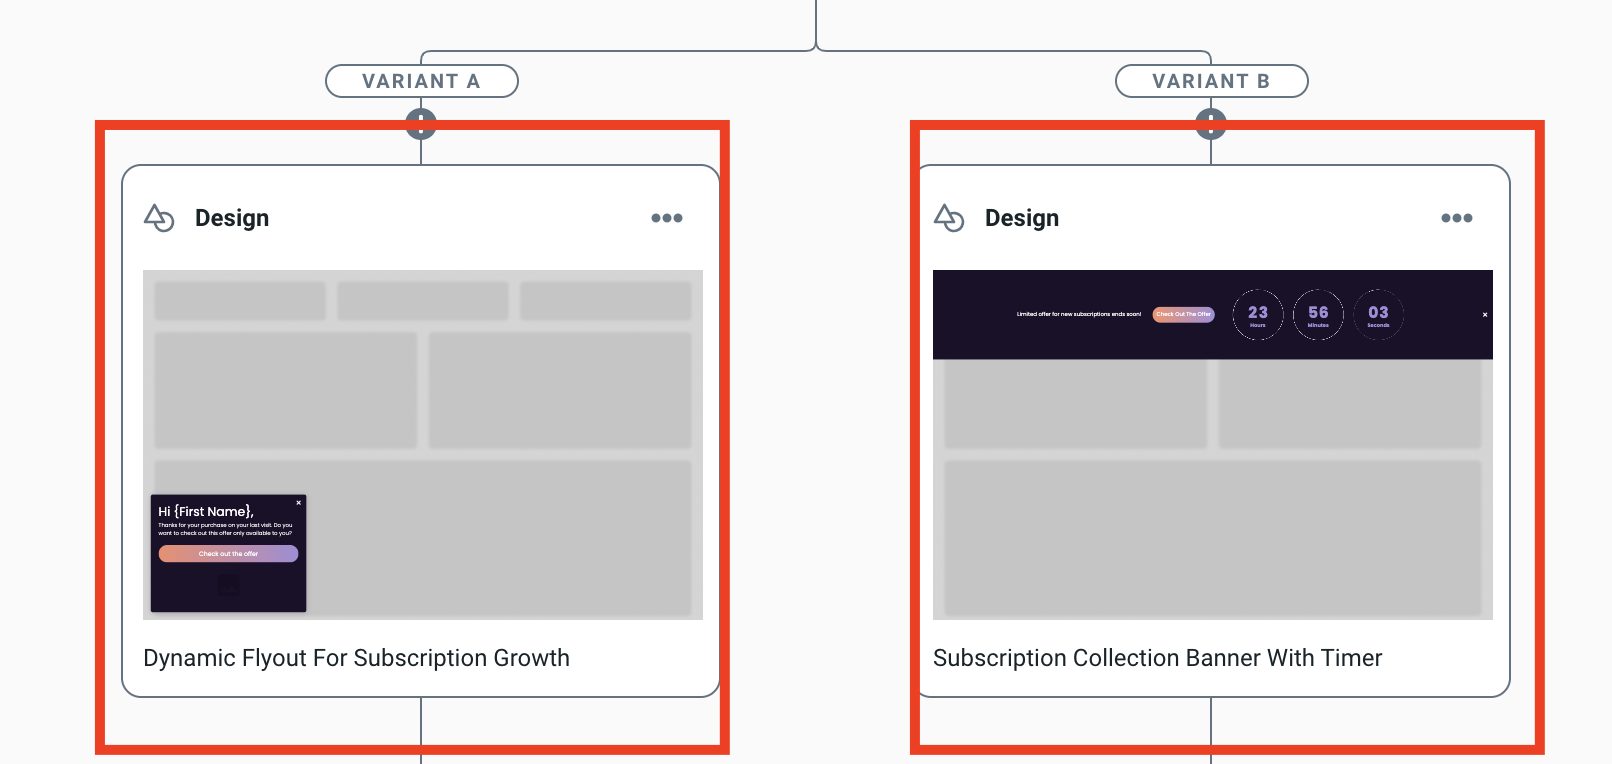
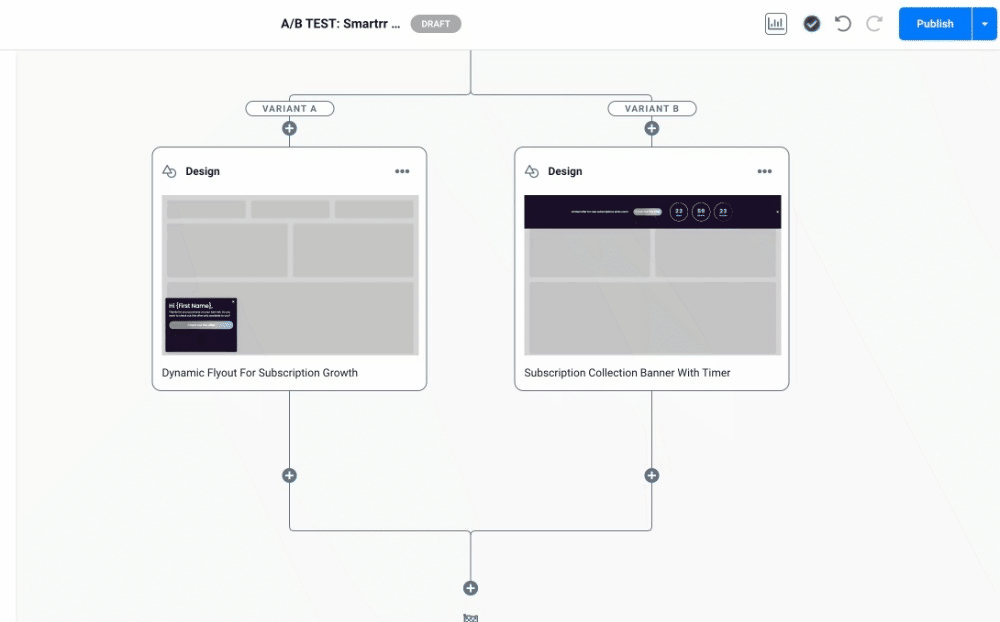
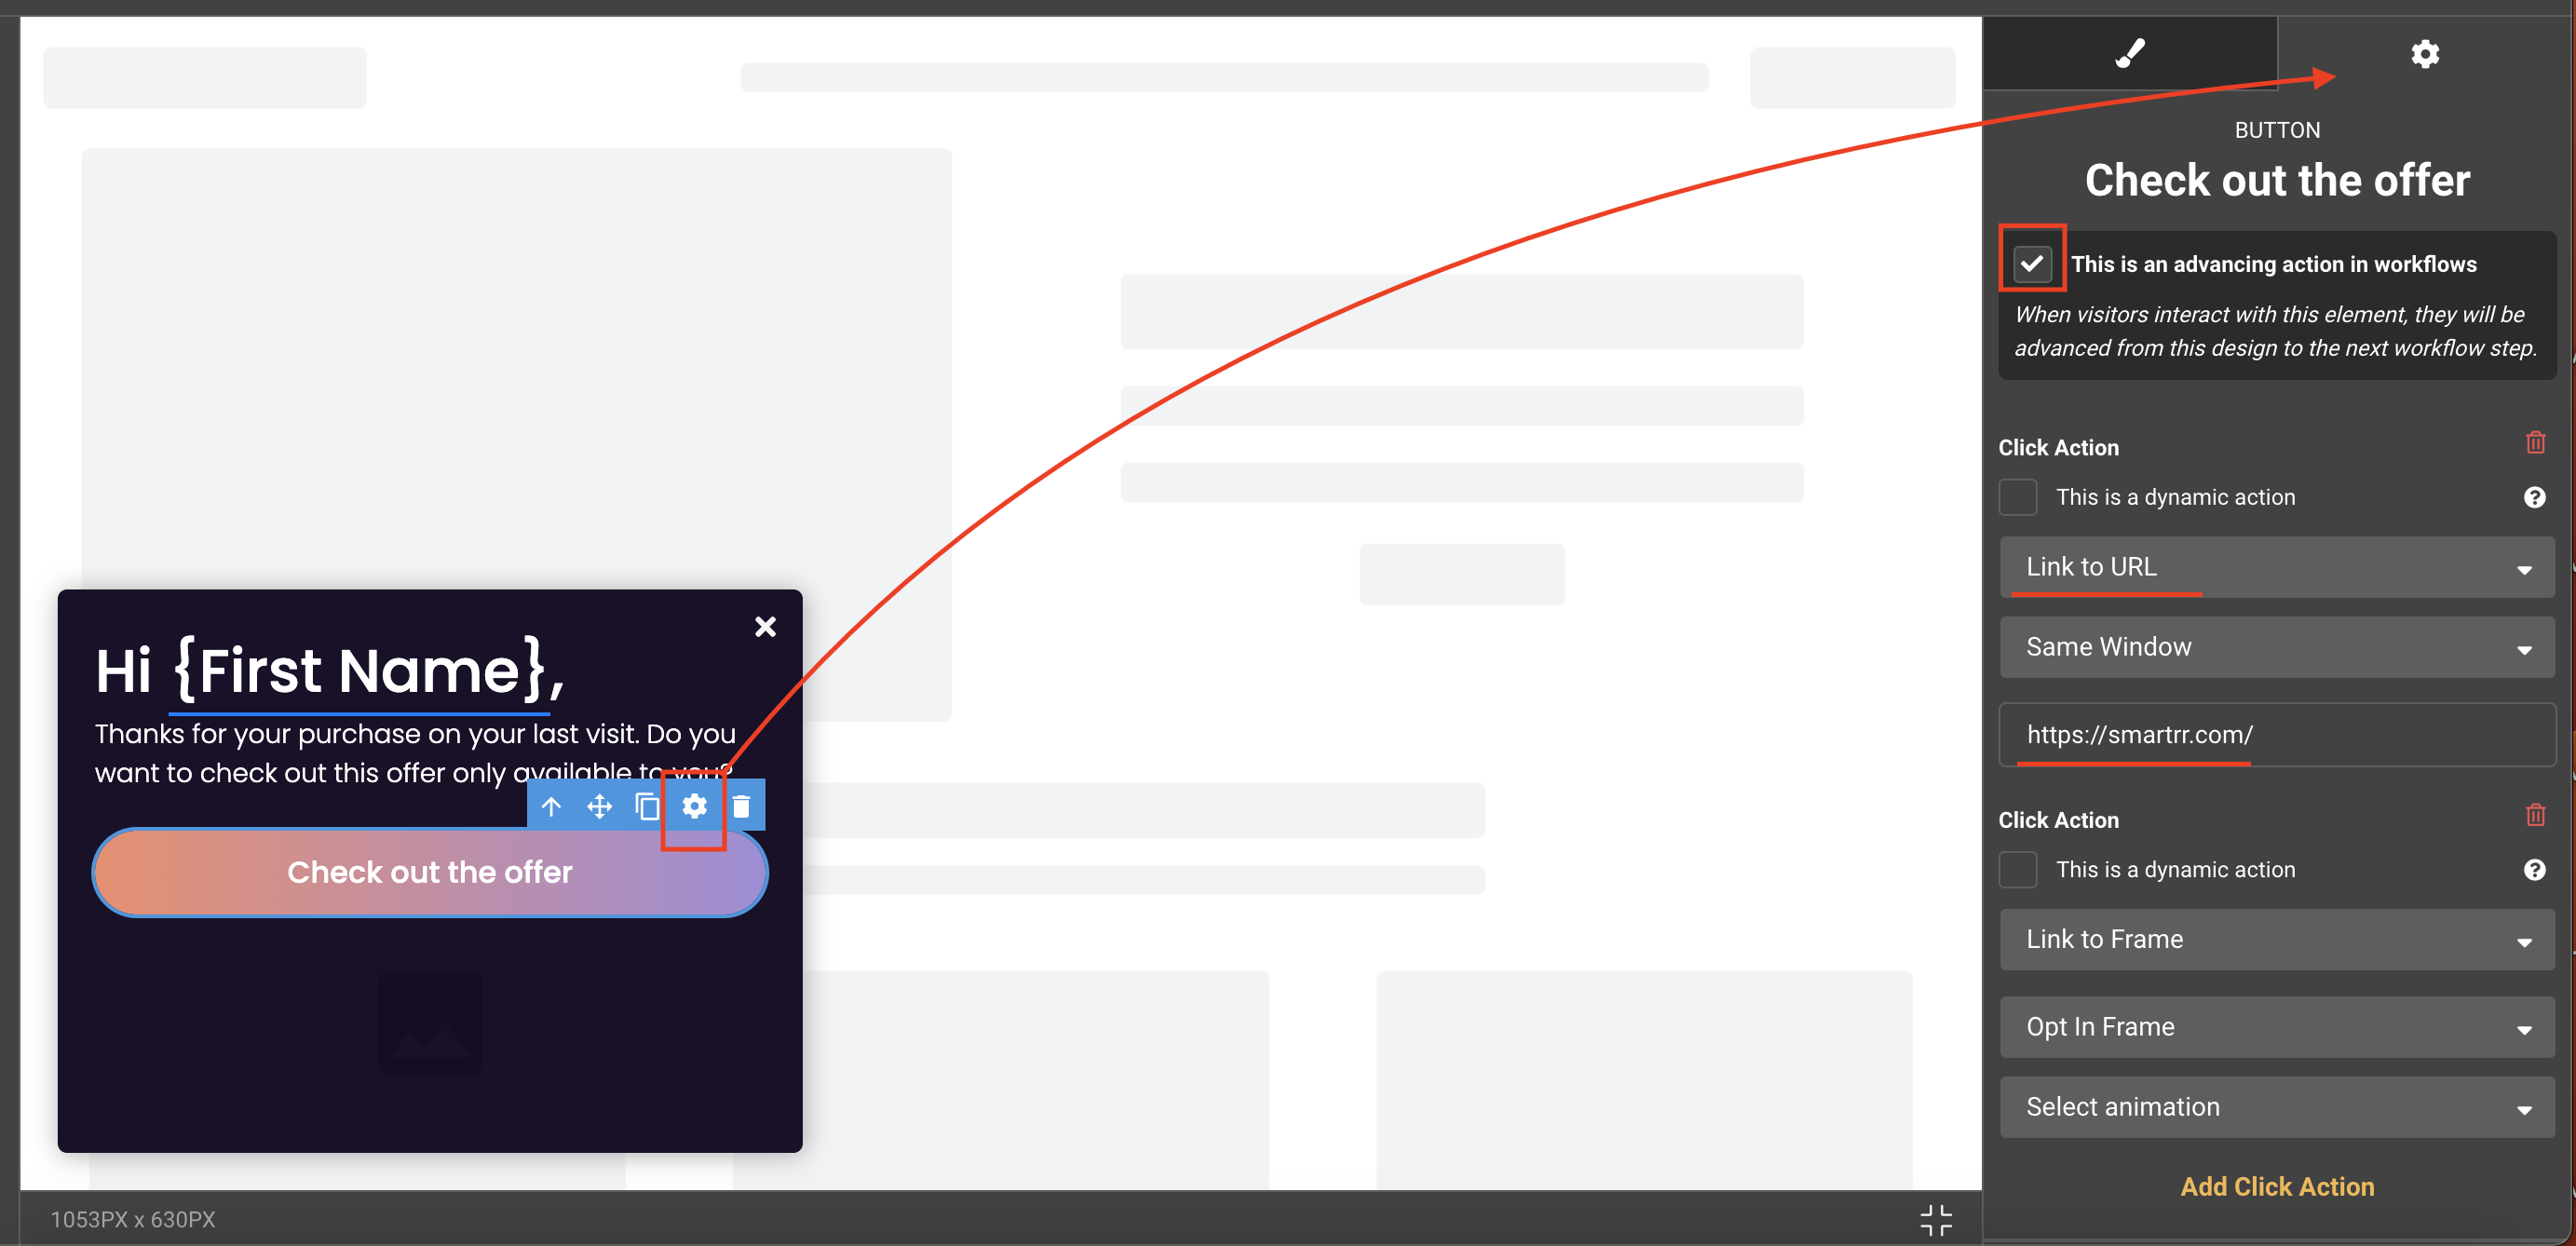
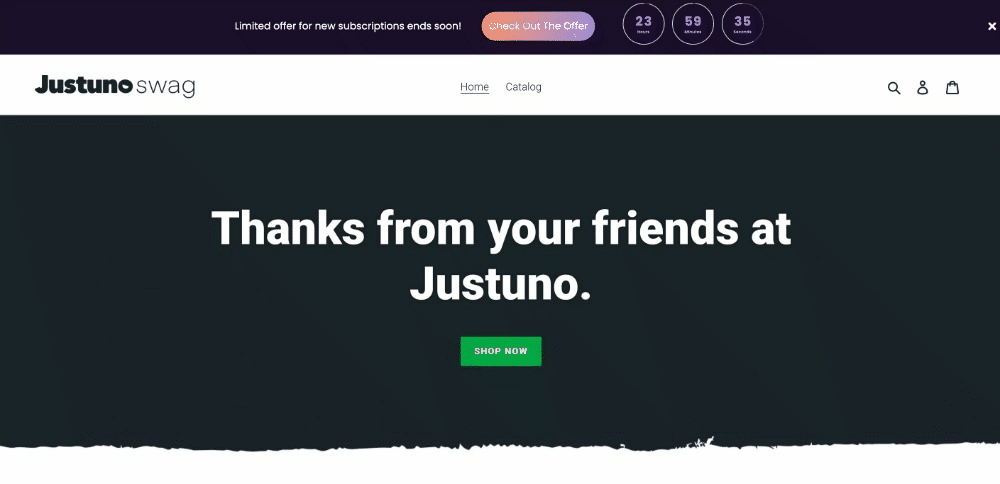
4. Flyout Design Updates - This includes: Updating CTA click action, and updating design style of pop up to fit branding.
a. Click on the Design tile to update the design template to fit your brand look and voice.
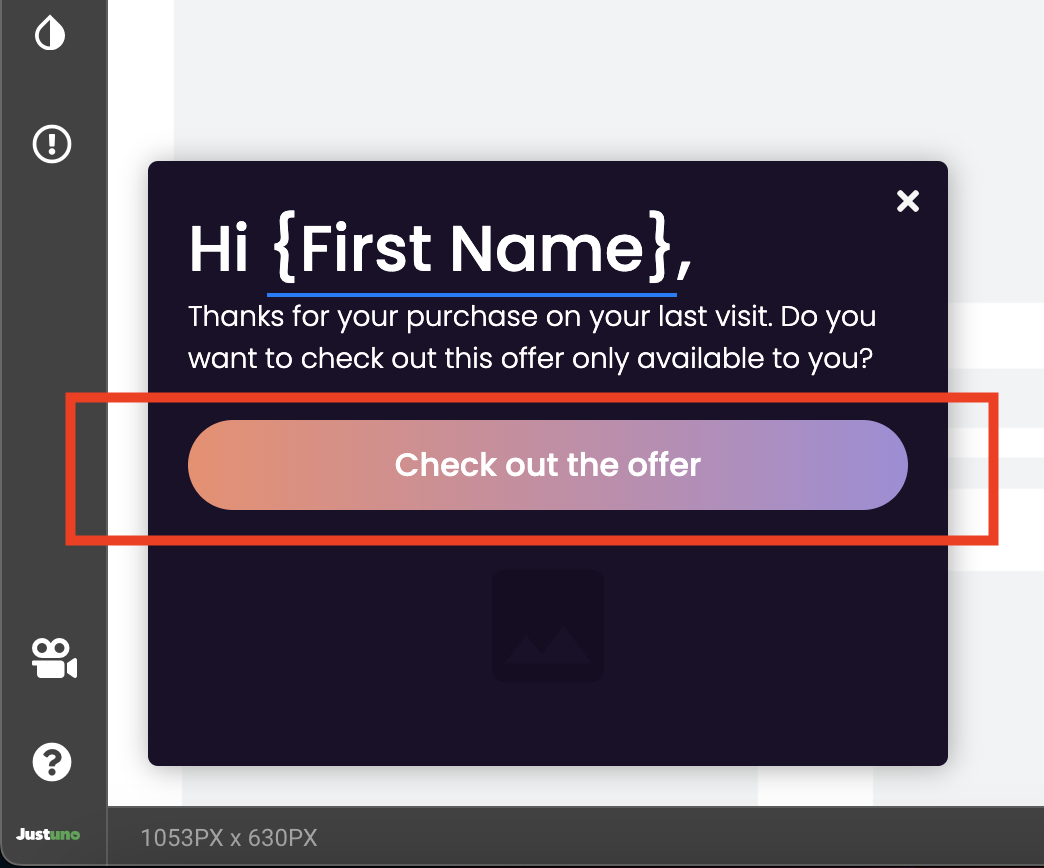
b. Click on the CTA Check out the offer and head to the settings of that Button layer. You will need to update the Click Action of this layer by linking to a URL like a category page or relevant product page. We advise either having this CTA close the design or Link to URL.
Note: The offer is meant to be your subscription option! So your CTA can lead to that landing page or show your subscription offer on the next screen of the pop up.
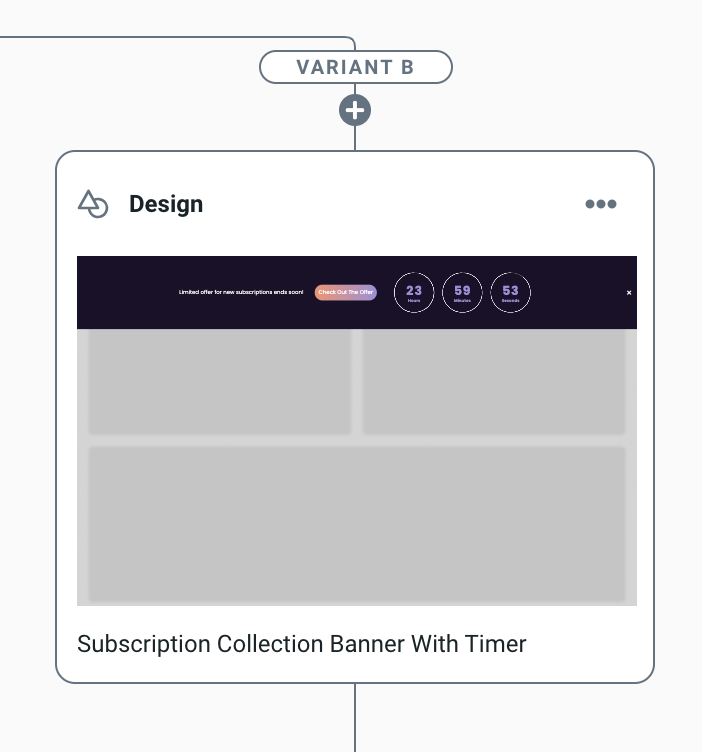
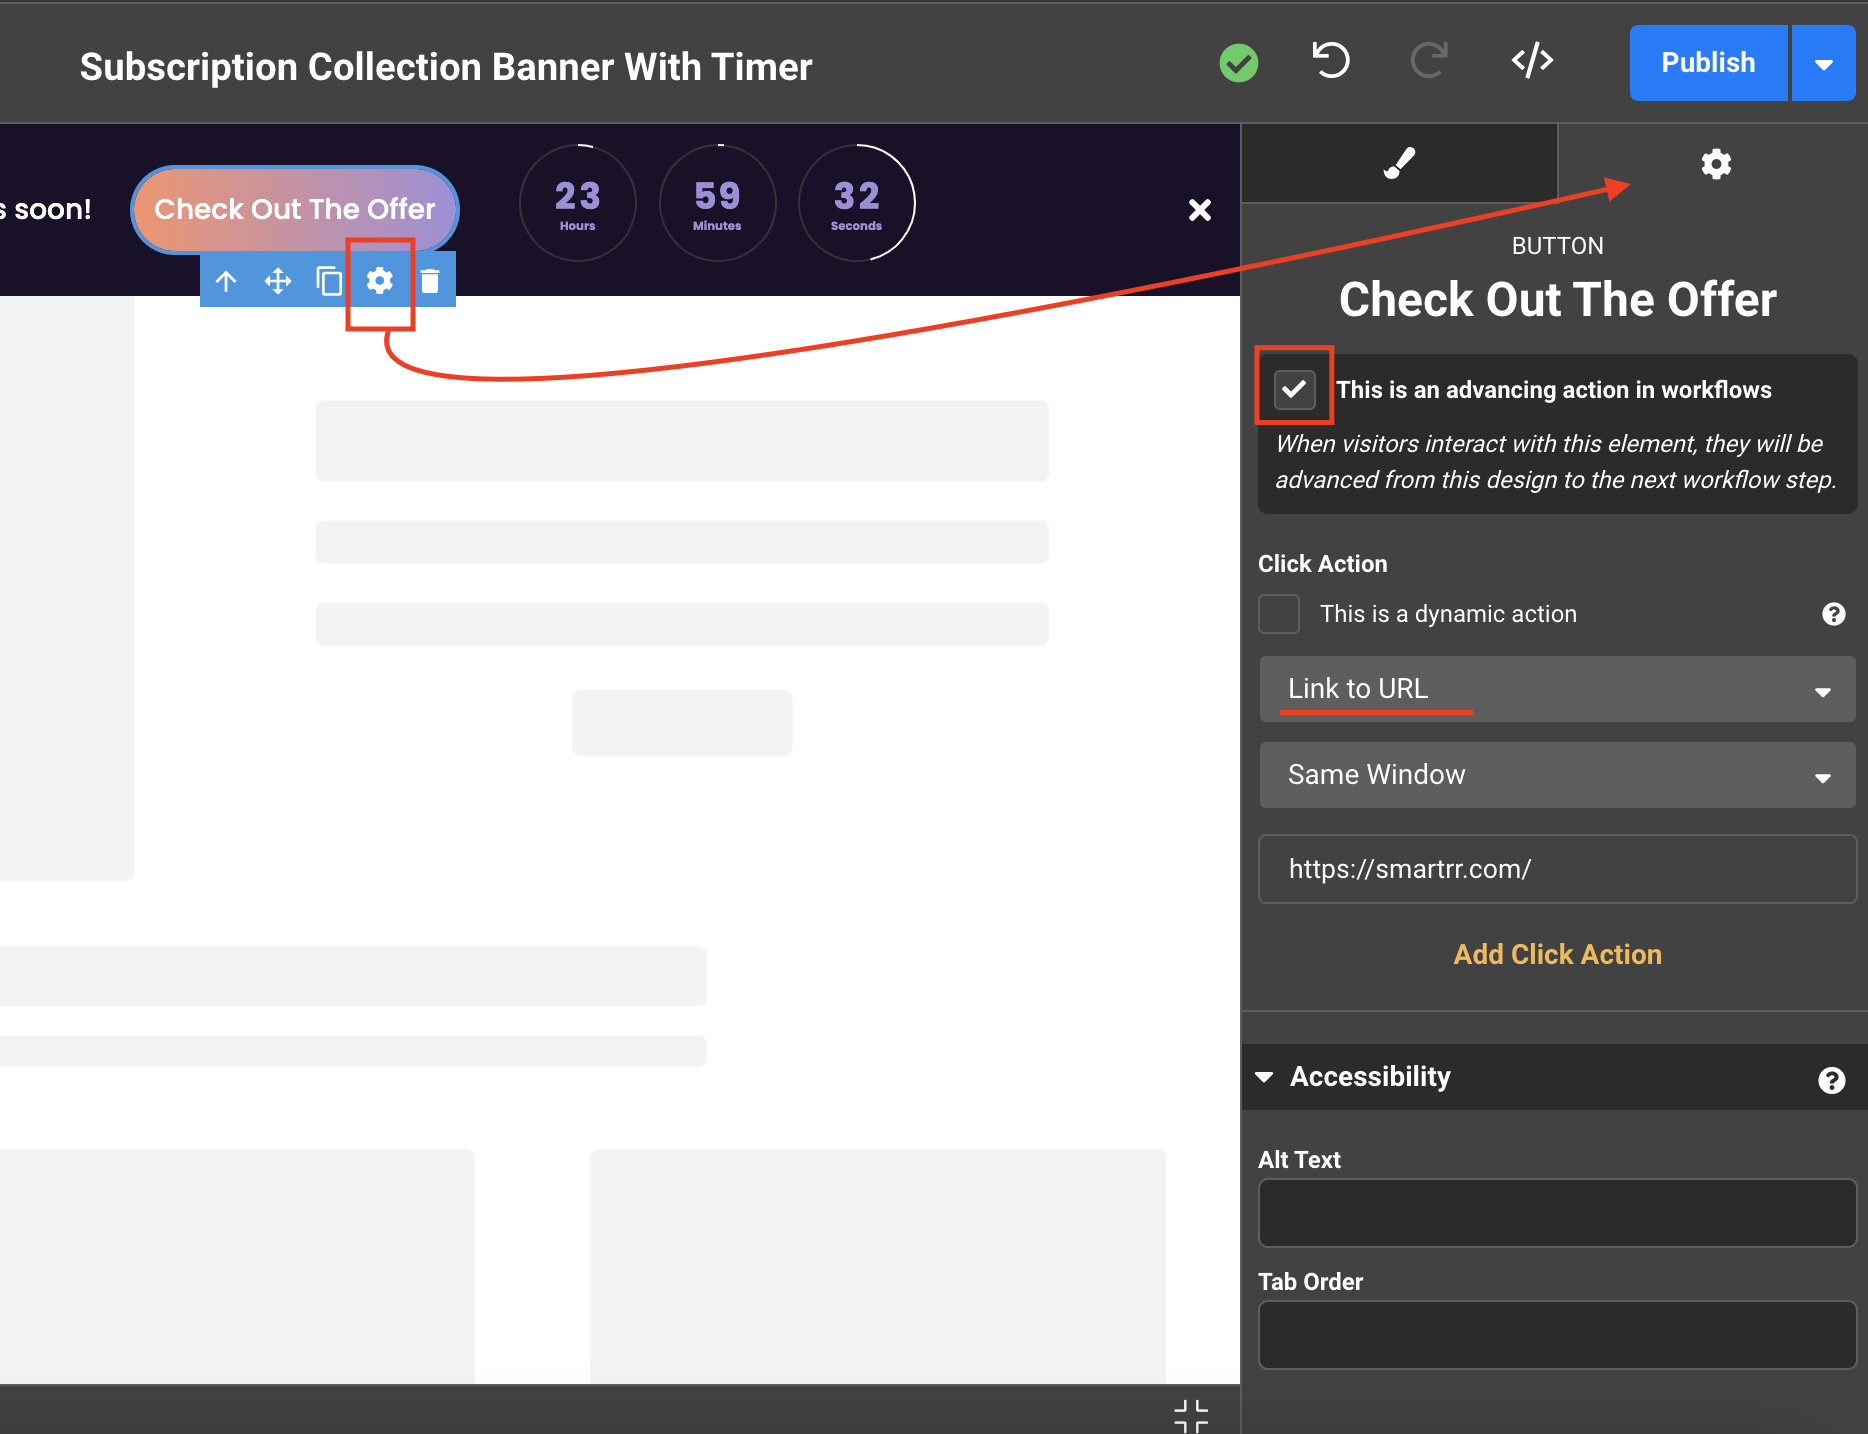
5. Banner Design Updates - This includes: Updating CTA click action, updating timer settings, and updating design style of pop up to fit branding.
a. Click on the Design tile to update the design template to fit your brand look and voice.
b. Click on the CTA Check out the offer and head to the settings of that Button layer. You will need to update the Click Action of this layer by linking to a URL like a category page or relevant product page. We advise either having this CTA close the design or Link to URL.
Note: The offer is meant to be your subscription option! So your CTA can lead to that landing page or show your subscription offer on the next screen of the pop up.
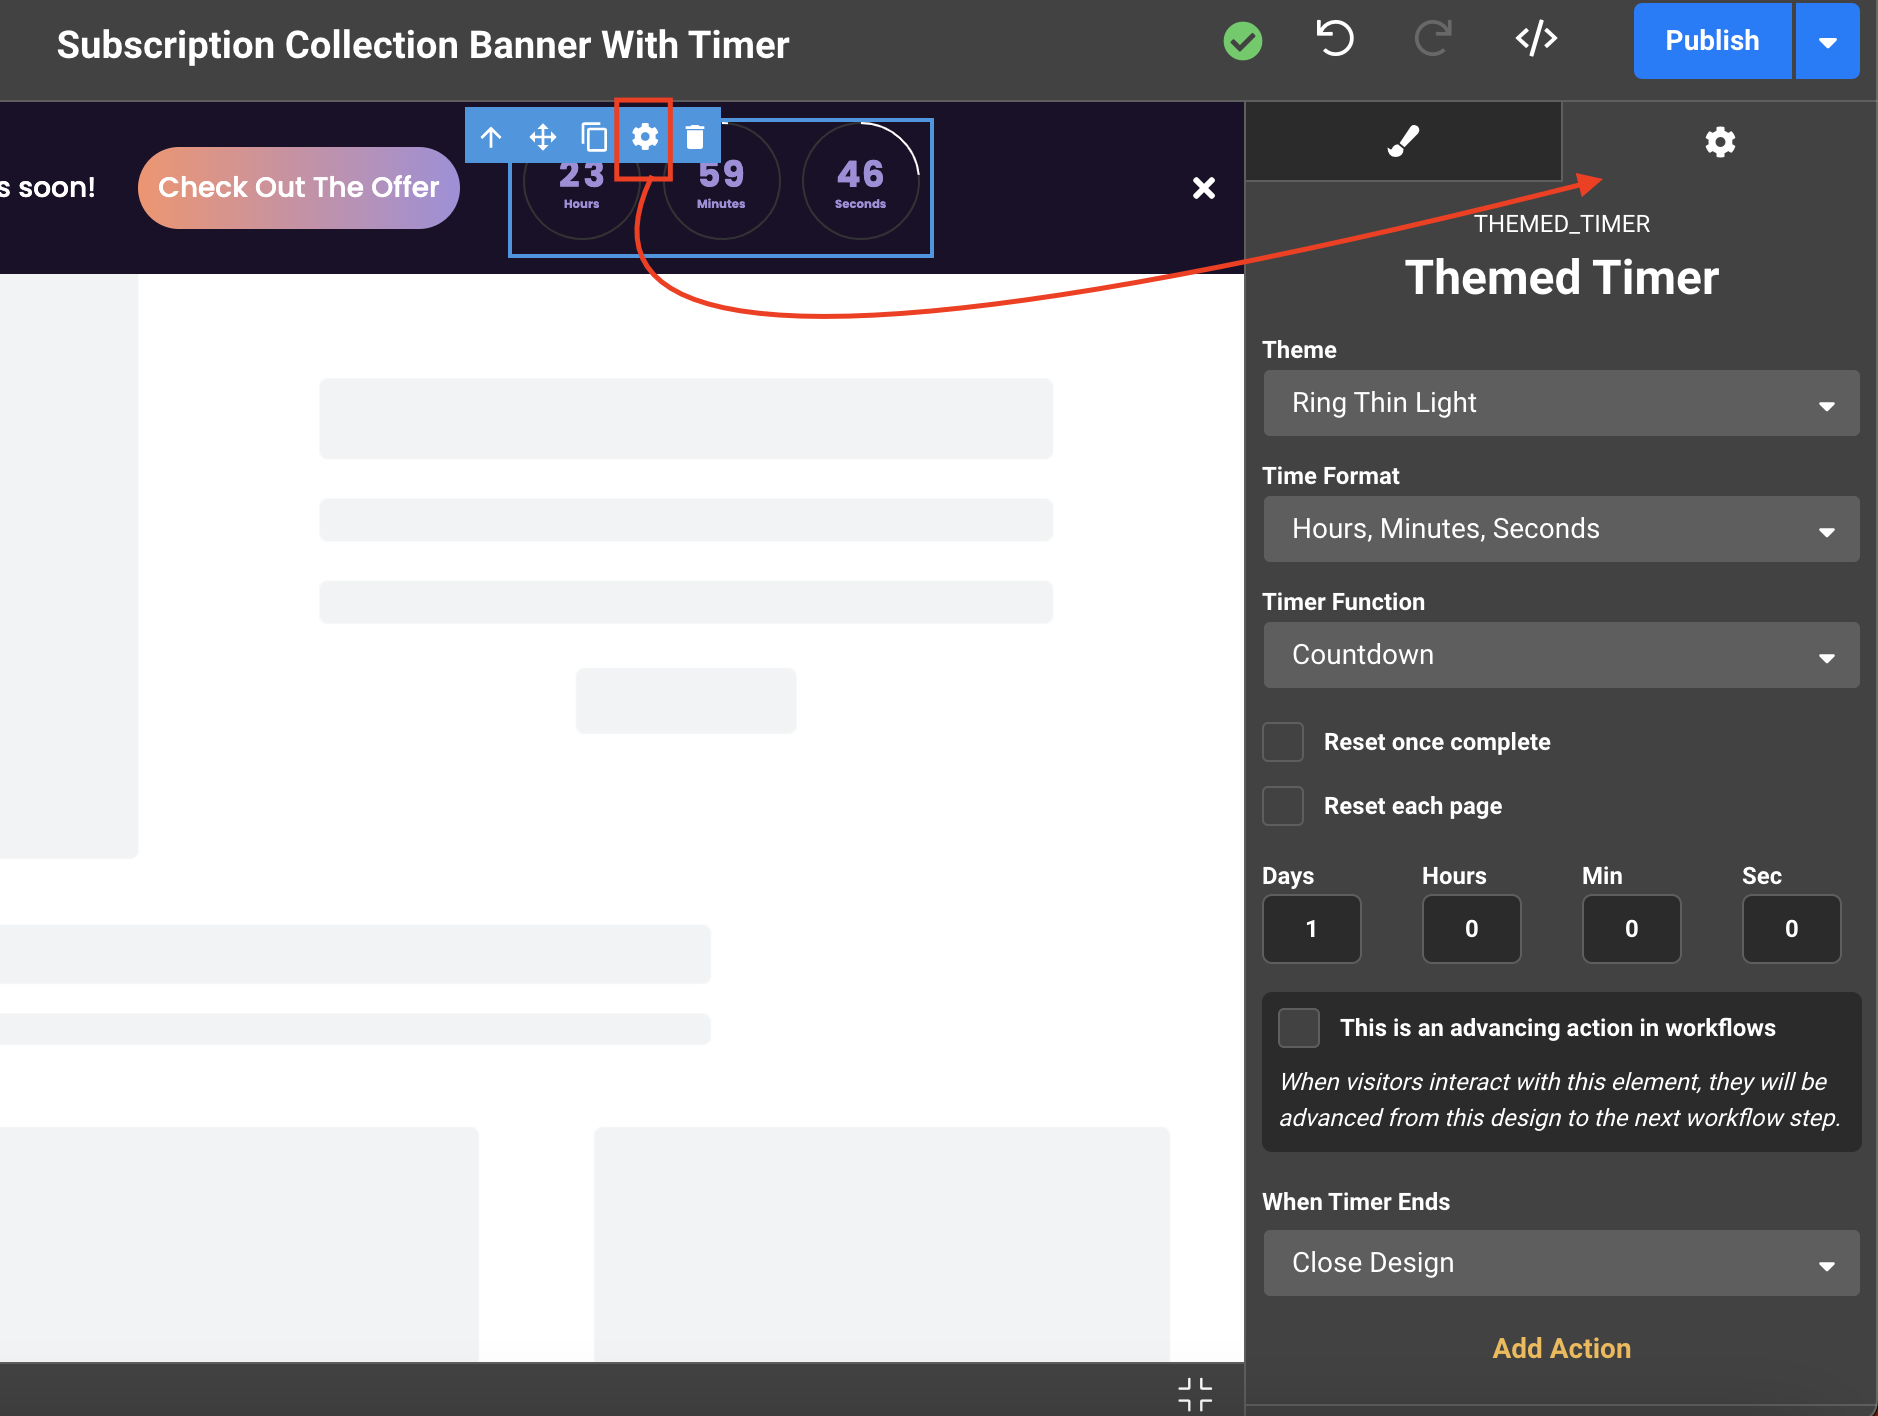
c. Click on the Timer layer click on the settings gear in order to update the timer
Support Tip: Need help with Design? Start a chat with us or book a 1x1 call with our Justuno Onboarding Manager for design guidance.
6. Preview the design to ensure all layers are working as intended. Select the Preview button from the design studio view.
a. Live Test - Set up a workflow with the enrollment trigger set to “current URL contains #testingpopup”. Add the design your testing to your workflow and Publish this workflow and head to your site incognito. Type in your domain and add in the extension you created in the workflow.
Example: yourcooldomain.com/#testingpopup. Refresh the page and you'll see your design once you attempt to exit that specific page.
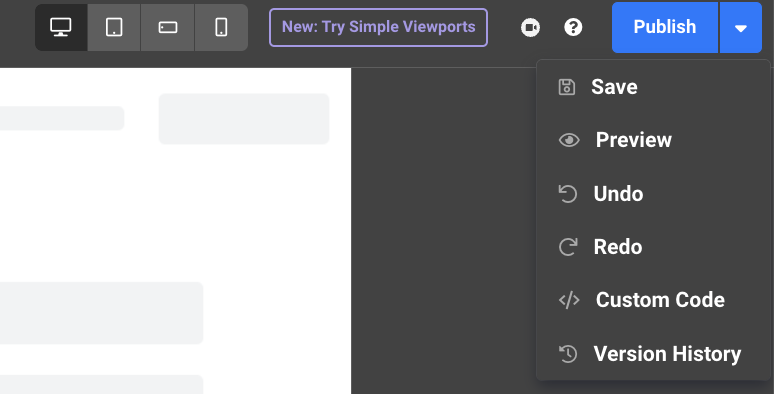
7. Publish - Once you've tested on your test URL you can Publish the real workflow on site and engage with the final product - Click Publish in the upper, right-hand corner of the workflow.
Additional Strategy Instruction
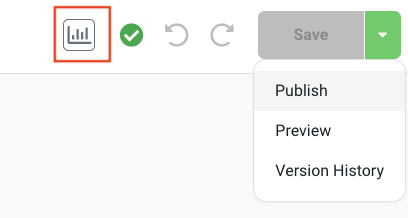
- Set a calendar reminder for 30 days out to review workflow data (engagement, impressions, conversion rate, etc.) and make adjustments. Or book time with a strategist to review the performance together. You can view workflow data by enabling the analytics toggle from within the workflow.

- Think about how you want to segment anyone that engages with the pop up or CTA and then create a segment that can be retargeted in other workflows.
Workflow Assessment & Optimization
Once you have successfully published your workflow, here are our tips on what to add to this workflow using Justuno features.
- Add each visitor that clicks on a CTA to a audience segment for future retargeting in workflows. They can be your “Subscription prospects” segment. Learn more about Justuno segments here.
- Test out different offers & messaging for different buyer personas
- Expected influenced KPIs - Subscription Sign ups, Customer Lifetime Value, time on site, brand engagement, conversion rate
Materials & Resources
- Instructional Materials: Justuno Office Hours (group format with QA)
2. Resources: Smartrr Partner Page
3. Claim a free conversion & subscription audit from the Justuno & Smartrr teams.
Support Tip: Meet with our Justuno Onboarding Manager 1x1 for design guidance, and to understand how to use and optimize this workflow just for you. Open up a chat with us too for quick help.