Syncing Dotdigital to Justuno
This article will cover how to connect Dotdigital to Justuno, available functionality, and any additional requirements.
On this page:
Dotdigital & Justuno Introduction
Requirements and Functionality
Introduction to Dotdigital & Justuno
Integrating Justuno and Dotdigital will allow users to combine the customer data saved in Dotdigital with the customer data gathered from Justuno, and create more personalized experiences for shoppers. This will increase the effectiveness of the marketing campaigns and customer engagements.
Check out their partner templates in our library for pre-built designs that you can go live with in a few minutes!
Requirements & Functionality
1. Create an API user in Dotdigital's admin. You'll need the username and password for that API user to connect to Justuno. There is an option for Rate Limiting. Please ensure that it is set to TIERED. Follow the steps here to create this API user.
2. Any custom properties you want to capture in Justuno will need to have a custom data field created in Dotdigital first. Then, any property captured/created in Justuno will carry over to Dotdigital as designated custom data fields. See how to create new custom fields in Dotdigital.
Syncing your workflows to Dotdigital
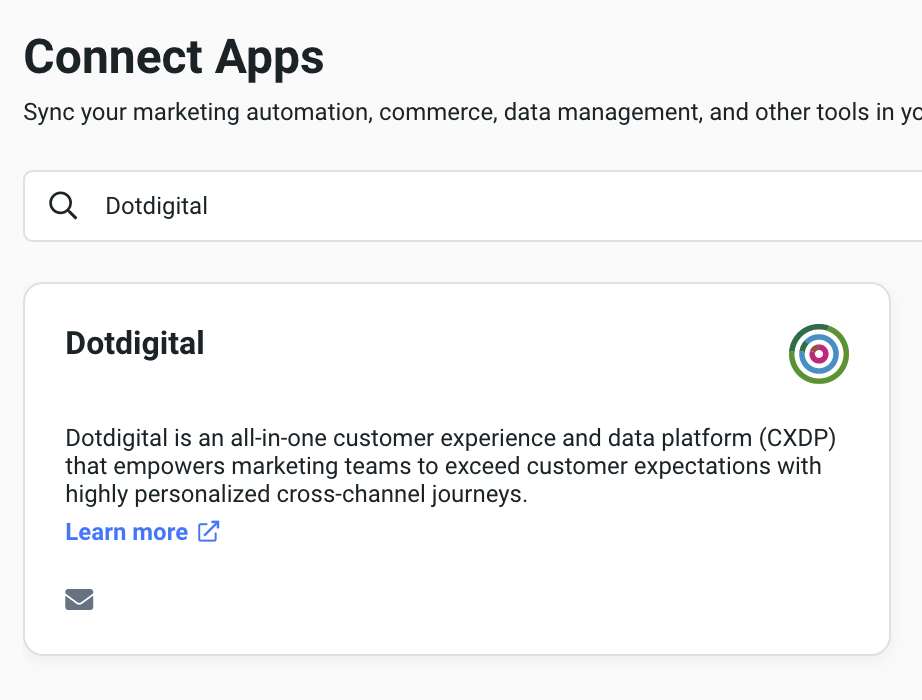
1. Login to your Justuno account and go to Connect your Apps from the home screen or go to Account Settings from your profile on the top right corner. In Available Apps search for Dotdigital and click on it.
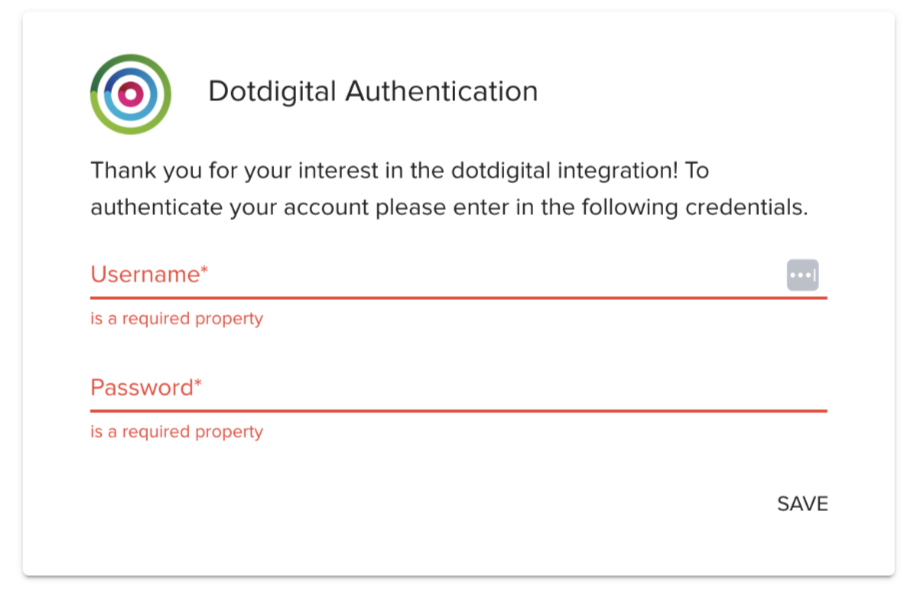
2. As soon as you click on Dotdigital you'll be prompted to login to your Dotdigital account with the password and username that you just created.
Now your Justuno account will be synced to your Dotdigital email and sms account. You'll see that it has connected on the left side of the screen now.

Dotdigital is now ready to be incorporated into workflows! You can start by using a workflow template or create your own workflow (to know more about workflows, click here.)
If you are seeing a loading screen that is never-ending when attempting to connect, then please reach out to our support to team resolve this.
If you have any questions about this integration, contact our support team via ticket or our a live chat.
Now to the workflow. In the design step of the workflow, select the Sync to App option. In the side menu, find the Dotdigital app and click on Add.
Once you add the app, you can
- Choose which of your existing Dotdigital lists you want to sync to this workflow.
- See select properties that will automatically sync to Dotdigital.
- Custom sync properties from your Justuno design to the properties in your Dotdigital app. (example: social handles, birthday, shopping preferences, survey/quiz responses, etc.). These properties are considered 0 party data or 1st party data. Learn more about visitor data collection and how to use this data in campaigns.
Once your workflow is created it can be saved, previewed or published from the top, right corner of the workflow builder.

Data Transacted
Justuno shares the following with Dotdigital automatically.
- First Name
- Last Name
- Mobile Phone
- Zip code
- Gender
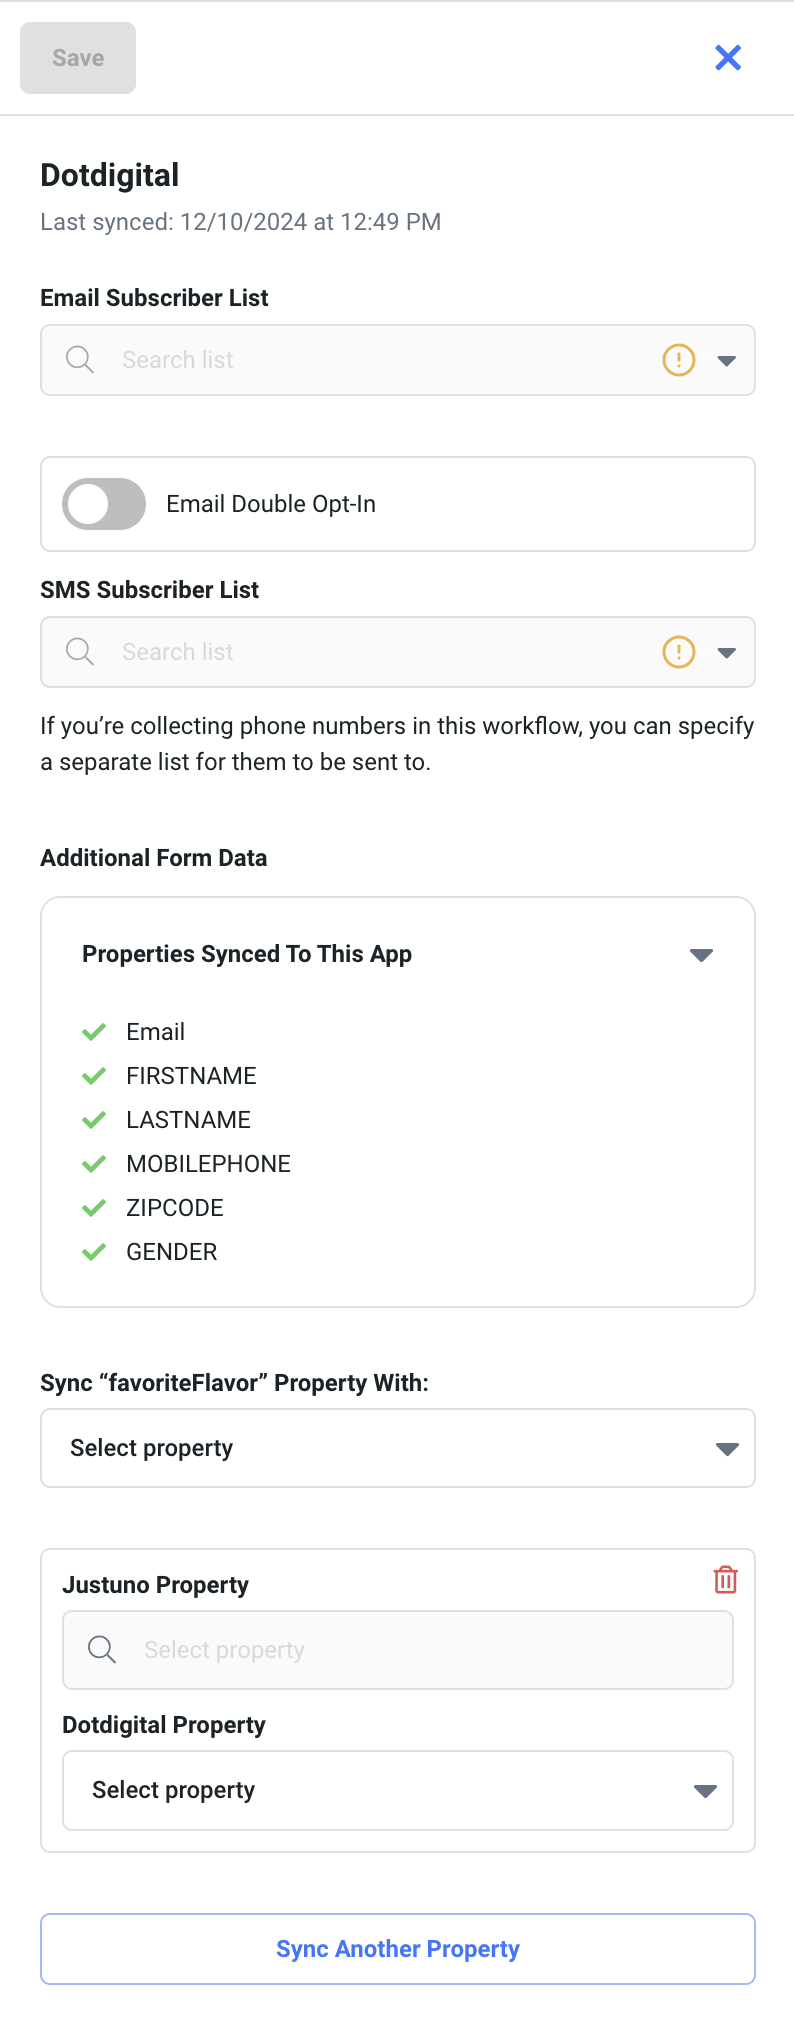
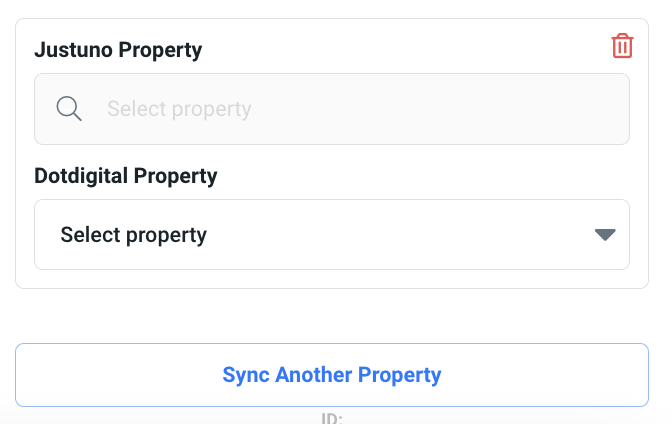
- When you click on Sync Another Property you'll see a dropdown appear where you can then sync your custom properties with existing properties in Dotdigital.
Learn more from the experts about different zero & first party data to capture and use from our ebook.
General Notes
- Integration with Dotdigital is a one way sync. This means that website visitor information is only transmitted to Dotdigital from Justuno. Justuno does not pull any visitor profile information from Dotdigital. The exception is if you are using tags that feed into Shopify. Justuno does pull in Shopify tags that can be used to create you segments or condition sets.
- In general, Justuno users will be able to select lists that will collect email and sms subscribers. You are able to collect custom properties for each subscriber as well.
- Justuno Marketing Preferences for email and SMS consent is always set to true and contacts will fall under subscribed status.
- We allow the user to select double opt in or single opt in.
- We strongly suggest using the built in country code selector for the SMS field when creating your designs. This will ensure the phone is properly sent to Dotdigital.
Resubscribing an SMS number
- The integration is not able to resubscribe a sms number. This is a limitation put in place by Dotdigital. Please read more about this here.