Discount Code Element
In this Justuno support article, we walkthrough how to add and edit a discount code element in the Justuno Design Studio.
At a glance:
Last updated: 11/05/2024
Introduction
IMPORTANT NOTE: All discount codes are added and stored in the Justuno commerce area. This allows for efficient management of all discount codes being generated and used in Justuno. Before proceeding below, make sure you've completed this step.
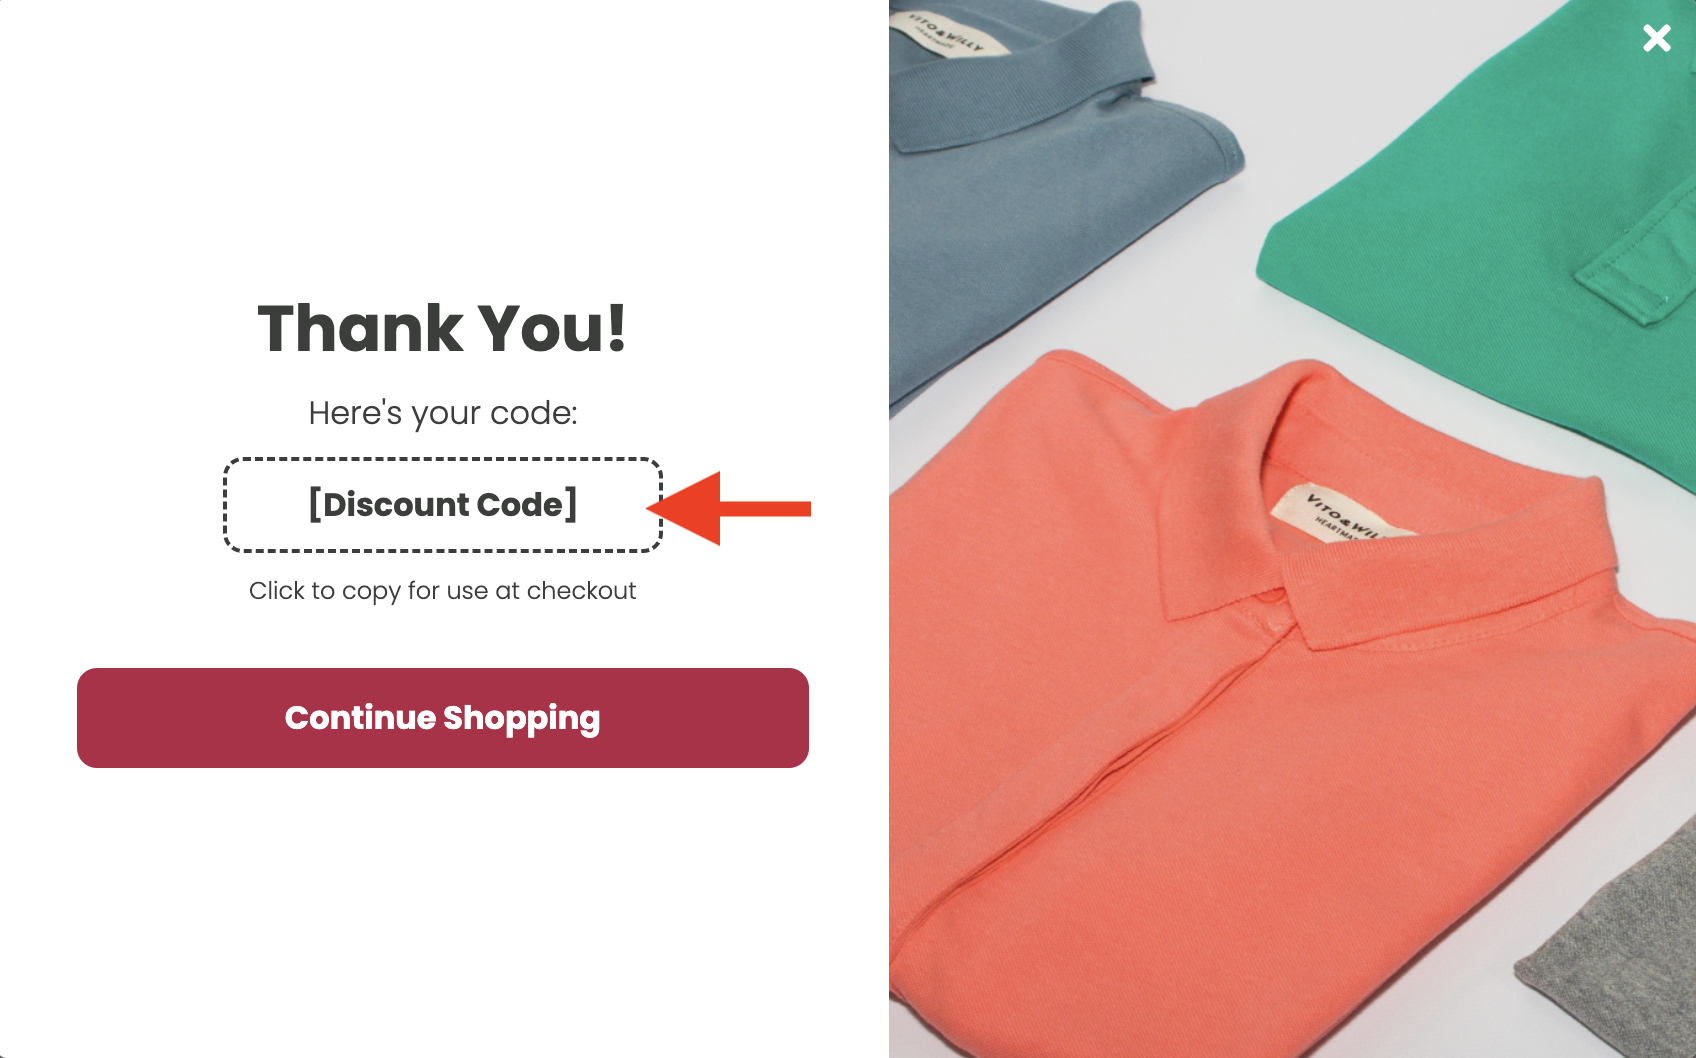
Incentivizing your website visitors with a coupon or discount code will often allow you to reach a higher engagement rate on your lead capture forms. Once you've crafted the right motivational message on the opt-in step, you will need to add a discount element to the subsequent confirmation screen.

Although using a plain text element can serve a similar purpose, we highly recommend using our specialized discount element on your designs to:
- Properly track engagements.
- Show dynamic/unique discount codes.
- Allow visitors to instantly click to copy codes.
Add & Edit
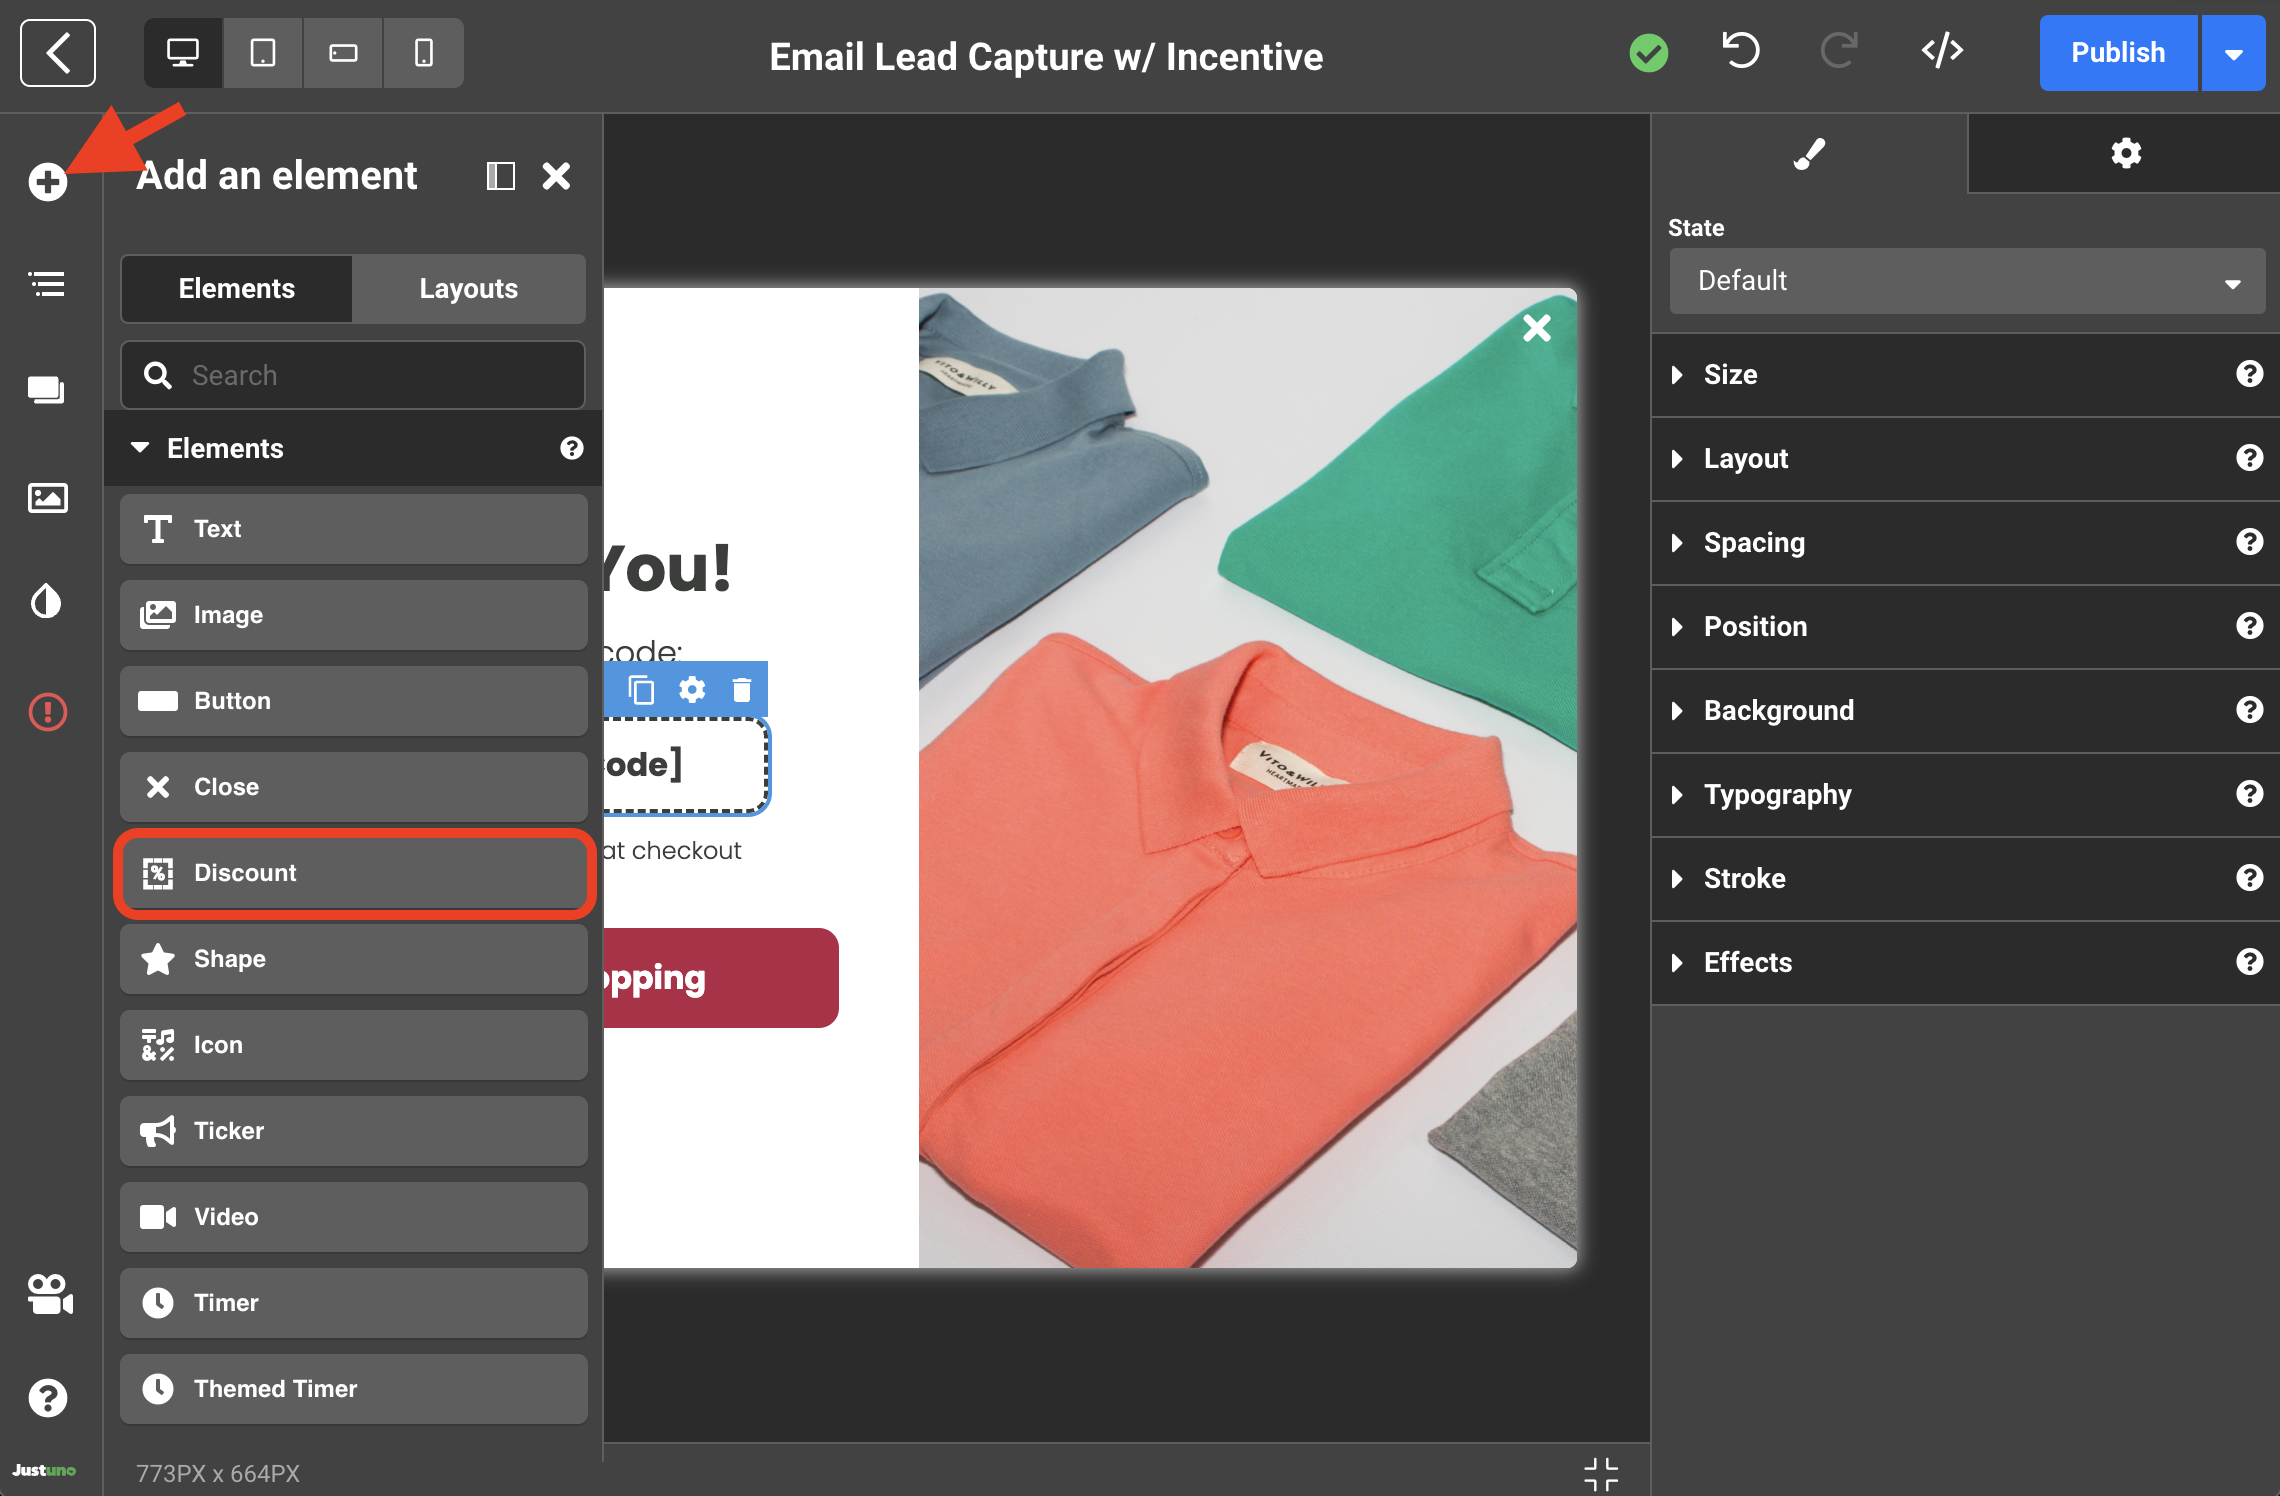
To add a discount element to your design, start by clicking the add element icon on the left sidebar. This will open up the element menu where you will find "Discount". Click and drag the "Discount" selection into the desired area in your design.

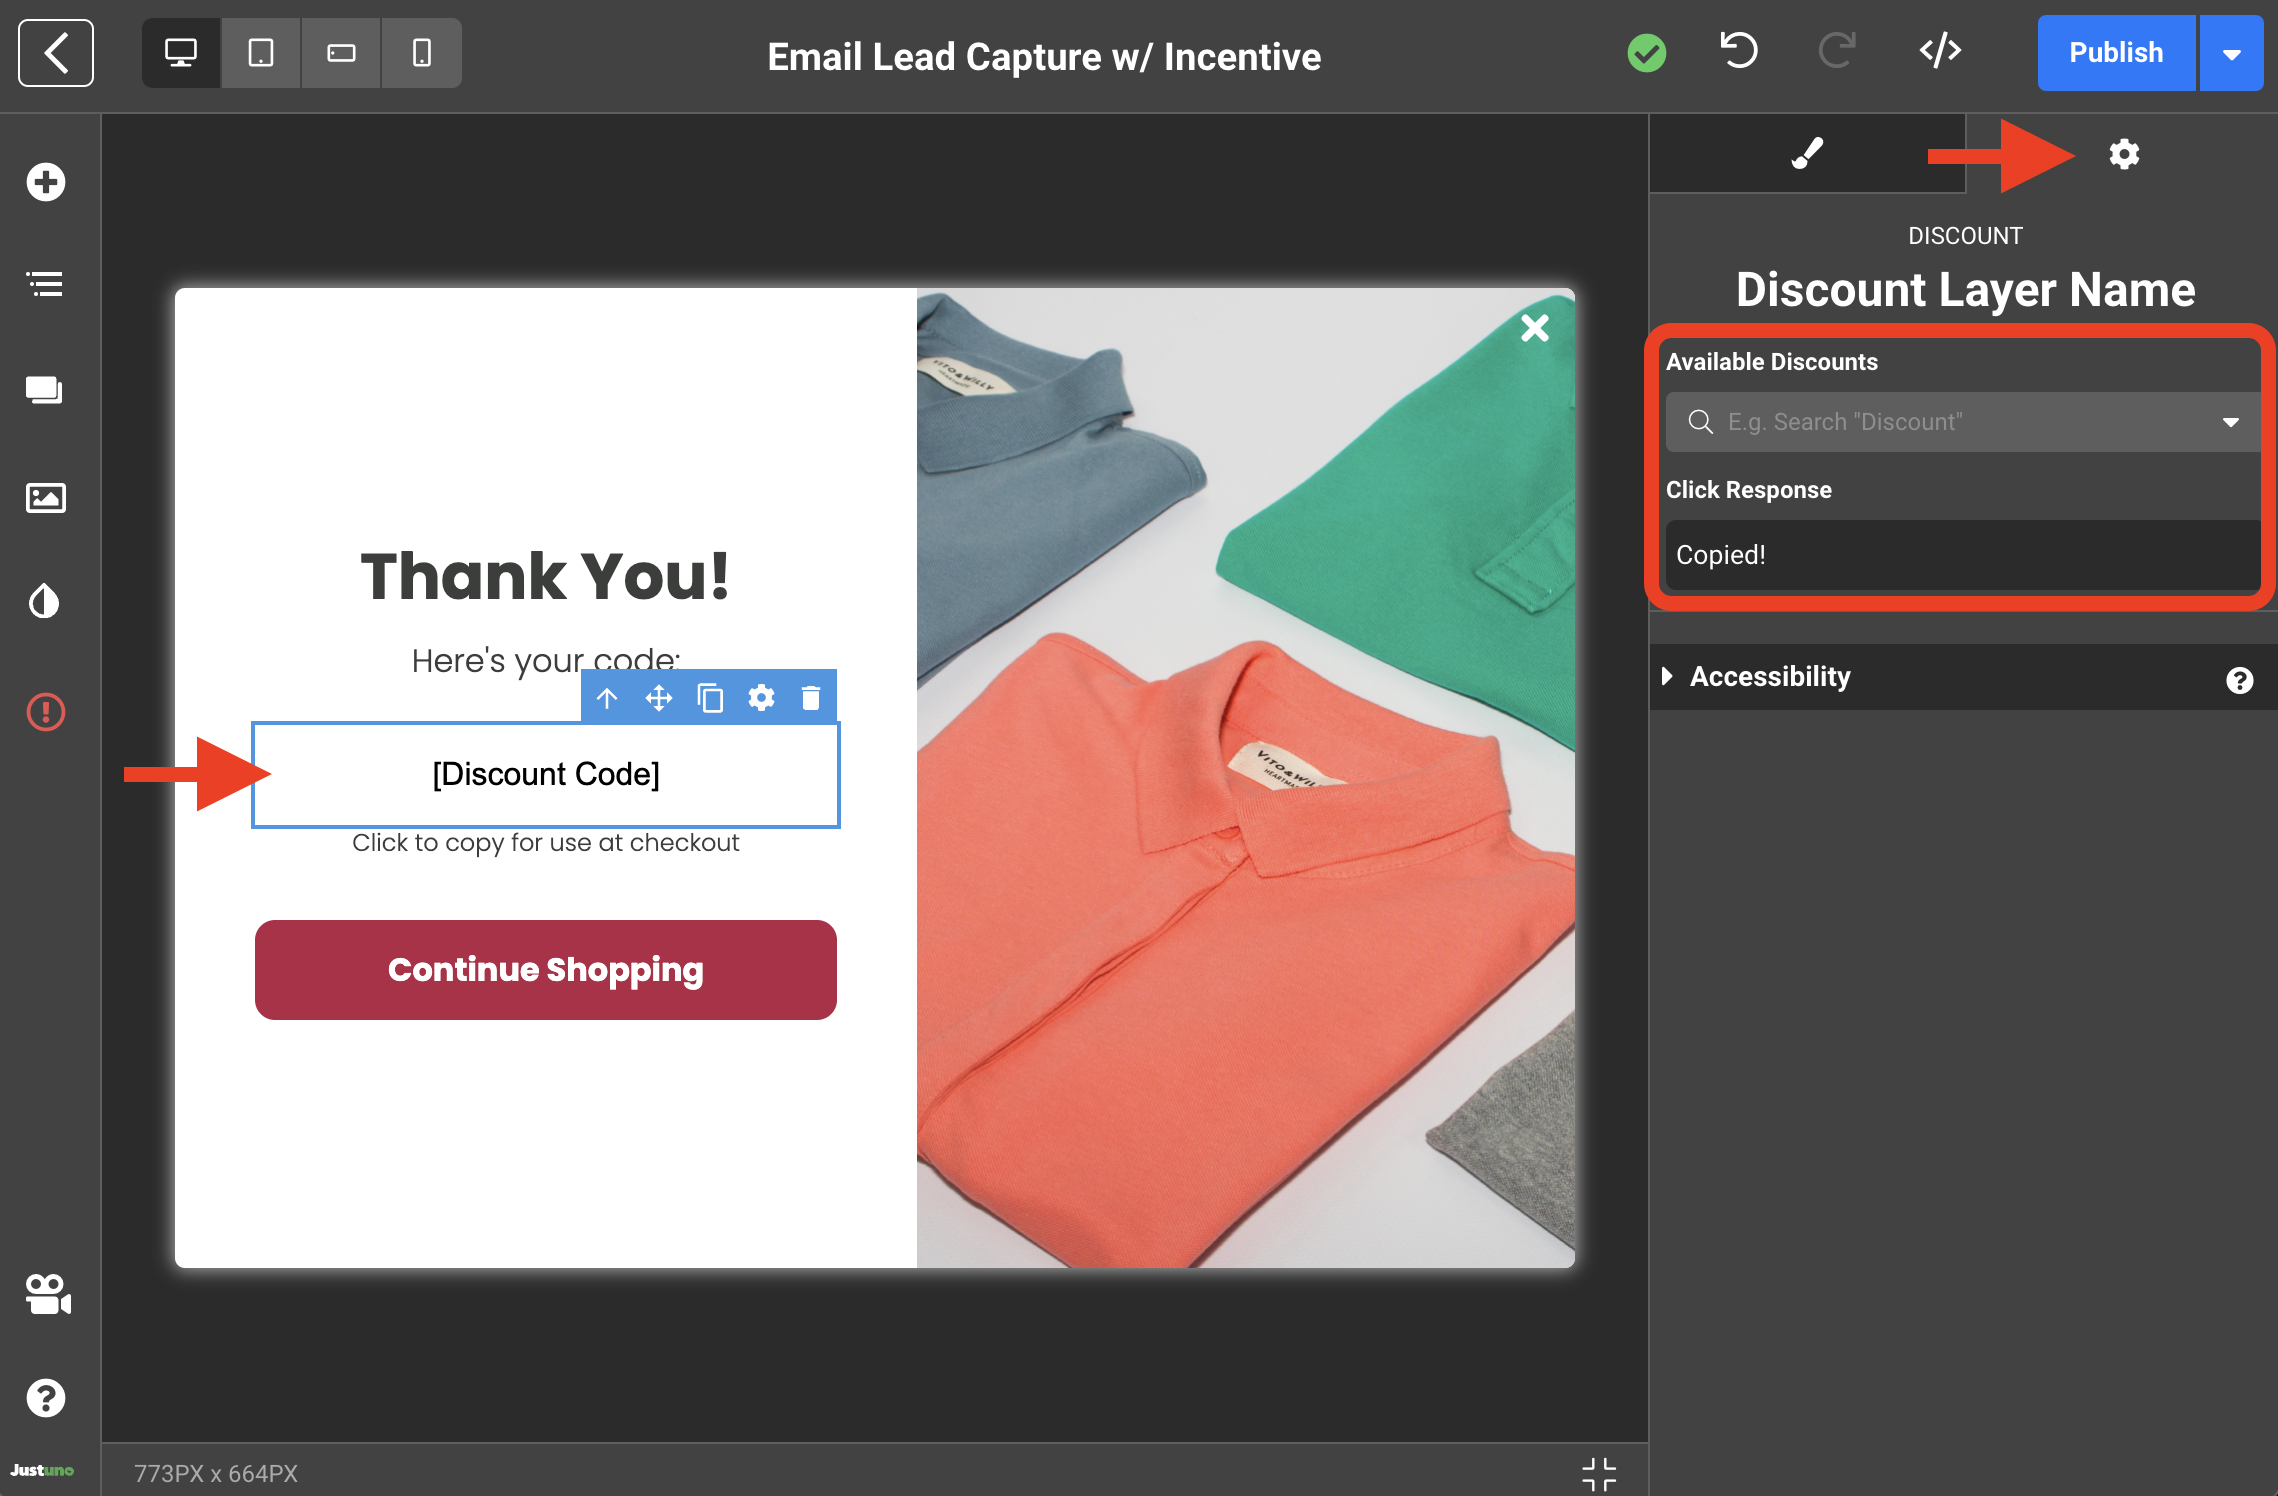
To edit the discount element, select the discount element in your design and click on the settings icon on the right sidebar. Here you will find a drop down form with all available discounts you've added in your Justuno commerce area. If you have not added any discount codes prior, you may reference this article here to do so.

Select your desired code, edit the click response however you see fit and you're all set!
Coupon code auto-apply feature
To disable the auto-apply function for discount codes visit the settings page here and switch the toggle off.
