Workflow Template - All Exiting Visitors
This article provides guidelines on how to add & set up one of Justuno's most popular use cases.
At a glance:
What is the All Exiting Visitors workflow?
...
Last updated: 06/26/2024
What is the All Exiting Visitors workflow?
Driving visitors to your website is no easy feat, but majority of them are still bouncing. Many factors can contribute to this - maybe they're apathetic, or maybe they're looking to price shop. Keeping visitors engaged throughout their shopping journey is essential, even till the very end.
The All Exiting Visitors workflow targets all visitors that attempt to leave your website with an incentive. This last resort offer encourages shoppers on their way out to take advantage of a special discount and can yield a substantial lift in sales conversions. Having an exit strategy is extremely beneficial for any ecommerce business.

The All Exiting Visitors workflow contains only one key frame:
- Incentive (reward)
Click here to access this template. If prompted, make sure you are logged into your Justuno account.
Before You Go Live

Once you've added the All Exiting Visitors workflow template to your account, you must update the following before going live:
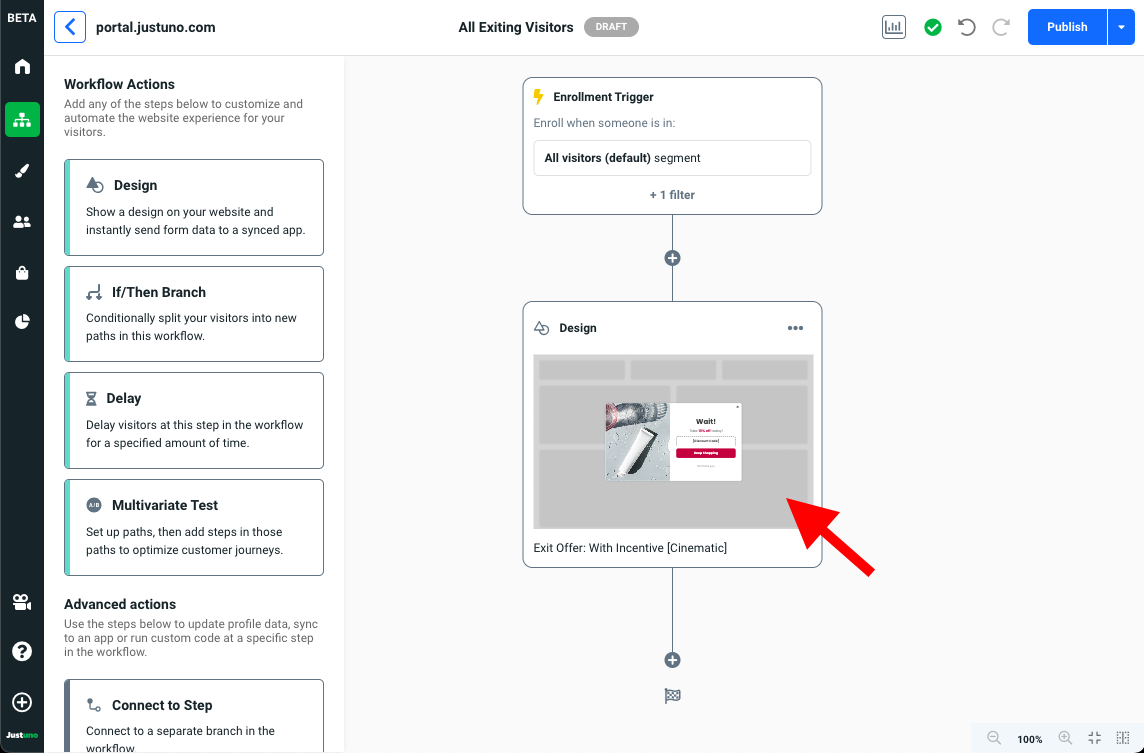
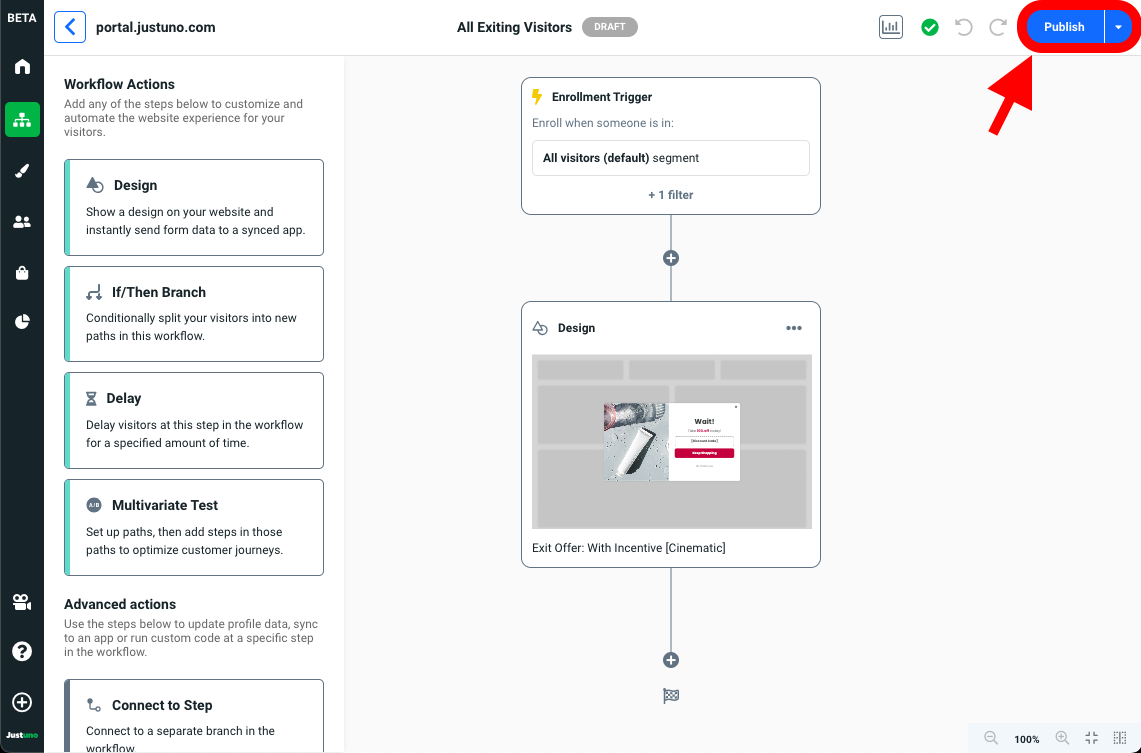
Update Design
- Inside the Workflow Builder, click on the Design step to reveal the design step module. Click Edit to enter the Design Studio.
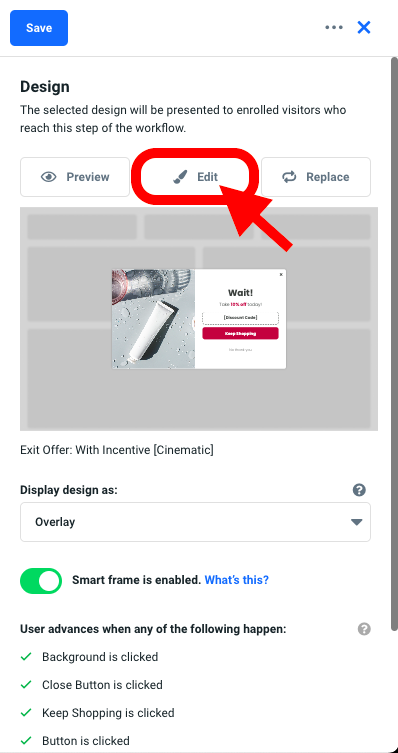
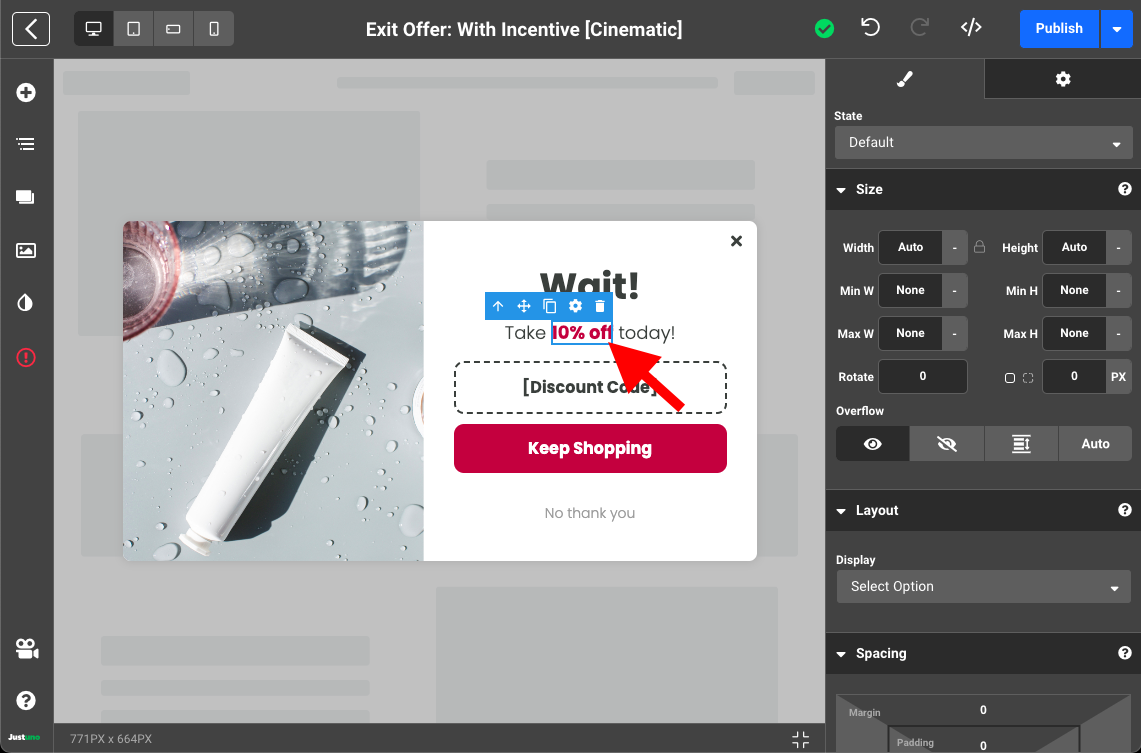
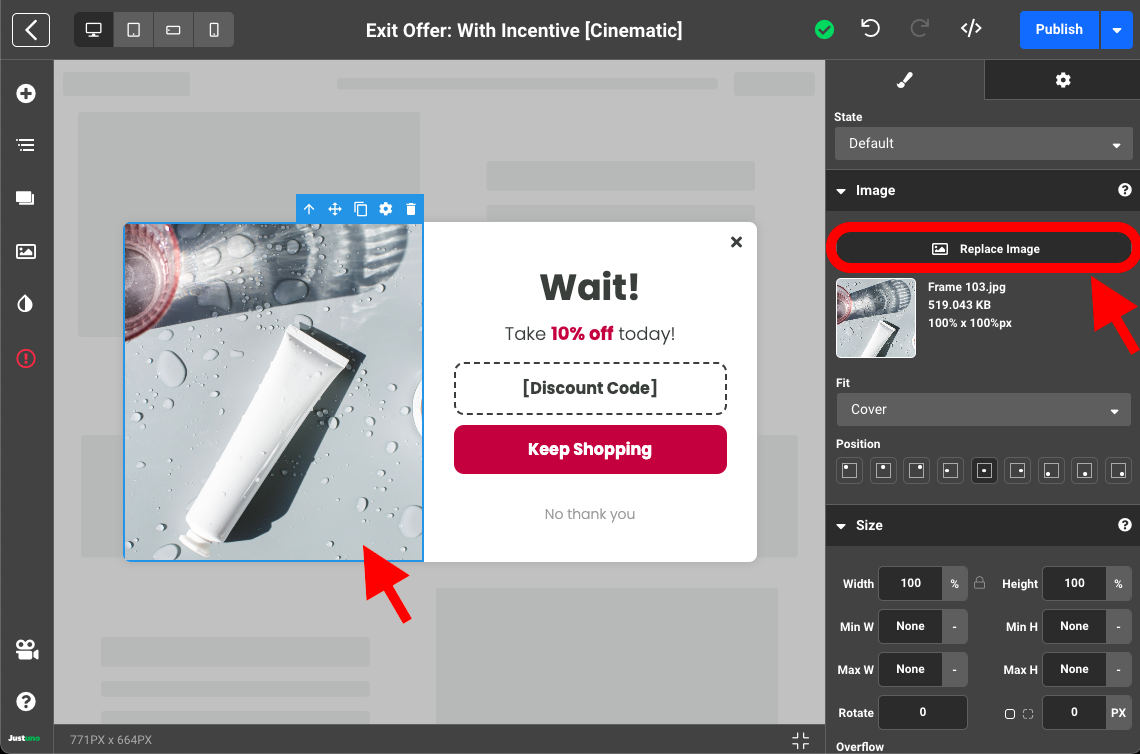
- Inside the Design Studio, you can select any element on the design canvas to reveal a plethora of customization inputs for that specific element. We recommend updating the text copy and the image to reflect your website branding.
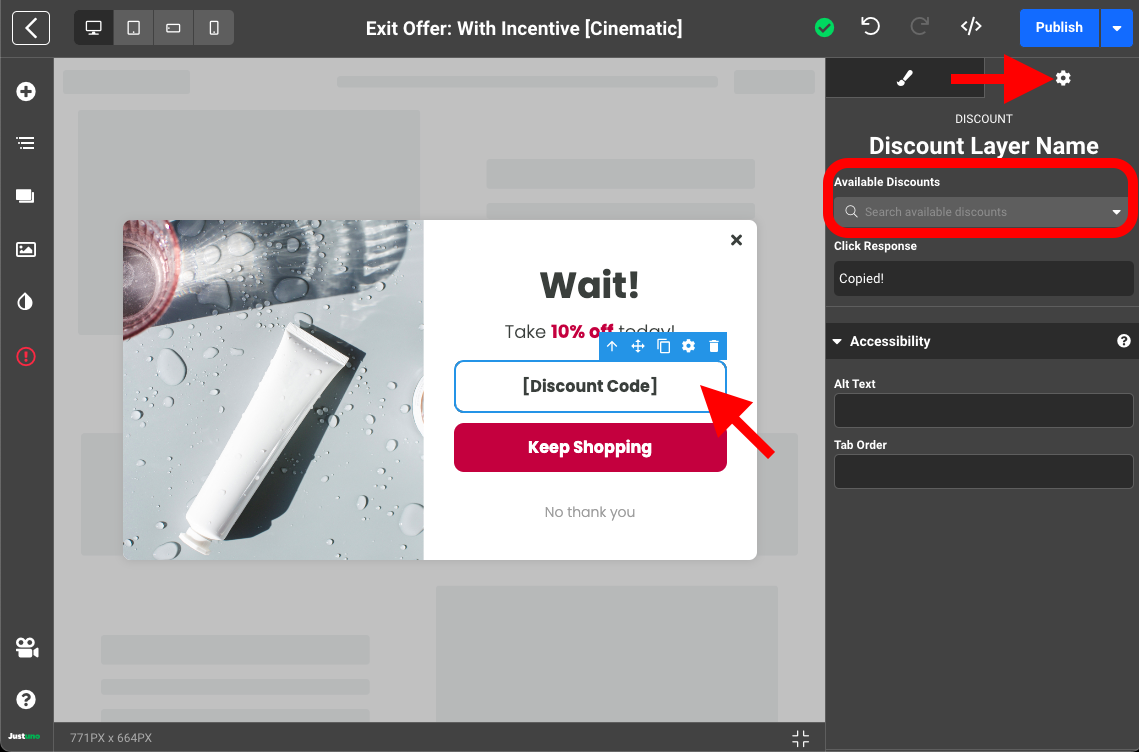
- Lastly, we need to add our Discount Code. Select the Discount Code element and navigate over to the Settings tab on the right side menu (indicated by gear icon). Here you will find a drop down menu labeled Available Discounts. Search or add the discount you would like to display.
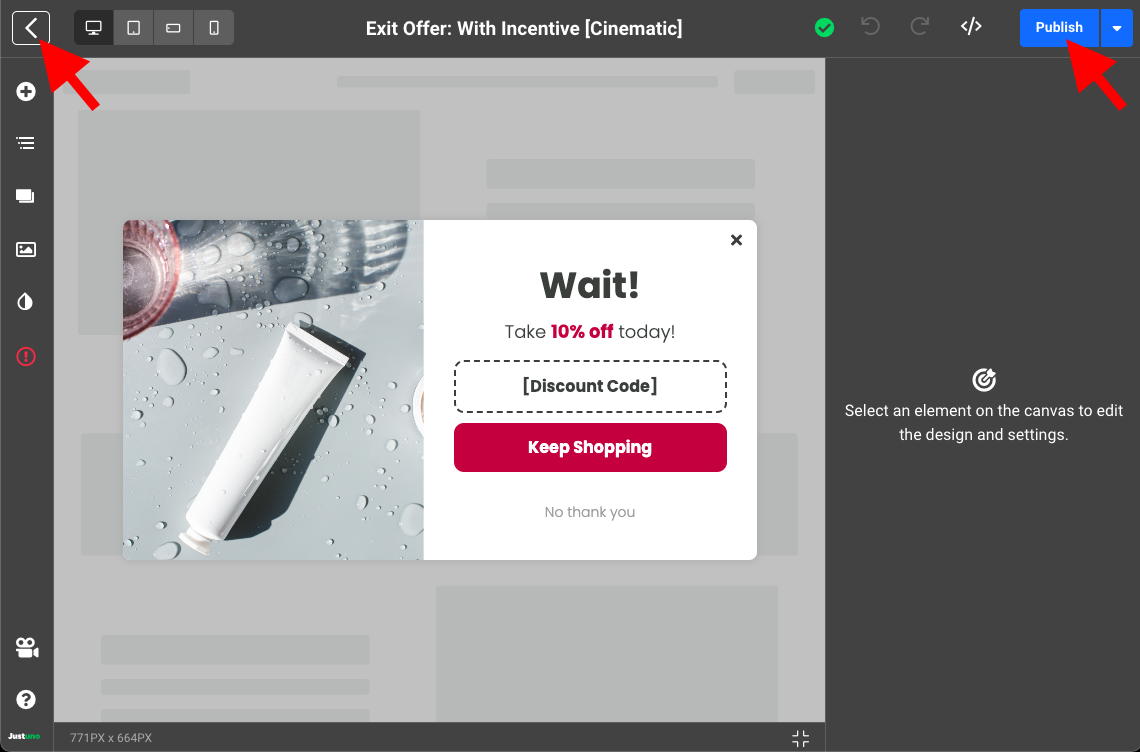
- Your Design is all set - Publish the design (top right) and click the back button (top left) to return to the Workflow Builder.
- Double check everything, click on Publish then Go Live and you're all set!
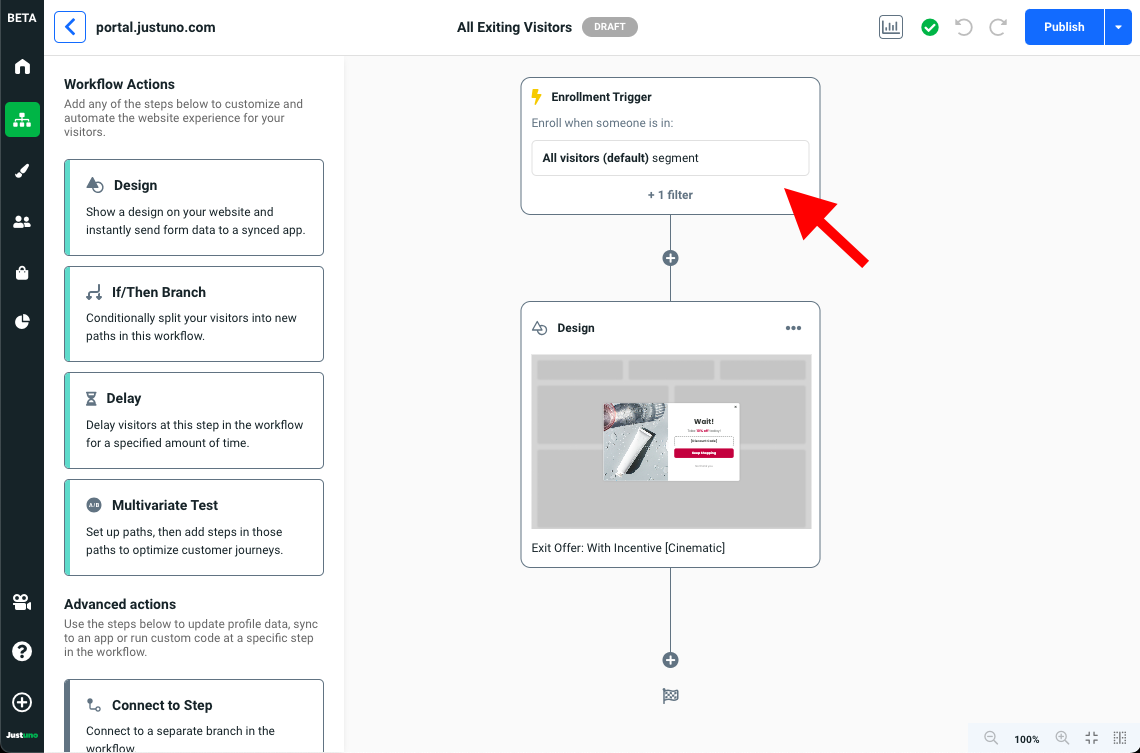
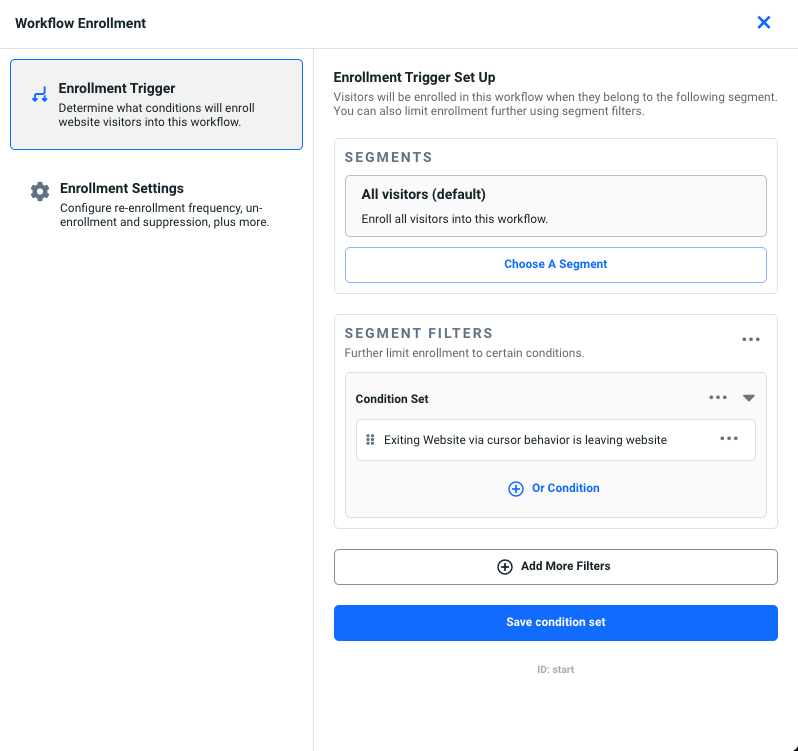
Update Enrollment Trigger (optional)
Your enrollment trigger controls the target audience for your workflow. By default, the All Exiting Visitors workflow targets:
- All visitors - exiting the website
You can update/modify this by clicking into the Enrollment Trigger step revealing the Workflow Enrollment module.