How To Set Up A Shopping Preference Quiz
We will walk through how to add a property element to a design to make it a quiz or survey. You can add more than 1 property element to any design
Adding your question to your design
The question you want to ask is what the property will be named after. Example: If you are asking "Who are you shopping for today?" Then you'd name your property "Who are you shopping for today?" or something similar.
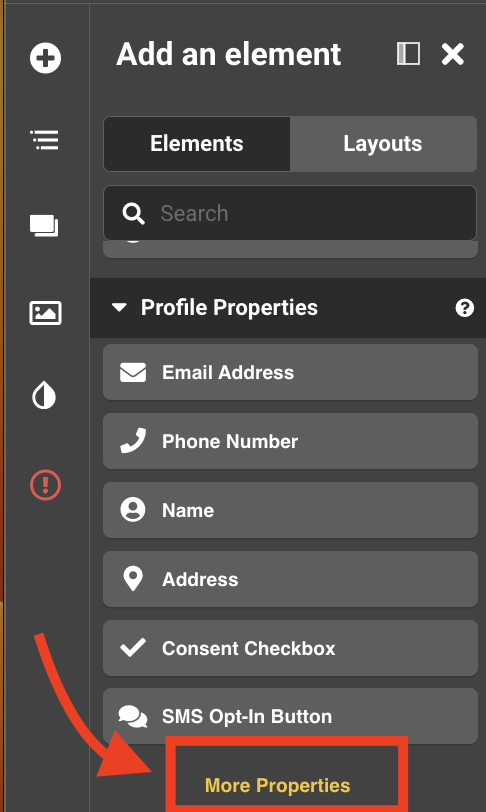
1. Click on more properties to add a question to your design (this is just one way to set up your property. You could always set this up first in the properties section, and then have it here ready to select).
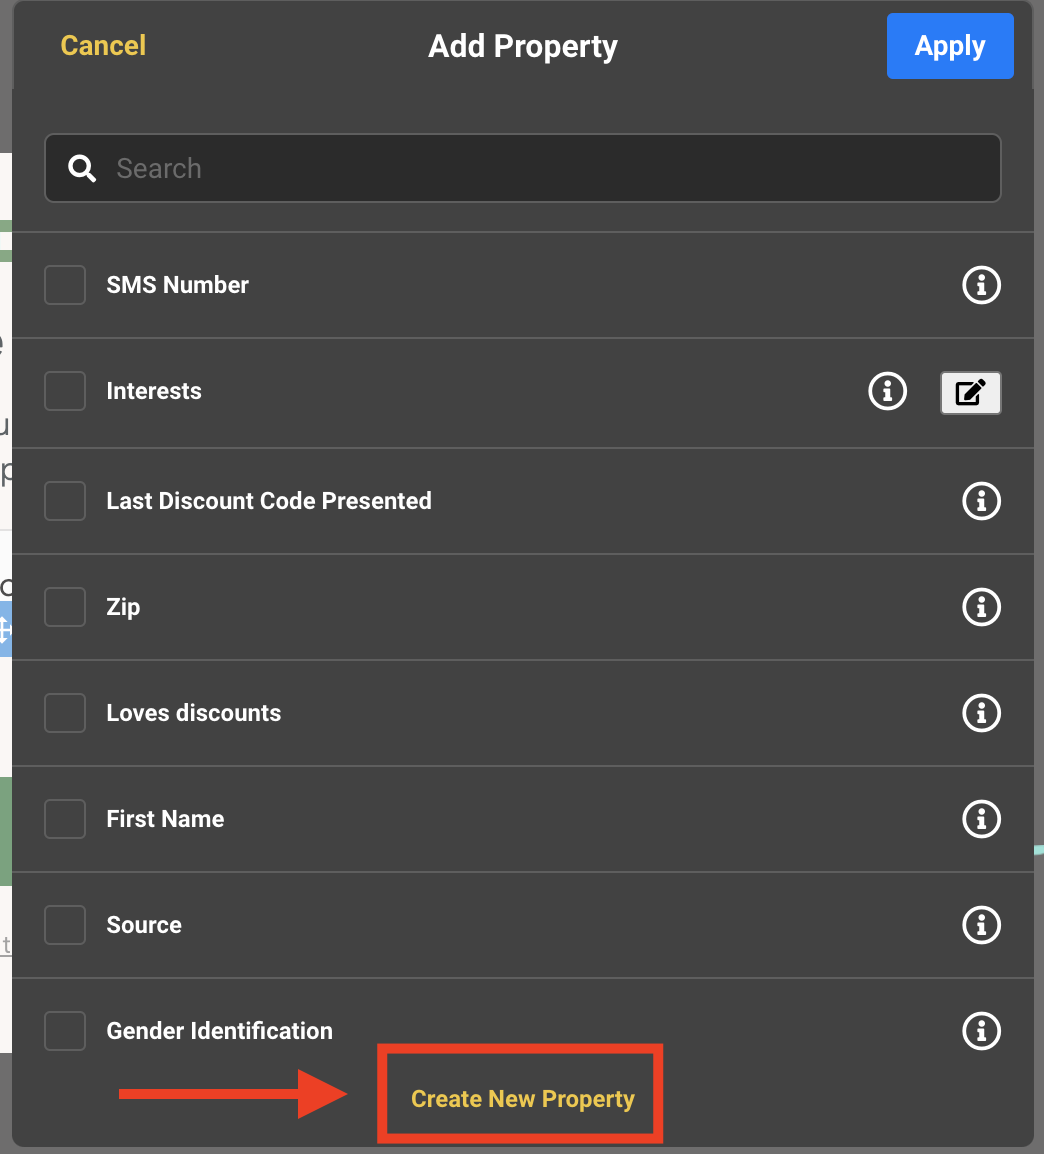
4. click on Create New Property at the bottom of the new screen you see.
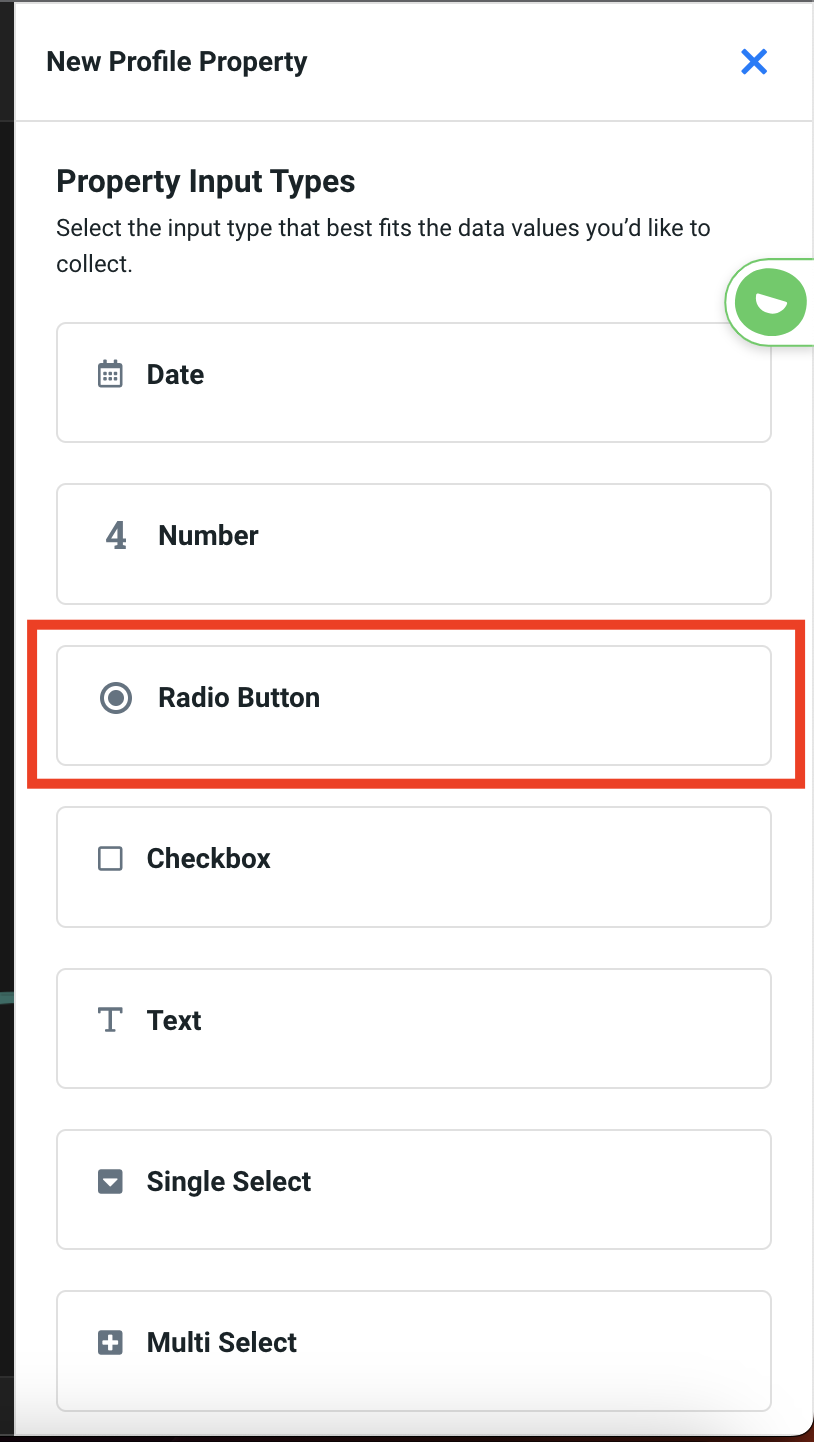
5. Select the radio option from the slide out view. (you could also select any other input type depending on your question format/desired response).
6. Name your Property. We'll use "Shopping Preference" since we will be asking "What are you shopping for today?" 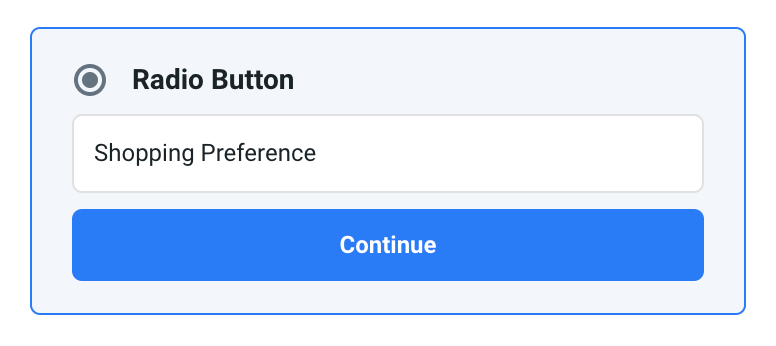
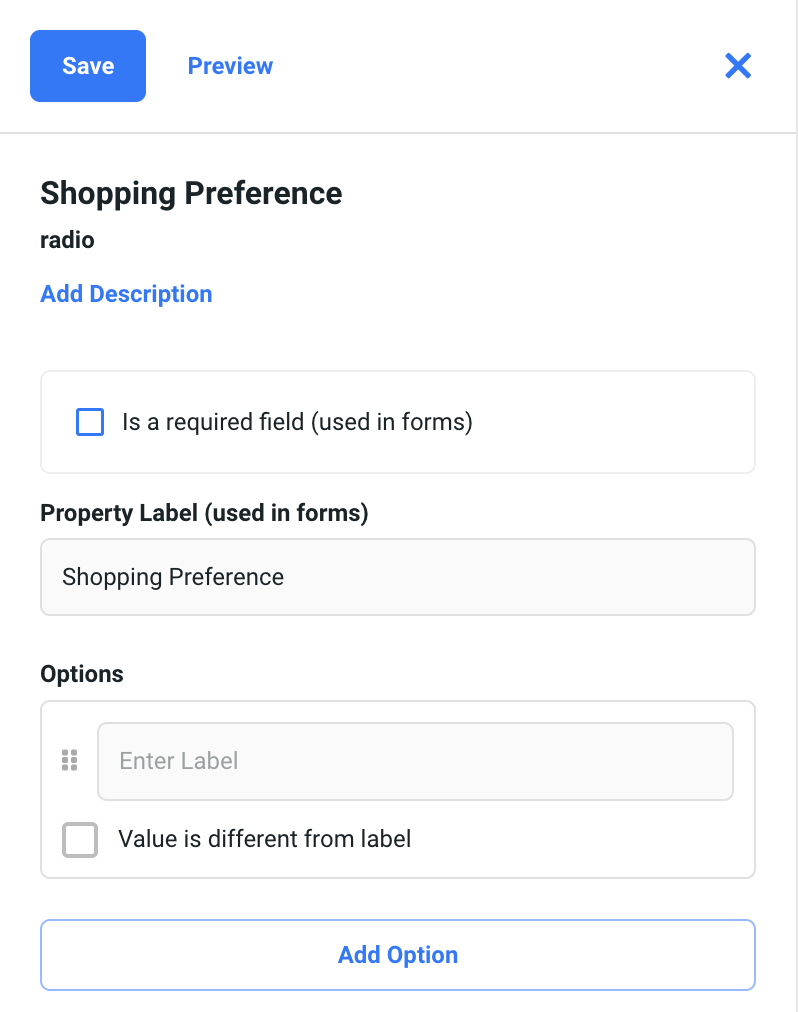
7. Fill in the next slide out screen with your property details and click Save.
Add description
This can be a short or long description
Is a field required (used in forms)
Check this if you want to ensure that everyone has to select an option before clicking your submit button.
Property Label (used in forms)
This will automatically be what we labeled the property to begin with
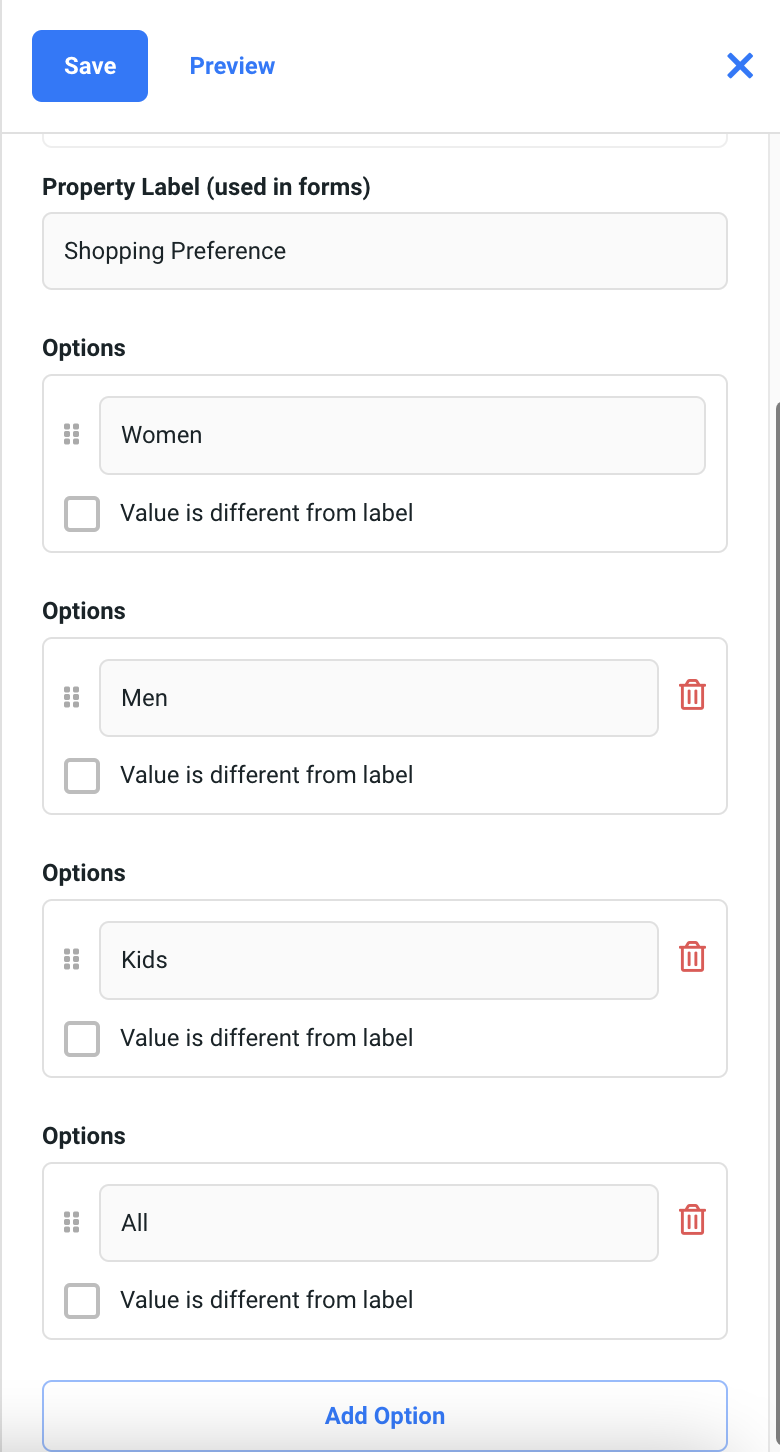
Options
Add the options that you want your visitors to be able to select.
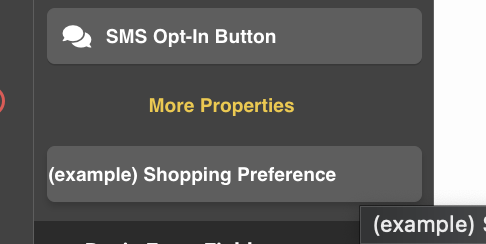
8. Go back to add your new property by clicking on More Properties from the Elements Slide out. New properties will always show up on the bottom of the list.
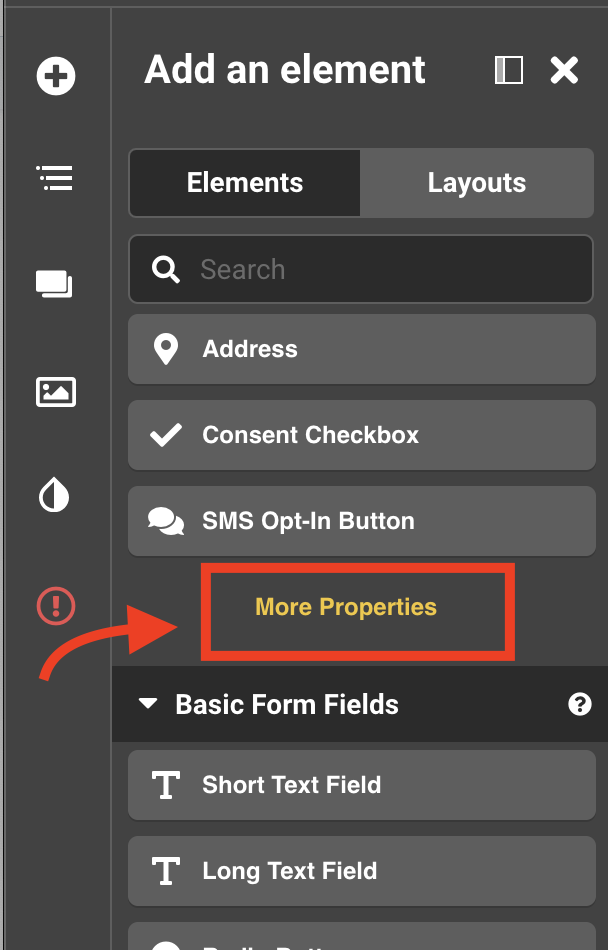

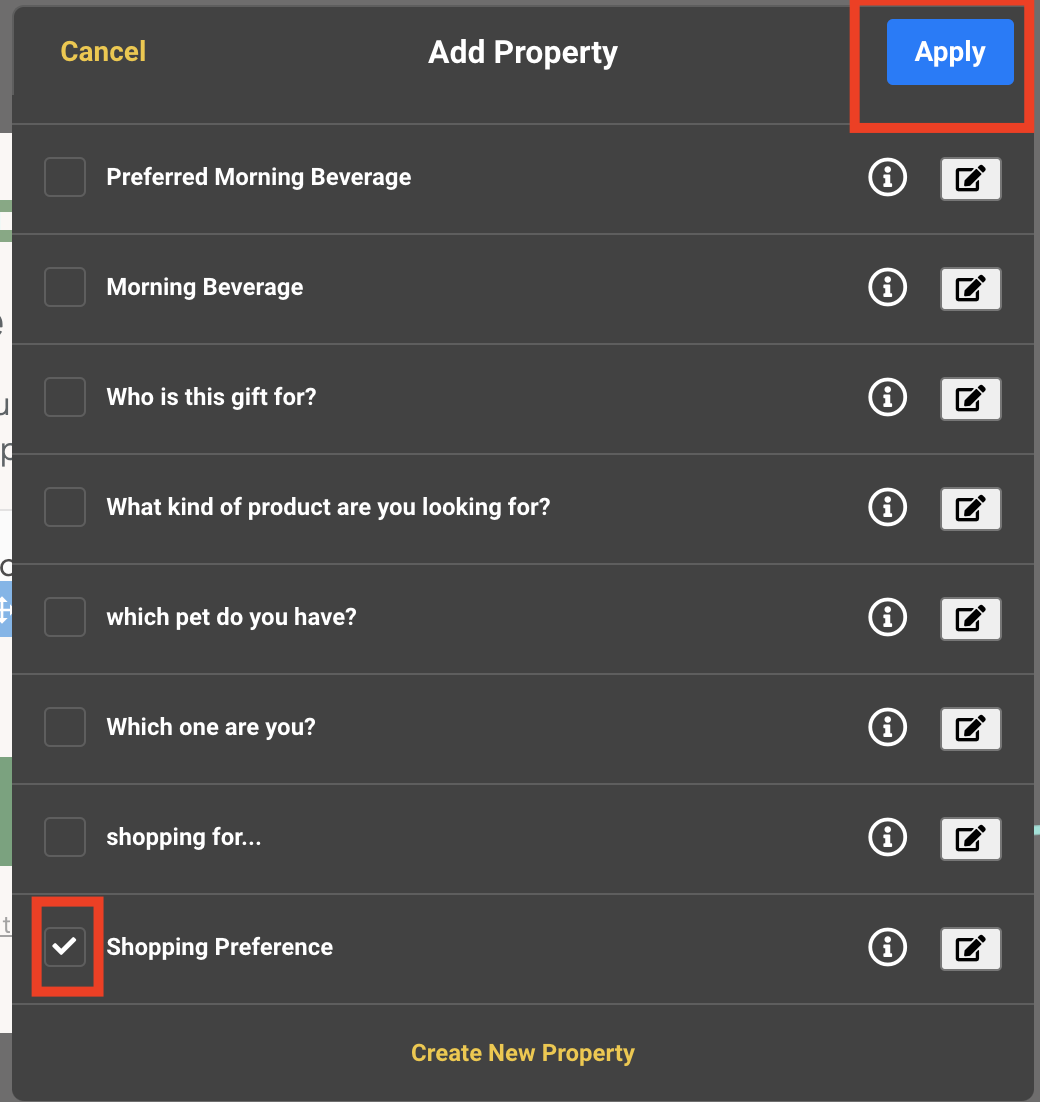
The selected property will now show up as an option to drag into your design.
9. The property element will now appear on your design. In our case, the property shows up in a vertical layout. We'll update the layout and design elements next.
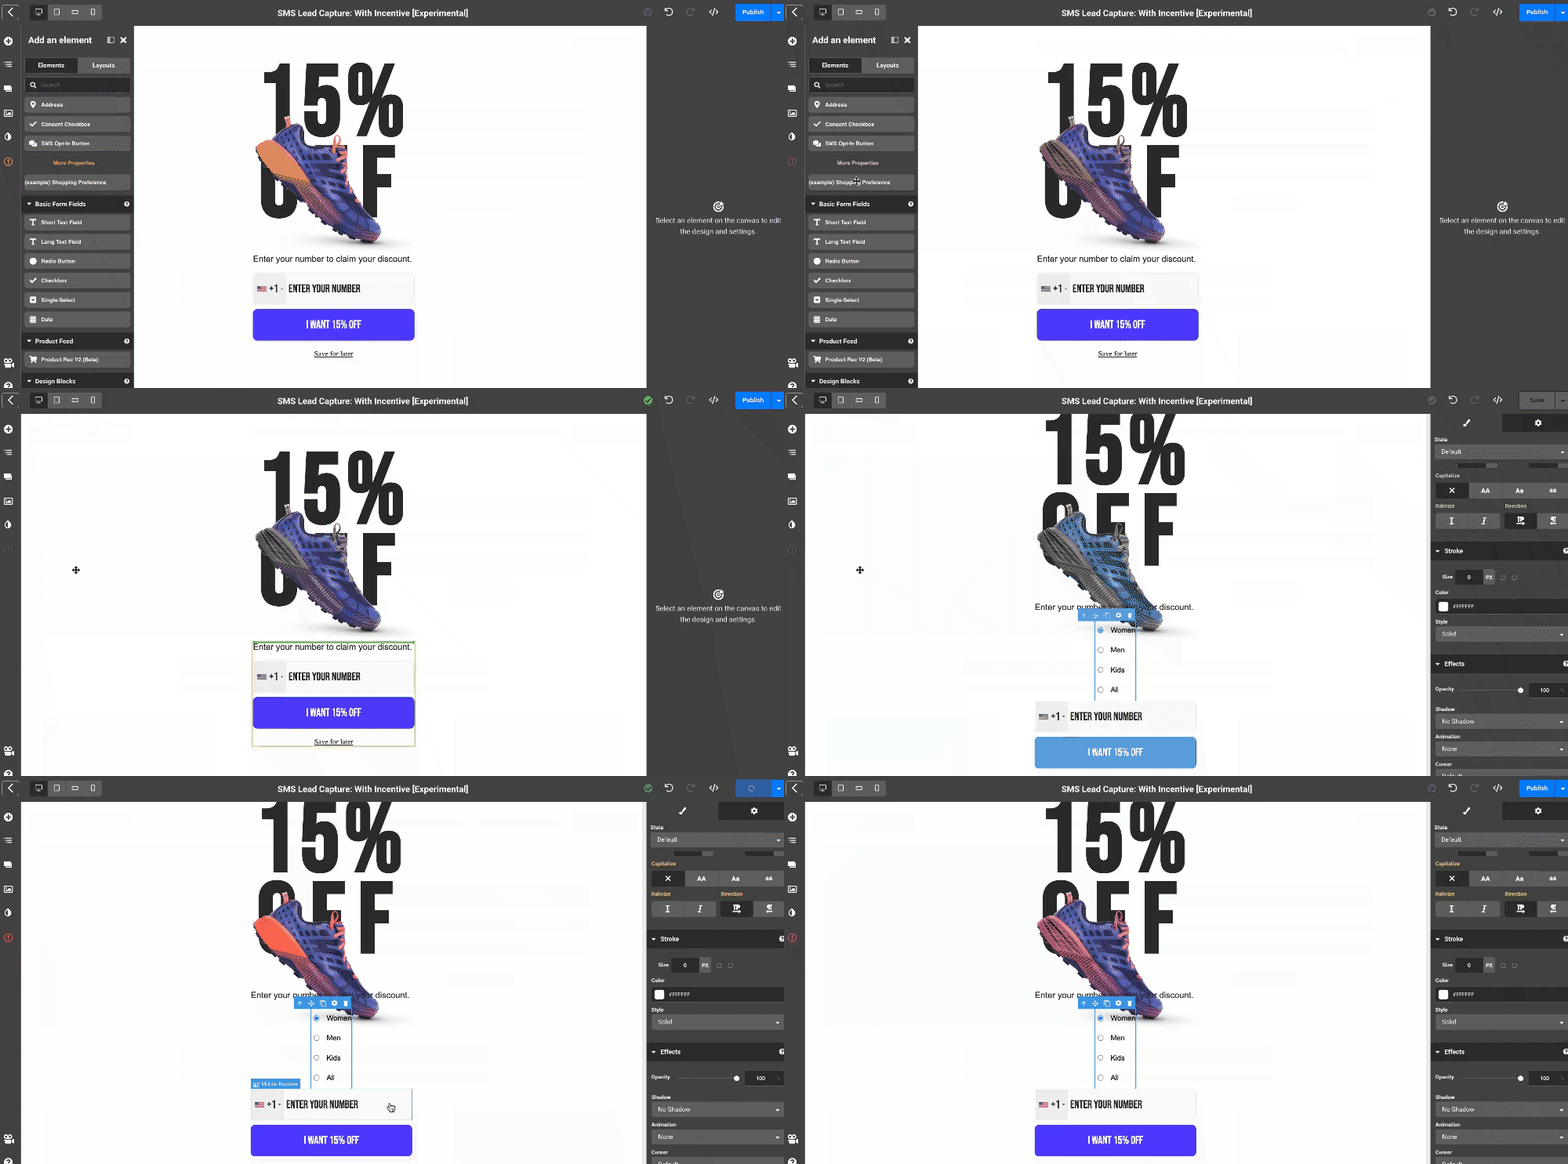
With the property element selected we can edit the layout, font, and design of the options (women, men, kids, all).
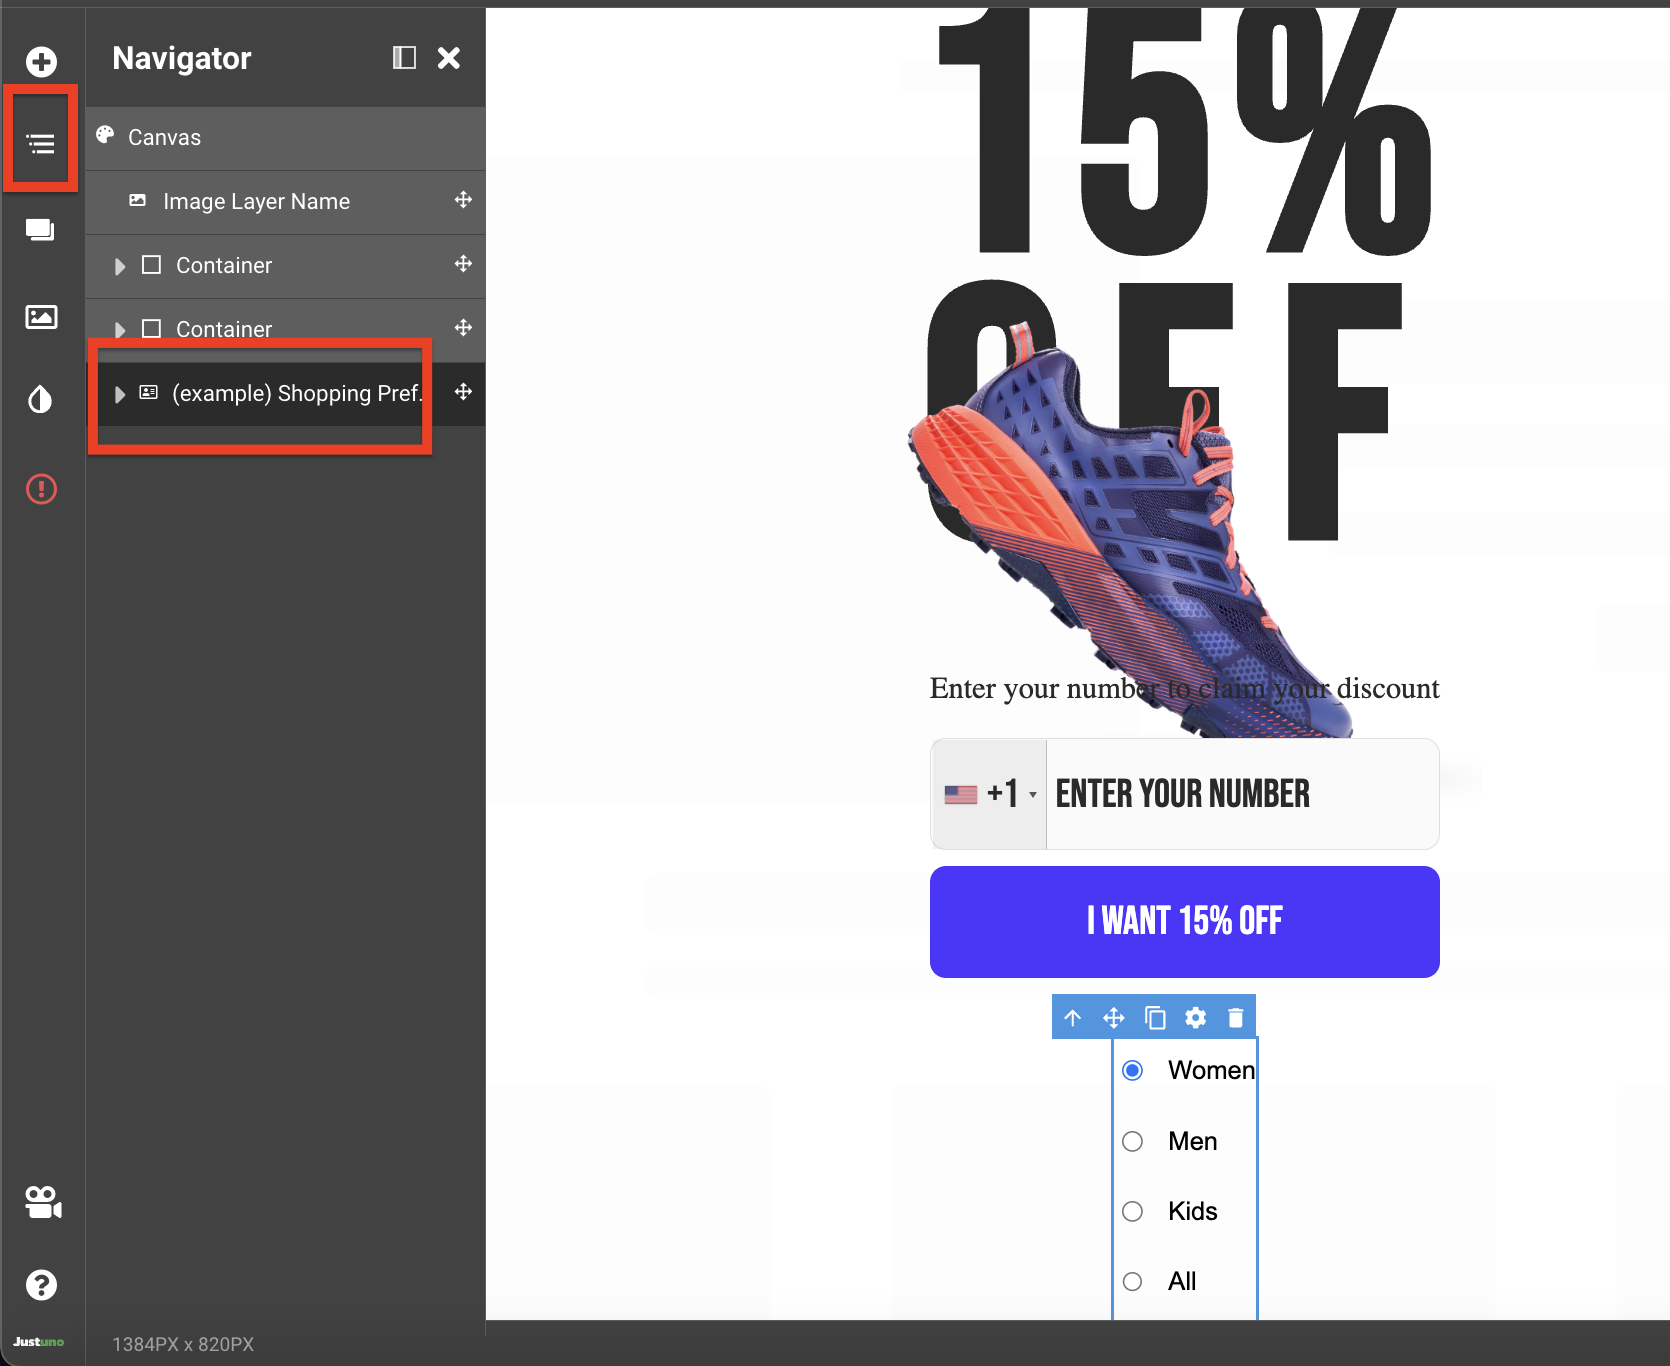
Note: Another way to select the correct layer is to got to the Navigator Slide tab and click on the element named Shopping Preference.
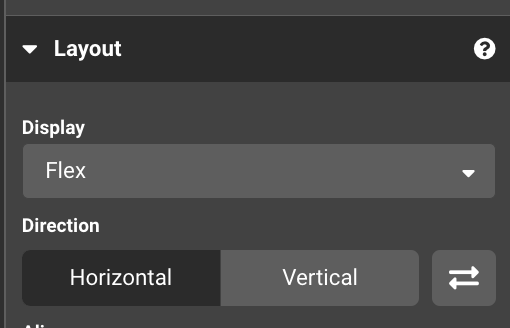
10. Keep the Shopping Preferences layer selected and look to the design settings on the right side of the design studio. Edit the property element to sit horizontally instead of vertically stacked by changing the Layout to
- Display: Flex
Direction: Horizontal
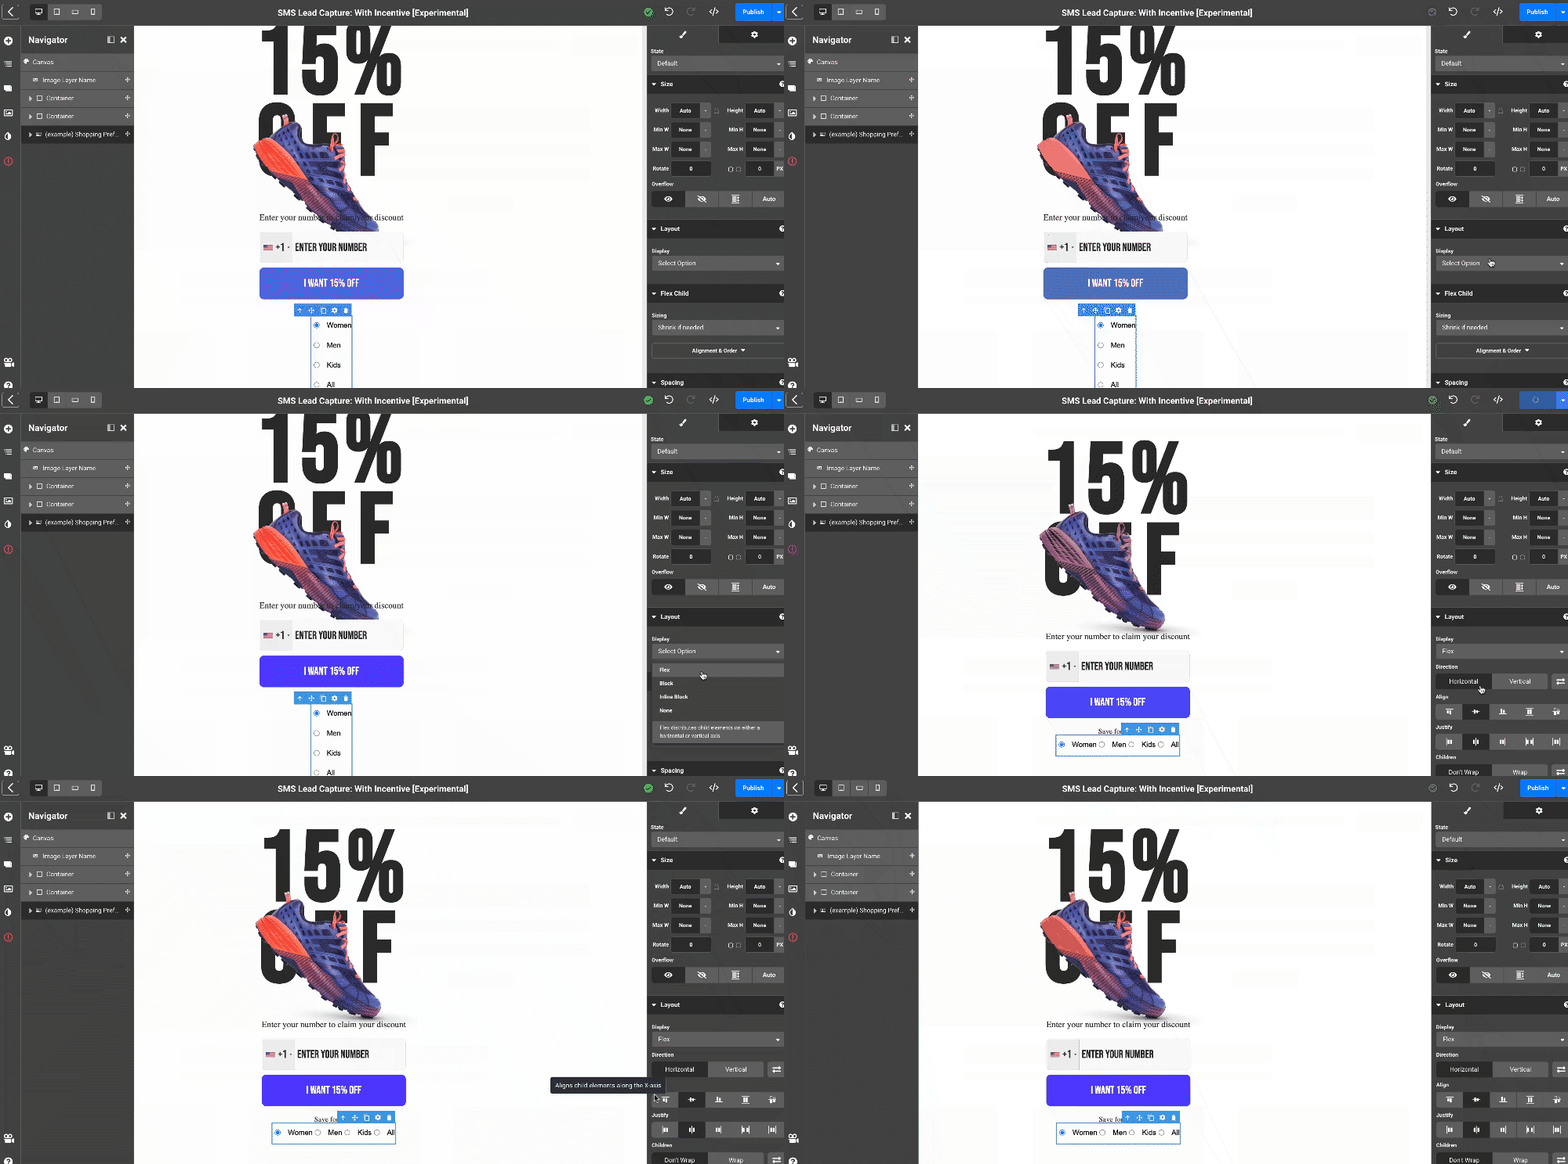
11. After you adjust the layout you can move the element to your desired location in your design. From there you can adjust spacing, font, etc. of the options. Here's a quick video to show our final product + edits made.
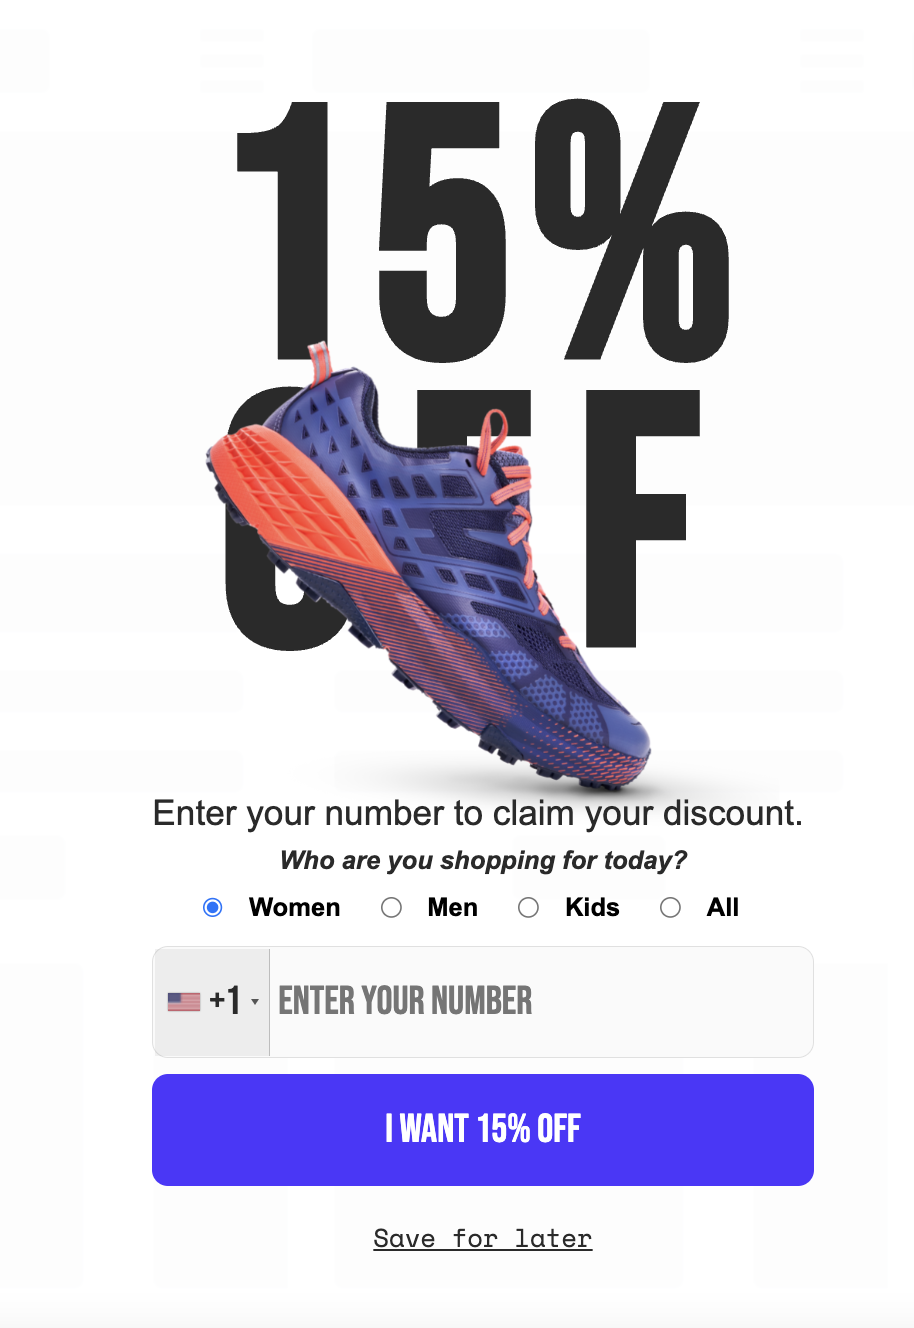
Our final product looks like this! Now you can continue to add property elements to your other frames to create a full on quiz.
12. Publishing your design is required to use it in a workflow for the next step. You'll find this in the top, right corner of the design studio.

Syncing to Klaviyo
1. Open up the workflow you're working in or create a new workflow from the experiences tab. We will be working from a blank workflow.
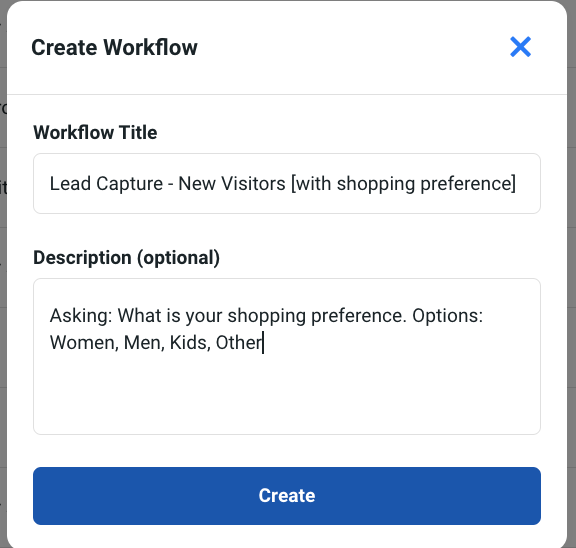
2. Fill out the blank workflow fields below: Workflow Title and Description. Click Create
3. Add the Design to your workflow by dragging over the tile and selecting the design you just edited.
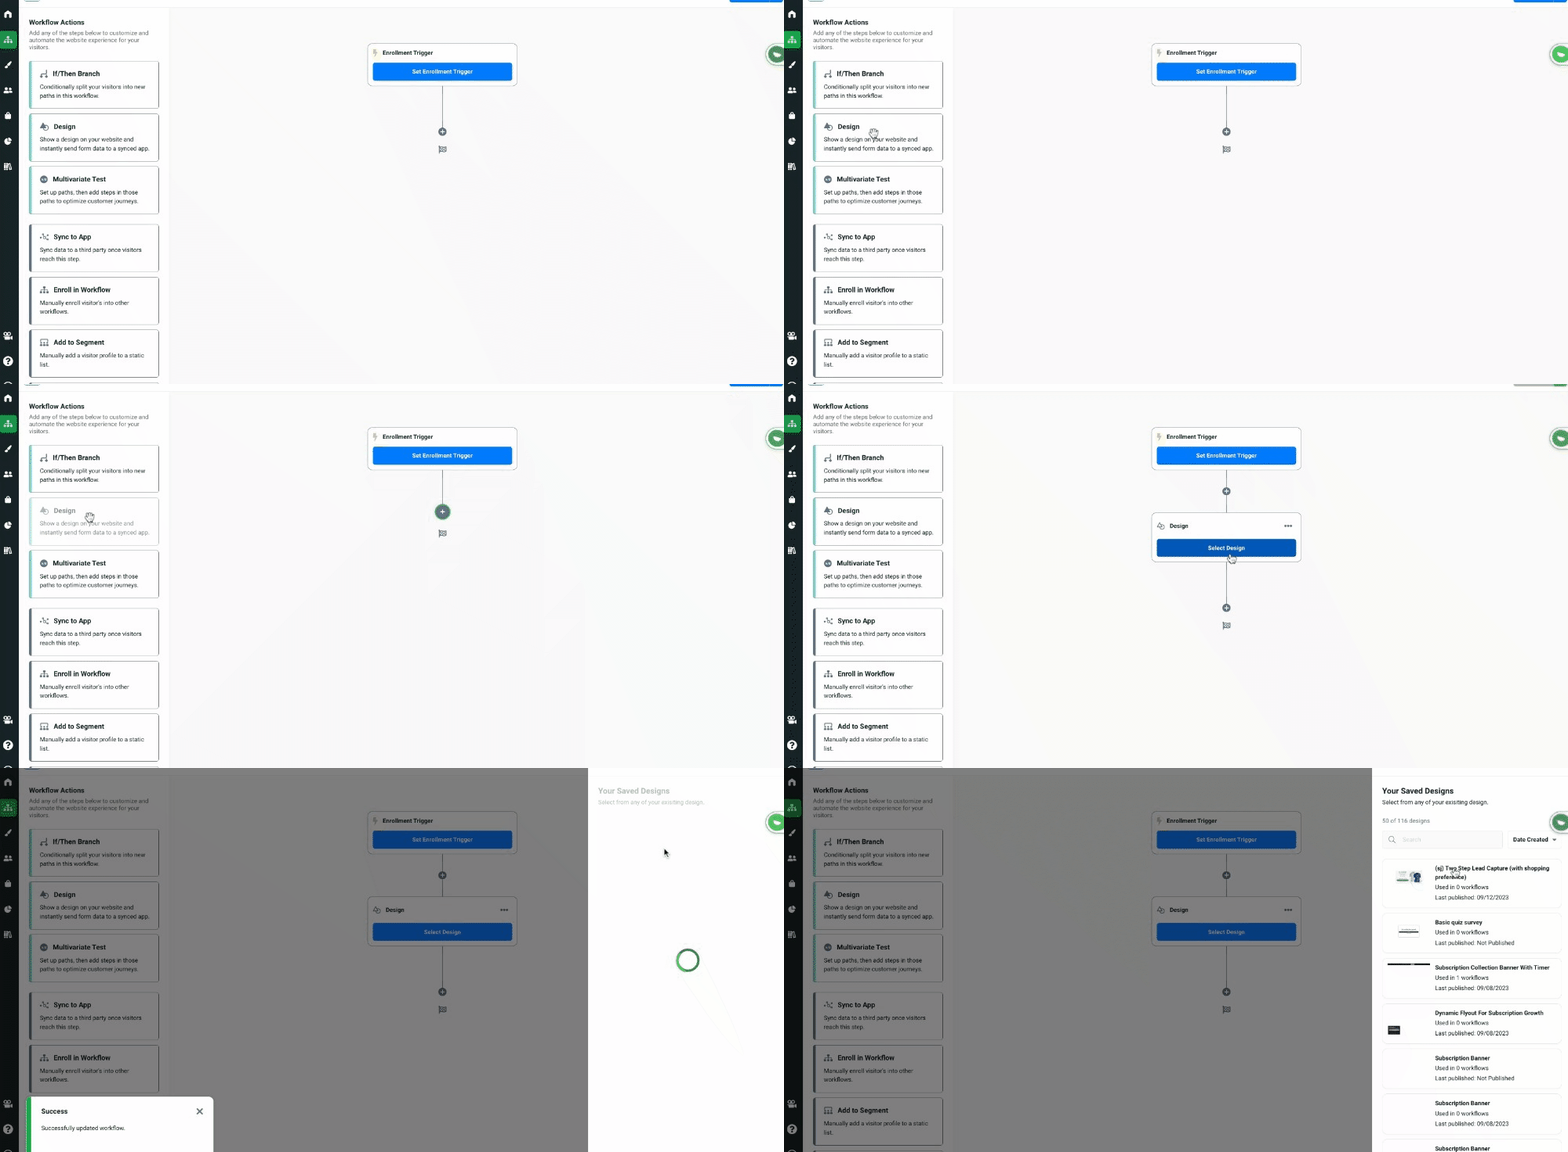
4. Click on Sync to App on the design tile to open the slide out options to sync to Klaviyo
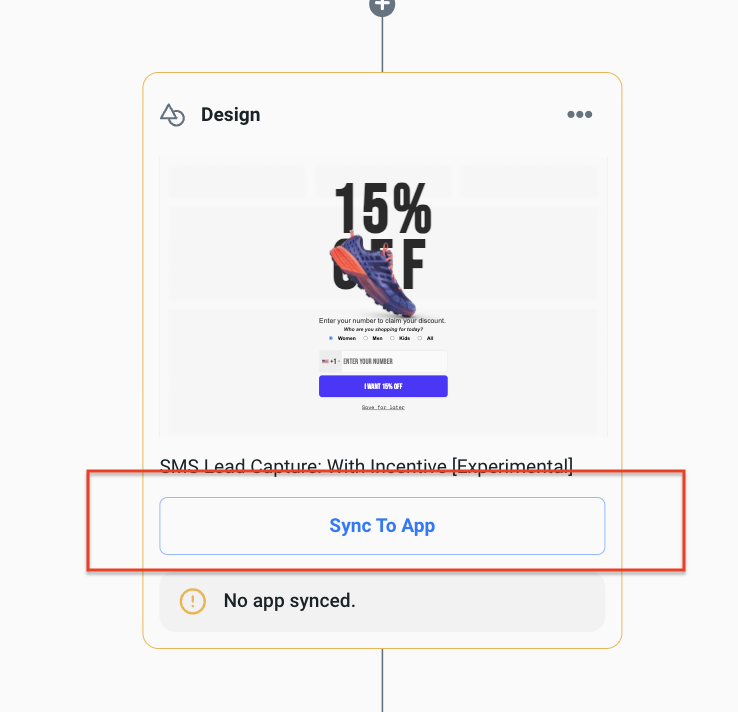
5. Click on Manage Apps from the slide out
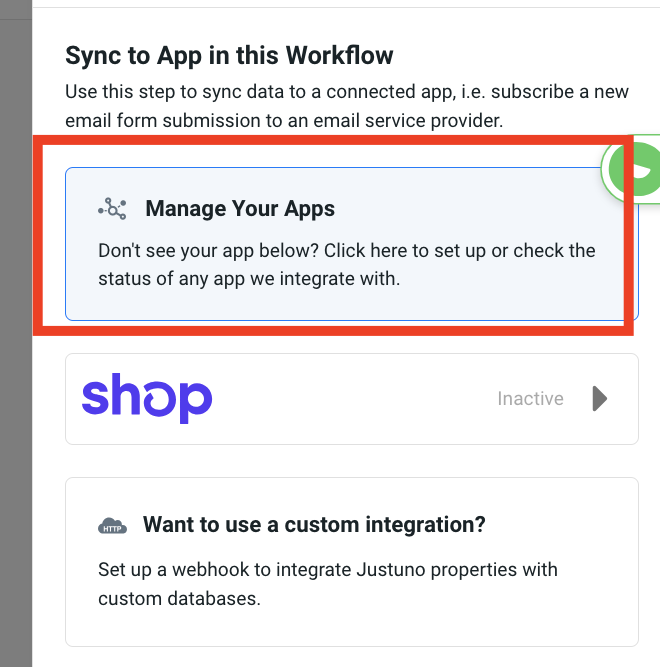
7. Search for Klaivyo on the next screen and add your Private API Key, and SAVE.
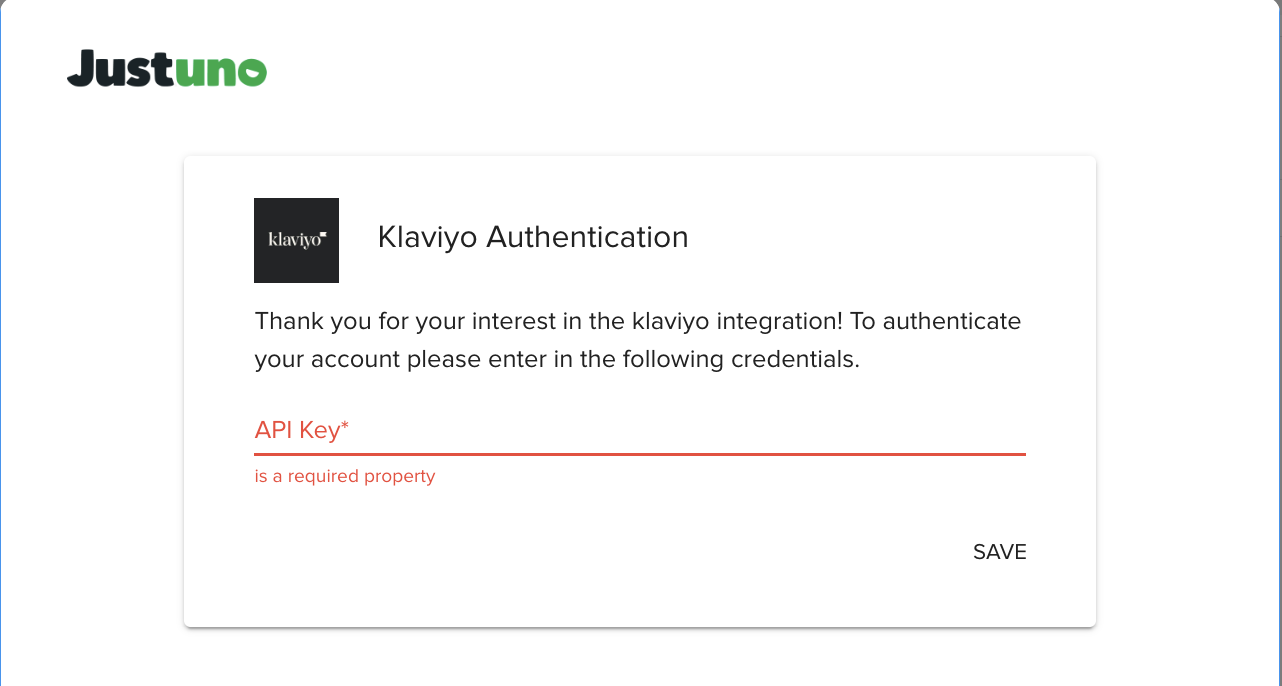
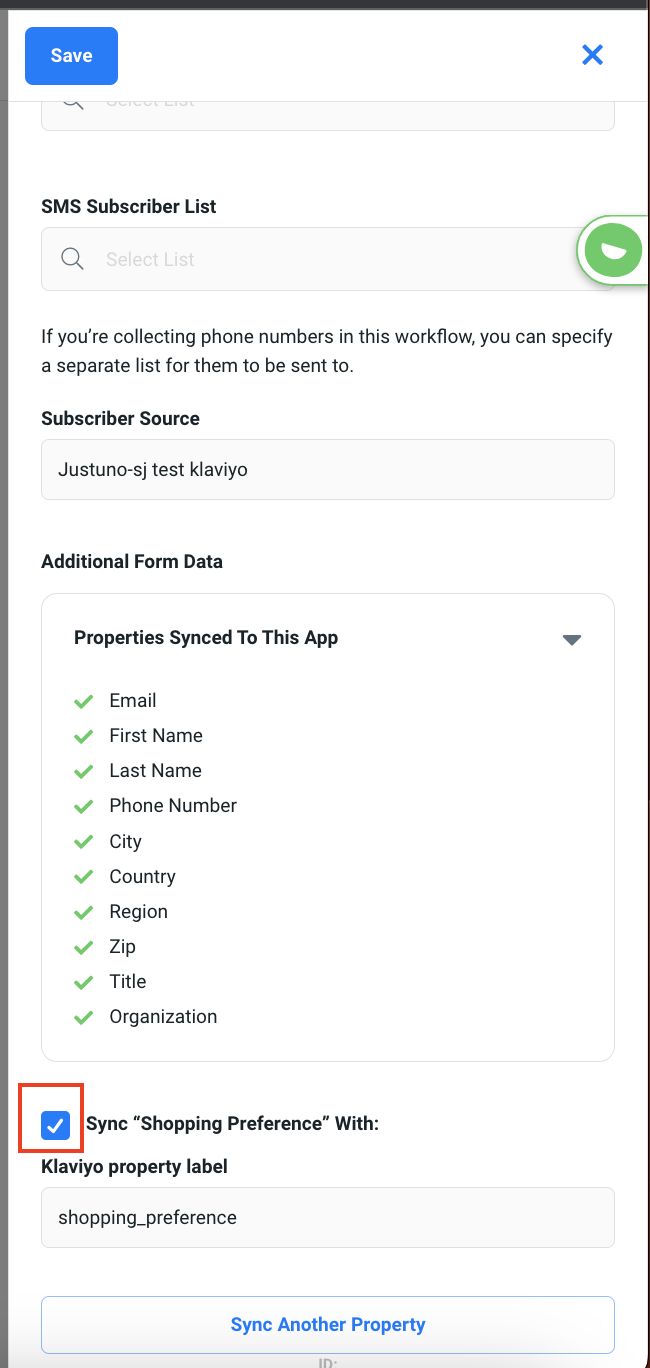
8. Click the checkbox for: Sync "Shopping Preferences With: ____
And click SAVE.
9. Fin! Publish your workflow and monitor results from your dashboard. This can be found in the upper right hand corner of the workflow builder.
