Experiences: An Overview
This articles covers the basics of how to navigate and manage your experiences and templates within the respective dashboards.
At a glance:
Last update 1/13/2023
What are experiences?
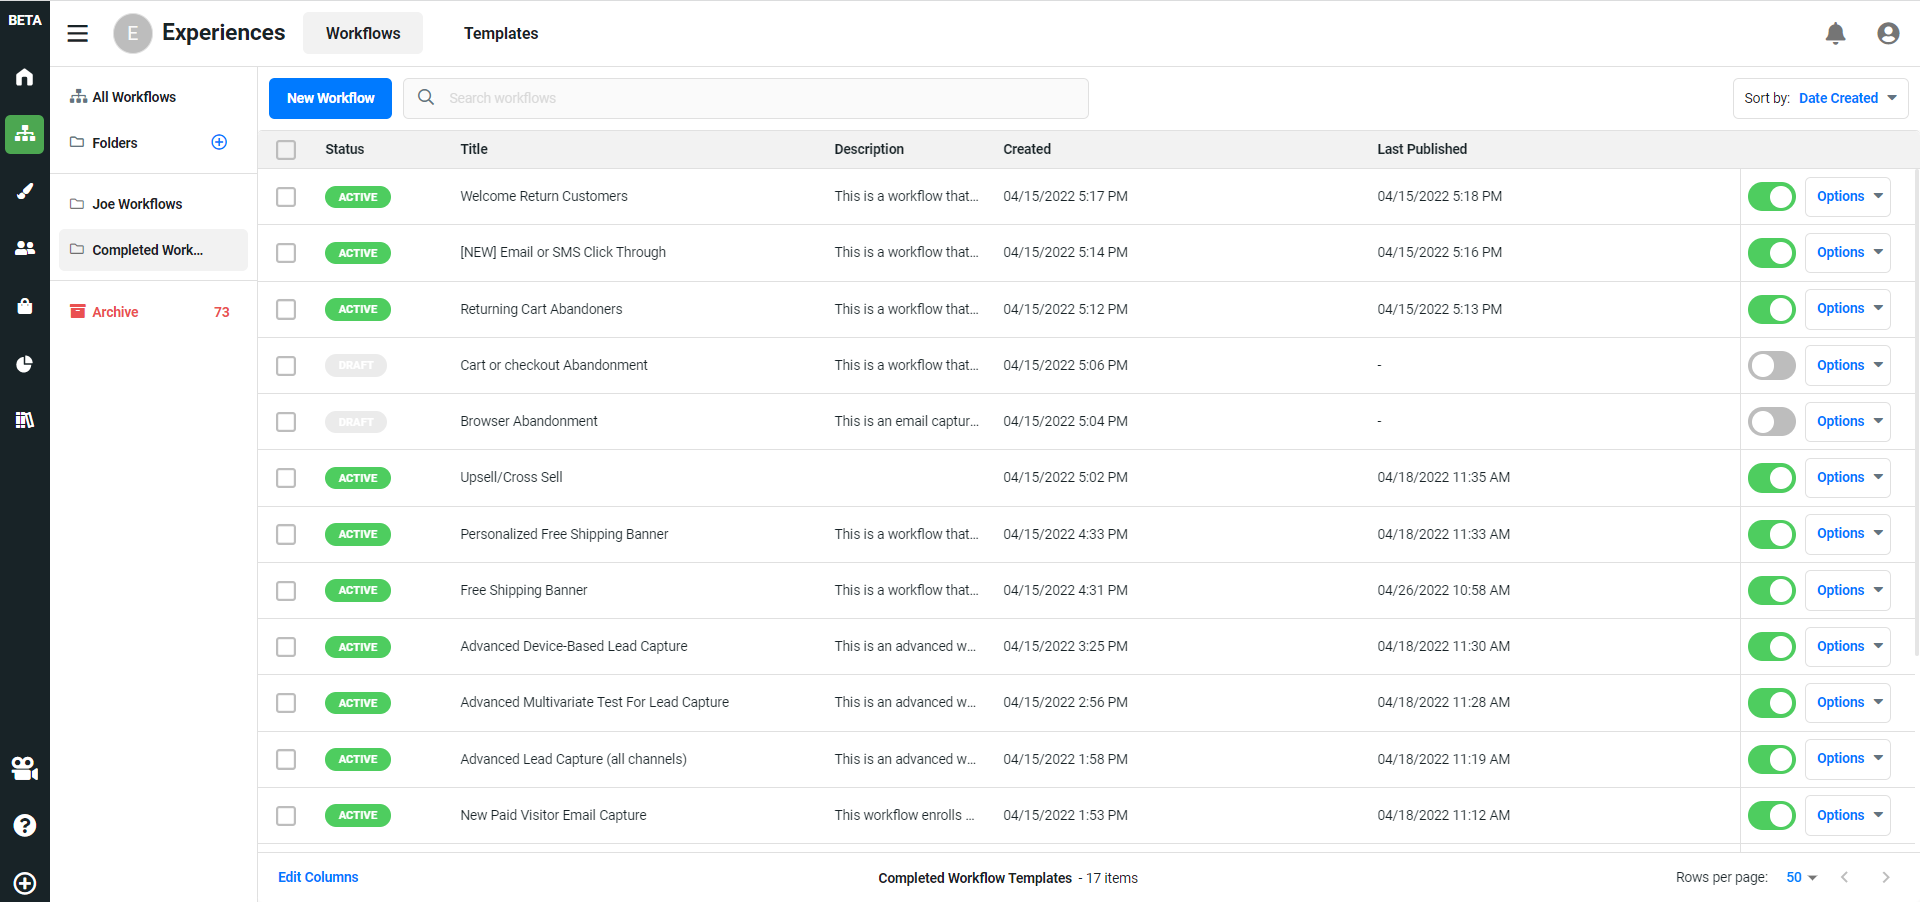
The Experiences section is where Justuno's modular features are brought together and published to your website via the workflow builder. Each of your workflows, or experiences, can be managed within the Workflows dashboard.
Workflows Dashboard
From here, you'll be able access the workflow builder to build and edit your workflows, vrew workflow performance from a dedicated dashboard, create templates, and other settings.
Creating experiences
To create a new experience, click the New Workflow button near the top left of the table.

From there, you can choose to utilize templates made available by Justuno and our partners, you can import a workflow, or you can create from scratch. From there, you'll be taken to the workflow builder to configure and publish to your website.
🤓 Pro tip
We recommend searching our templates to find the right workflow for you. Not only will it save time, but any designs present within the templates will be automatically
downloaded to your account too!
Understanding workflow statuses
Workflows want you to know if they're ready to go, or need more work before they can be published. Thus, you'll see one of five statuses:
Active ![]()
Workflow is live.
Ready ![]()
All changes are published, and the workflow is off.
Draft ![]()
Workflow has not yet been published, or has unpublished changes.
Warning ![]()
Workflow is live, but there are suggested updates to keep the workflow published.
Error ![]()
The workflow cannot be published due to an error.
Performance Dashboards
Workflow Performance Dashboards
Analytics for each workflow are available in two places: the in-workflow analytics and the workflow performance dashboard. The latter can be accessed in the workflows dashboard by clicking on the options dropdown of a specific workflow, then clicking Dashboard.
Once you click through to the dashboard, you'll see an overview of analytics for that specific workflow, along with another sub page providing analytics for all multivariate tests that are running or have completed in this workflow.
Multivariate Testing Dashboard
Data from your multivariate tests will also be stored and reported on in the performance dashboard. Once you click into the Multivariate tests sub page, you'll see a table containing any and all tests run in this workflow. Click Options > View, and you'll be taken to this reporting dashboard:
Within the dashboard, you'll see the following:
Test goal
This is chosen when you set up your test, and helps determine test completion and a winning variant.
Visitors entering and exiting the test
These are visitors who entered the test path, those who completed, and the percentage of total website visitors.
Control group statistics
By default, 10% of qualifying visitors will bypass the test step altogether, creating a control group that can be adjusted or removed. This section will show available key metrics for that group.
Variant comparison
Cards for each variant in your test will appear with key comparison metrics
Variant performance over time (graph)
Each line represents a variant in your test and the performance of each variant over the course of the test schedule.
Variant performance table
Presents all available metrics for comparison, and can be exported.
🤓 Pro tip
Use the filter in the upper right of each of these dashboards to filter the data between different visitor segments and action types, e.g. new vs. returning, mobile or desktop visitors, and form submissions vs. button clicks.
Templates
After creating your workflows, you have the option of saving your workflows as templates to make copies of for future use. To save one of your workflows as a template, use the following steps.
1. Click into the settings of your desired workflow
2. Click "Create Template" from the settings.
3. Confirm the name and description of your template. Once you click save, your template is available to make copies of.
4. To make a copy of your template for use, click into the Templates sub page from the workflow dashboard.
5. Go to the settings for your desired workflow template, then click "Duplicate from template".
Visit Justuno @ justuno.com
