
Design Studio: Using Personalization Tokens
This Justuno support article will cover how you can set up a personalization token within the Design Studio,
At A Glance:
Introduction to personalization tokens
Setting up personalization tokens
Introduction to personalization tokens
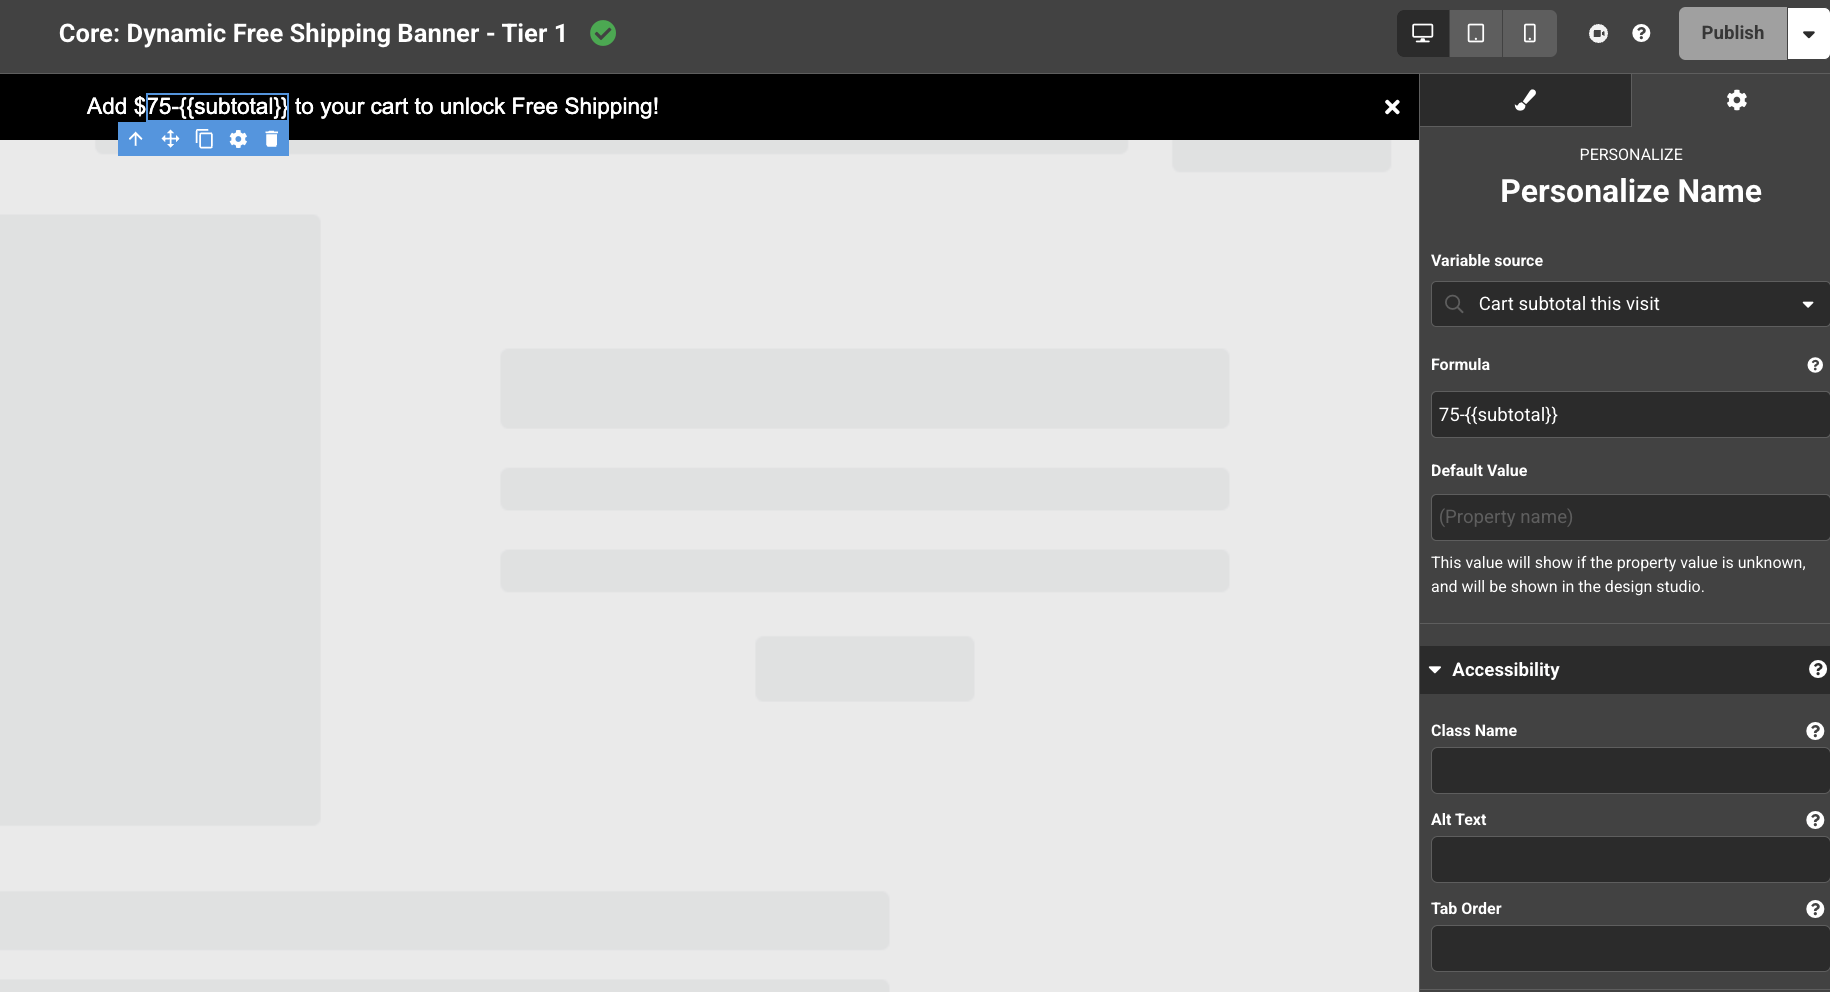
Personalization tokens create a unique experience for your website visitors by replacing a text element in your design with dynamic content; think emails containing your first name, or a banner containing a unique coupon code you were shown. These tokens use variables, such as “first name”, "subtotal" or “cart total”, to personalize messages for each visitor, using zero and first party data collected through forms, cookies, etc, to create a unique experience for each visitor.


Configuring variables in the token settings
Variables are the dynamic properties known about a website visitor through either browser data (like cookies and other session data) or Justuno properties (like first name, email, etc). These variables are what populate the token in your designs, allowing you to easily style the token while simultaneously configuring the variable you want to dynamically show. Once live, this variable will show personalized content to each visitor who views that design.
✔️ Note:
Personalization tokens can only be used within a text element in your design. Once added to your design, the variable you choose to add will be either numeric, like "cart total this visit", or non-numeric variable, like "visitor name". Tokens create an in-line block element within the text element, allowing you to override styles set to the text element. Try making the token style bold, larger font, or even a different color to start!
Setting up personalization tokens
- Highlight some or all of the text in an element to replace it with your token, and select the personalization token option from the WYSIWYG editor floating above the element.
- From the settings panel on the right, you’ll be able to choose between presenting a Justuno variable or a custom variable.
- Variables taken from Justuno are the properties under which Justuno stores information like last email, first name, total visits etc, along with some common browser variables, such as “cart total this visit”. You’ll also see an option for a static value to present to visitors in the case that the selected variable is unknown.
- Custom variables allow you to drop in any variable from your website’s database that is pushed to the browser. You can copy that variable and paste it into the given dialogue box inside double curly brackets using an underscore, i.e. {{first_name}}. In Justuno variable source you have an additional field for adding a default value.
- The current personalization token options have values that are either numeric, letter-based, or alphanumeric (containing both letters and numbers). Numeric variables will present a formula setting, in which you can create a formulas surrounding the number to manipulate it (i.e. “50-{{cart_total}}”), along with a value preview, which is a static value used in the canvas for styling the text. Non-numeric and alphanumeric variables will not have a formula field, but will provide a default value.
- Once a personalization token is incorporated in the design and you've completed the desired configuration, we highly recommend testing on your live site using a test url (i.e. "www.abc.com/#justunotest"). This will allow you to browse your site with the desired behavior and make sure your personalization tokens and formulas are behaving as expected.
Using Custom Variables with JavaScript
If the value you want to display isn't available as an existing personalization token, you can create your own by combining a Custom Variable with JavaScript.
The JavaScript assigns a value to a property on the window object, which is then available to your personalization token.
Step 1: Create a Custom Variable
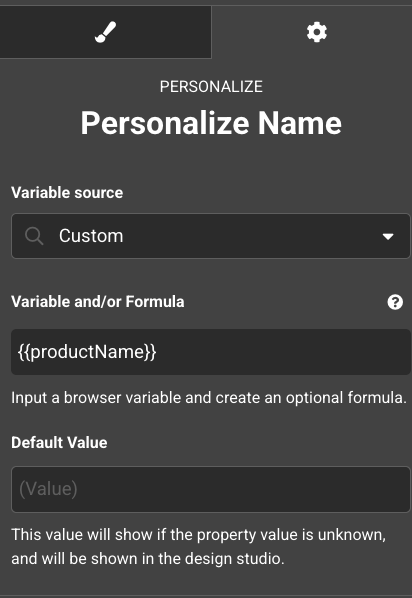
Add a personalization token using the desired variable name. For example:
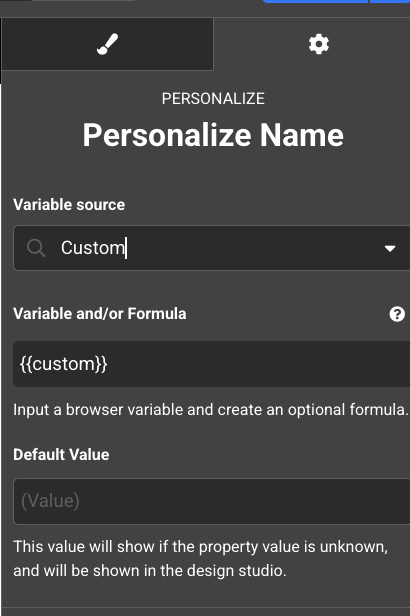
{{productName}}
Step 2: Populate the Variable
In Save & Publish > Custom Code, assign the value to a property on the window object. The property name must exactly match the name used in your personalization token.
Note: Justuno includes several locations where custom code can be added. To populate a Custom Variable for use with a personalization token, use Save & Publish > Custom Code (Website tab with Header HTML enabled), as this code executes before personalization tokens are rendered.
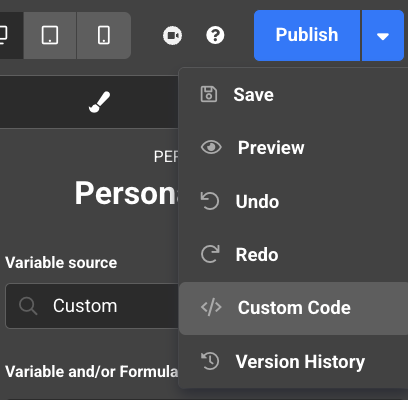
window.productName = document.querySelector(".productinfo__title").childNodes[0].textContent.trim();
This example retrieves the product title from the page and assigns it to window.productName , making it available to the {{productName}} personalization token.
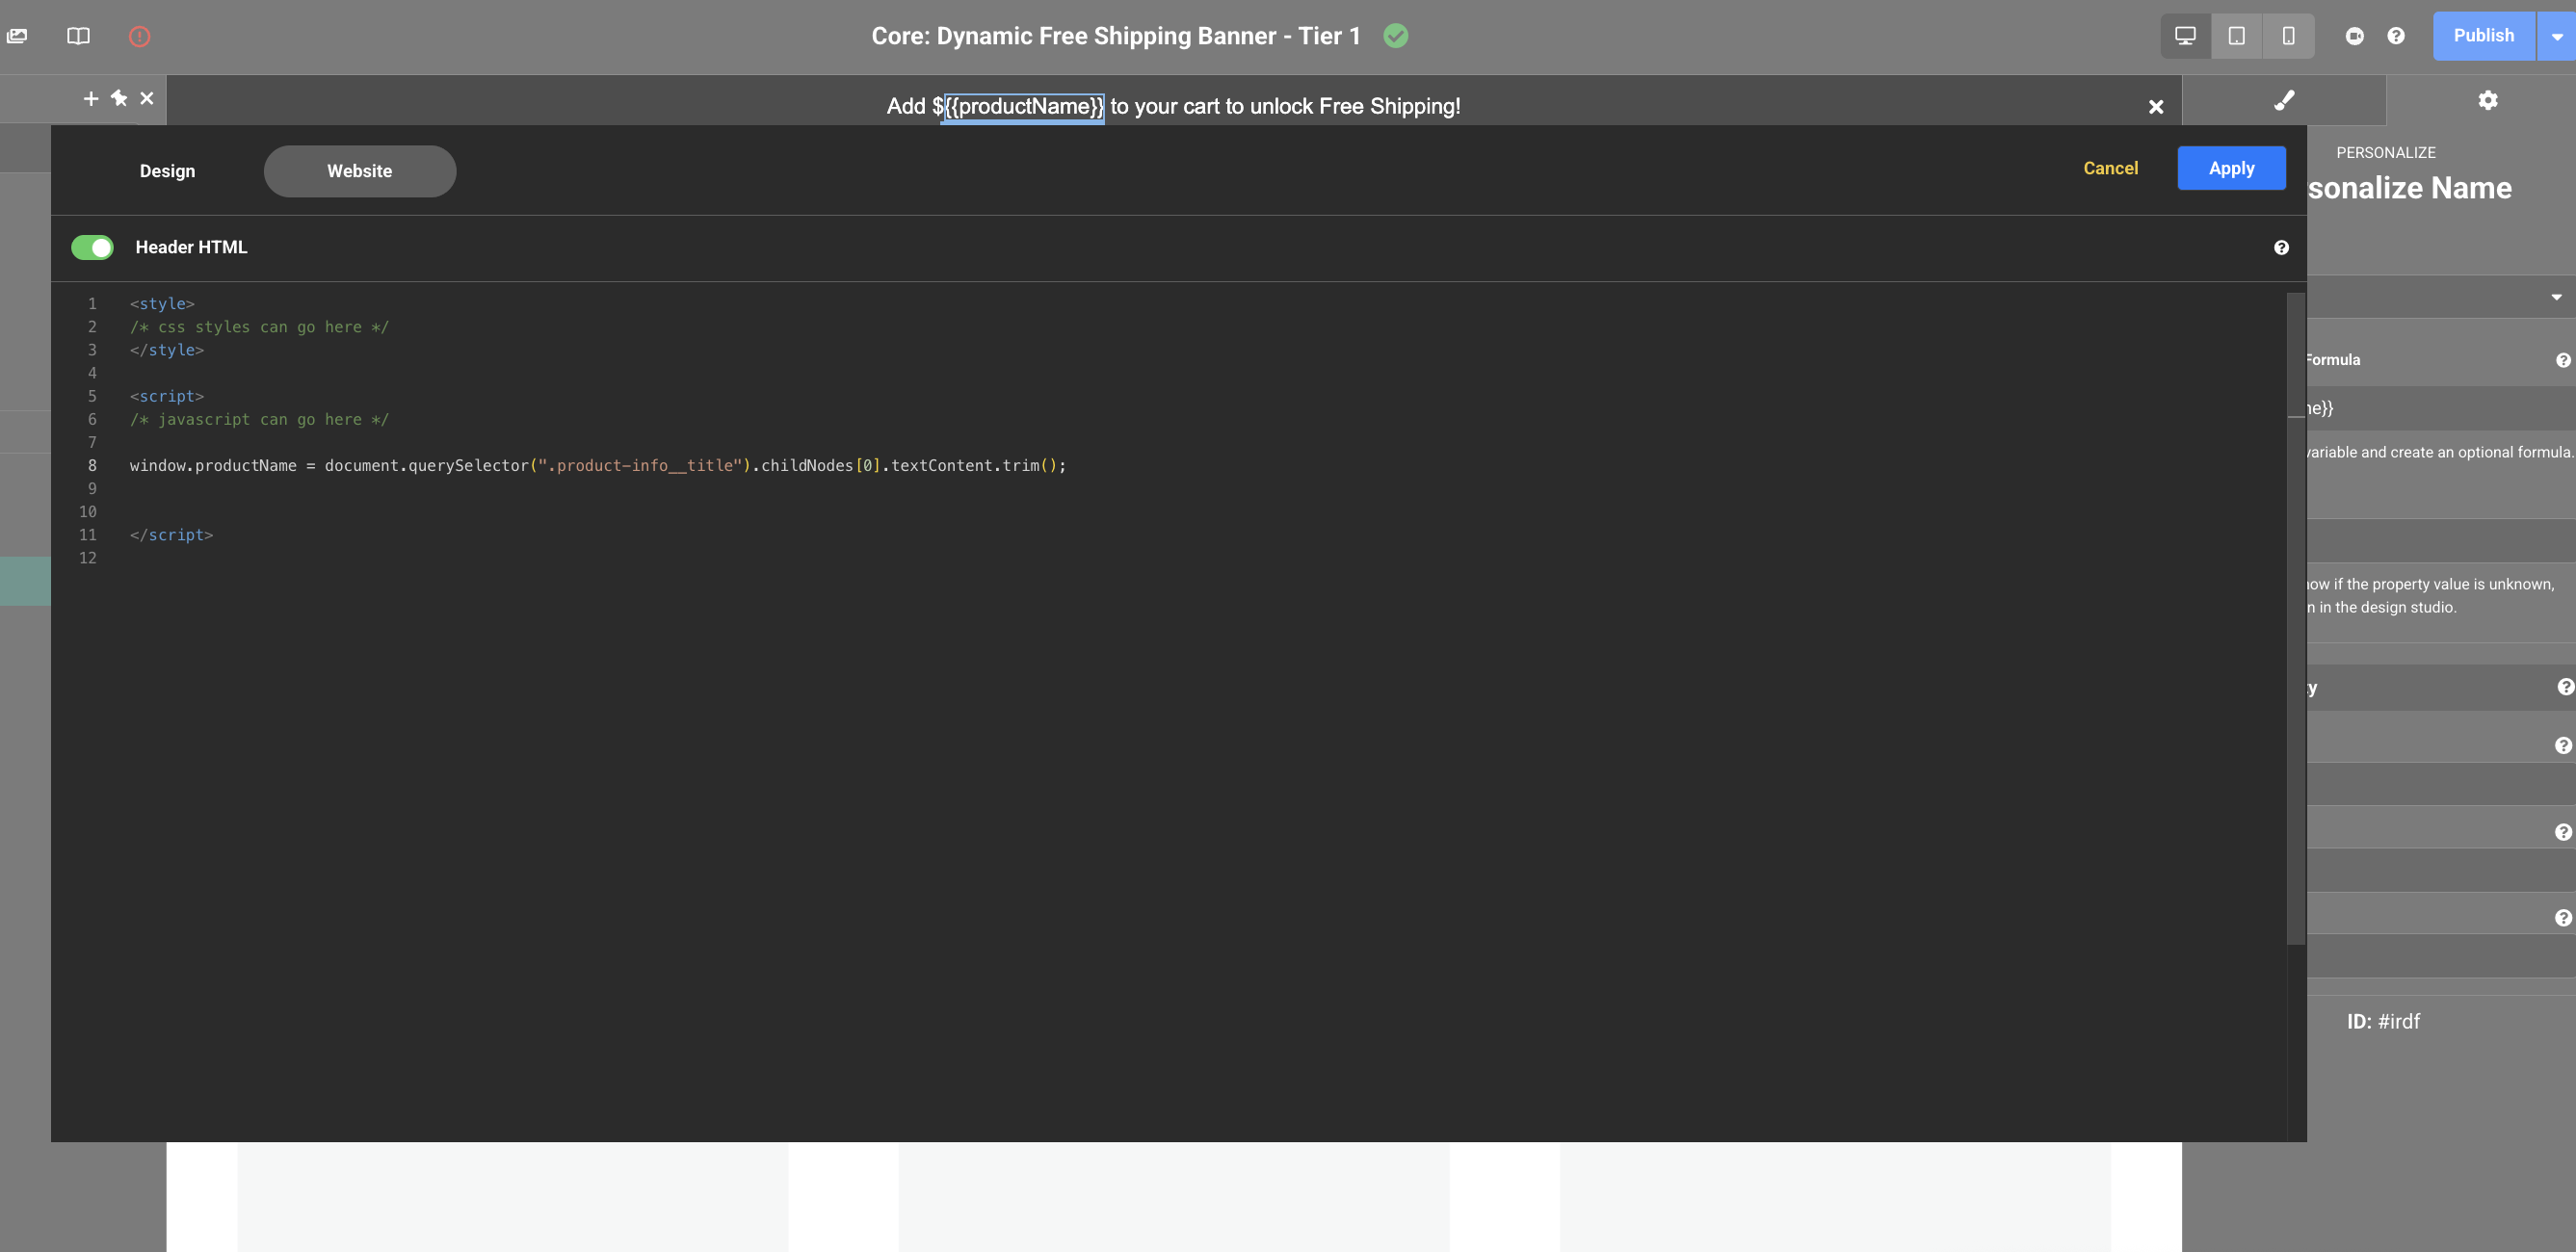
In this example:
{{productName}}is the personalization token.window.productNameis the JavaScript variable that supplies its value.
| Personalization Token | JavaScript |
|---|---|
{{productName}} |
window.productName |
The name after window. must exactly match the name used in your personalization token.
Finding the Correct Element in Your Website
The selector shown above is only an example. Every website's HTML structure is different, so the JavaScript used to retrieve the value will vary from site to site.
Most modern browsers include Developer Tools, allowing you to inspect a webpage's HTML.
- Right-click the content you want to display (for example, a product title).
- Select Inspect.
-
The corresponding HTML element will be highlighted.
Depending on your website, you may be able to right-click the highlighted element and choose Copy > Copy selector. While this can provide a starting point, automatically generated selectors are often overly specific and may change as your website is updated. Simpler selectors are generally more reliable.
For example, inspecting the product title below highlights the <h1> element that contains the text.
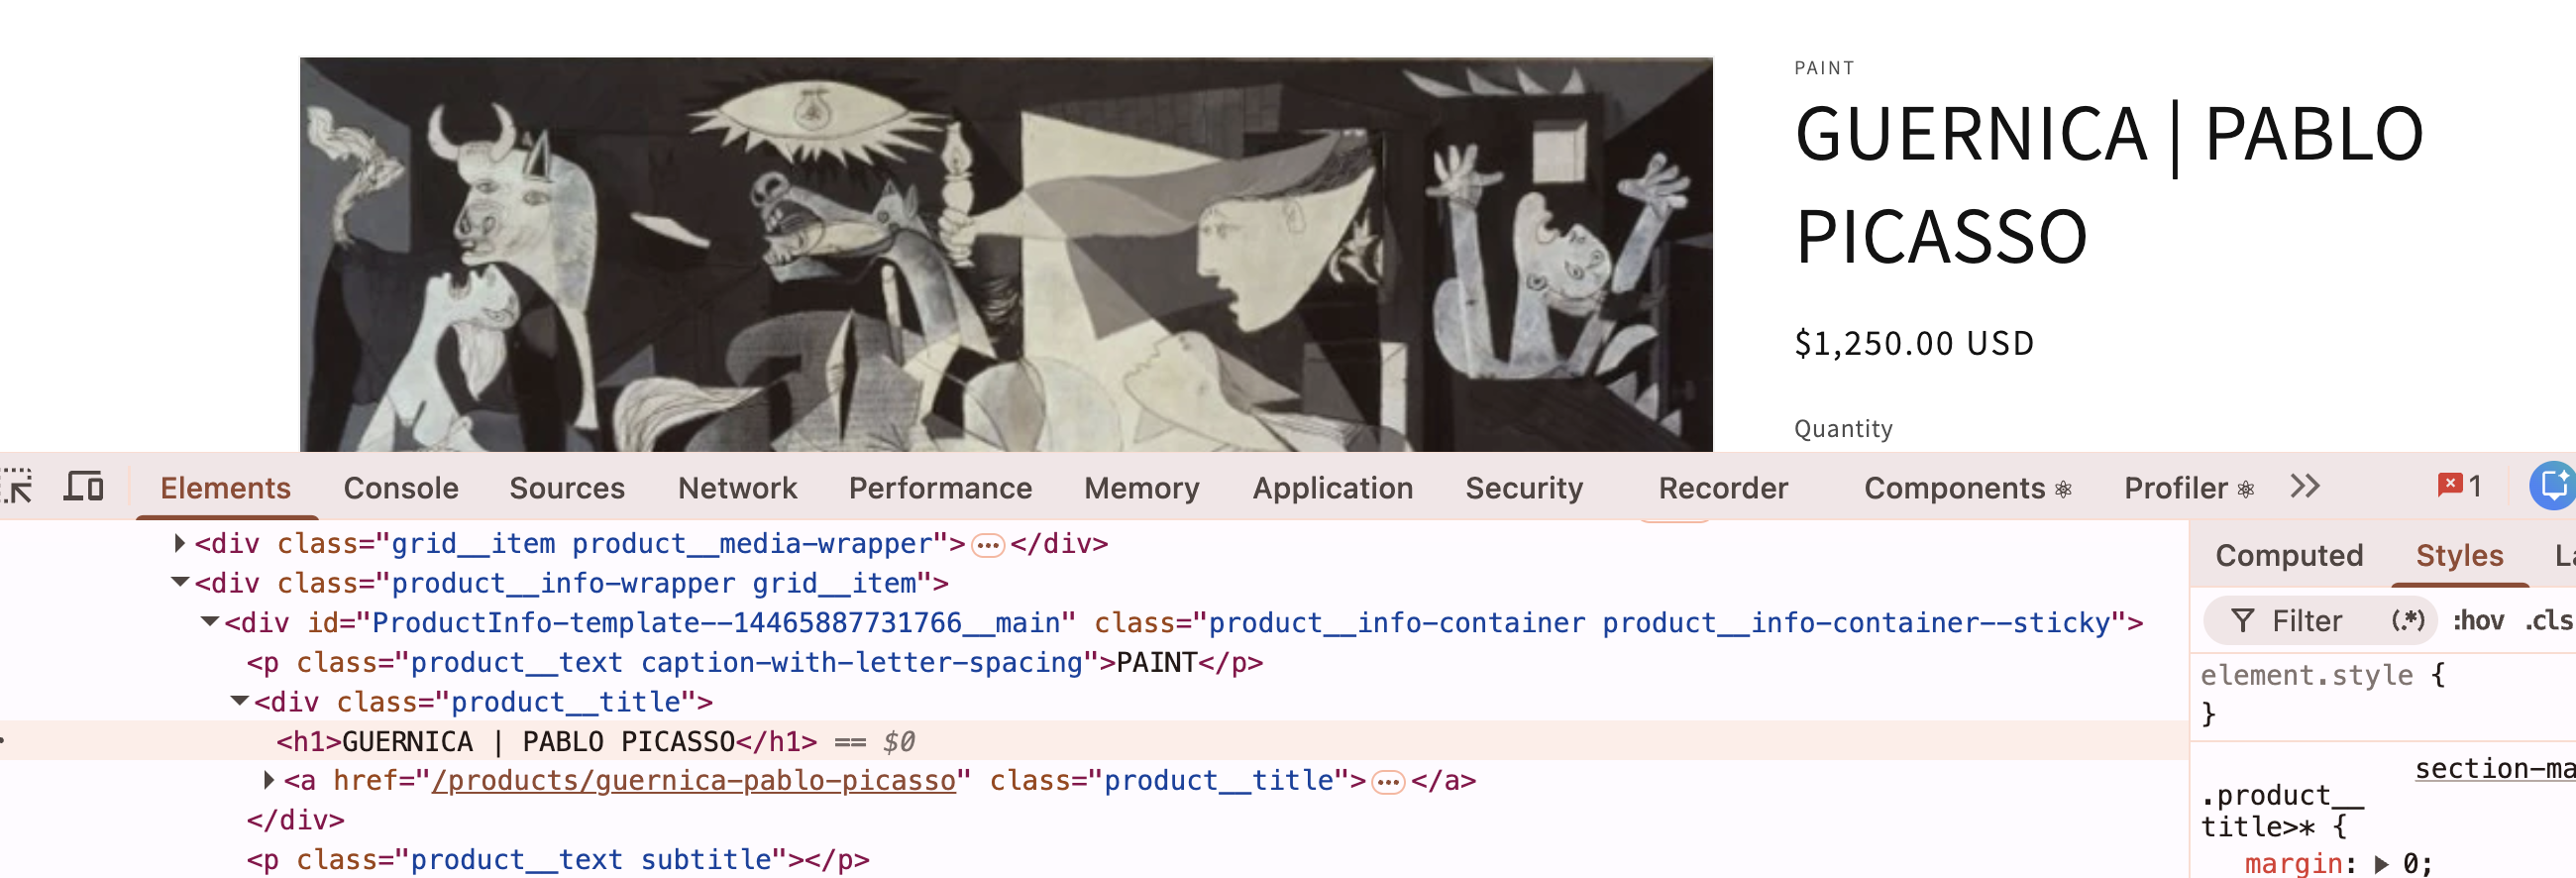
In this example, the product title is contained within:
<div class="product__title"> <h1>GUERNICA | PABLO PICASSO</h1> </div>
Test Your Selector
Once you've identified the element, open the Console tab in Developer Tools and test a selector.
For the example above:
document.querySelector(".product__title h1").textContent.trim();
This selector looks for the <h1> element inside the .product__title container, then returns only the text contained within that heading.
Result:
GUERNICA | PABLO PICASSO
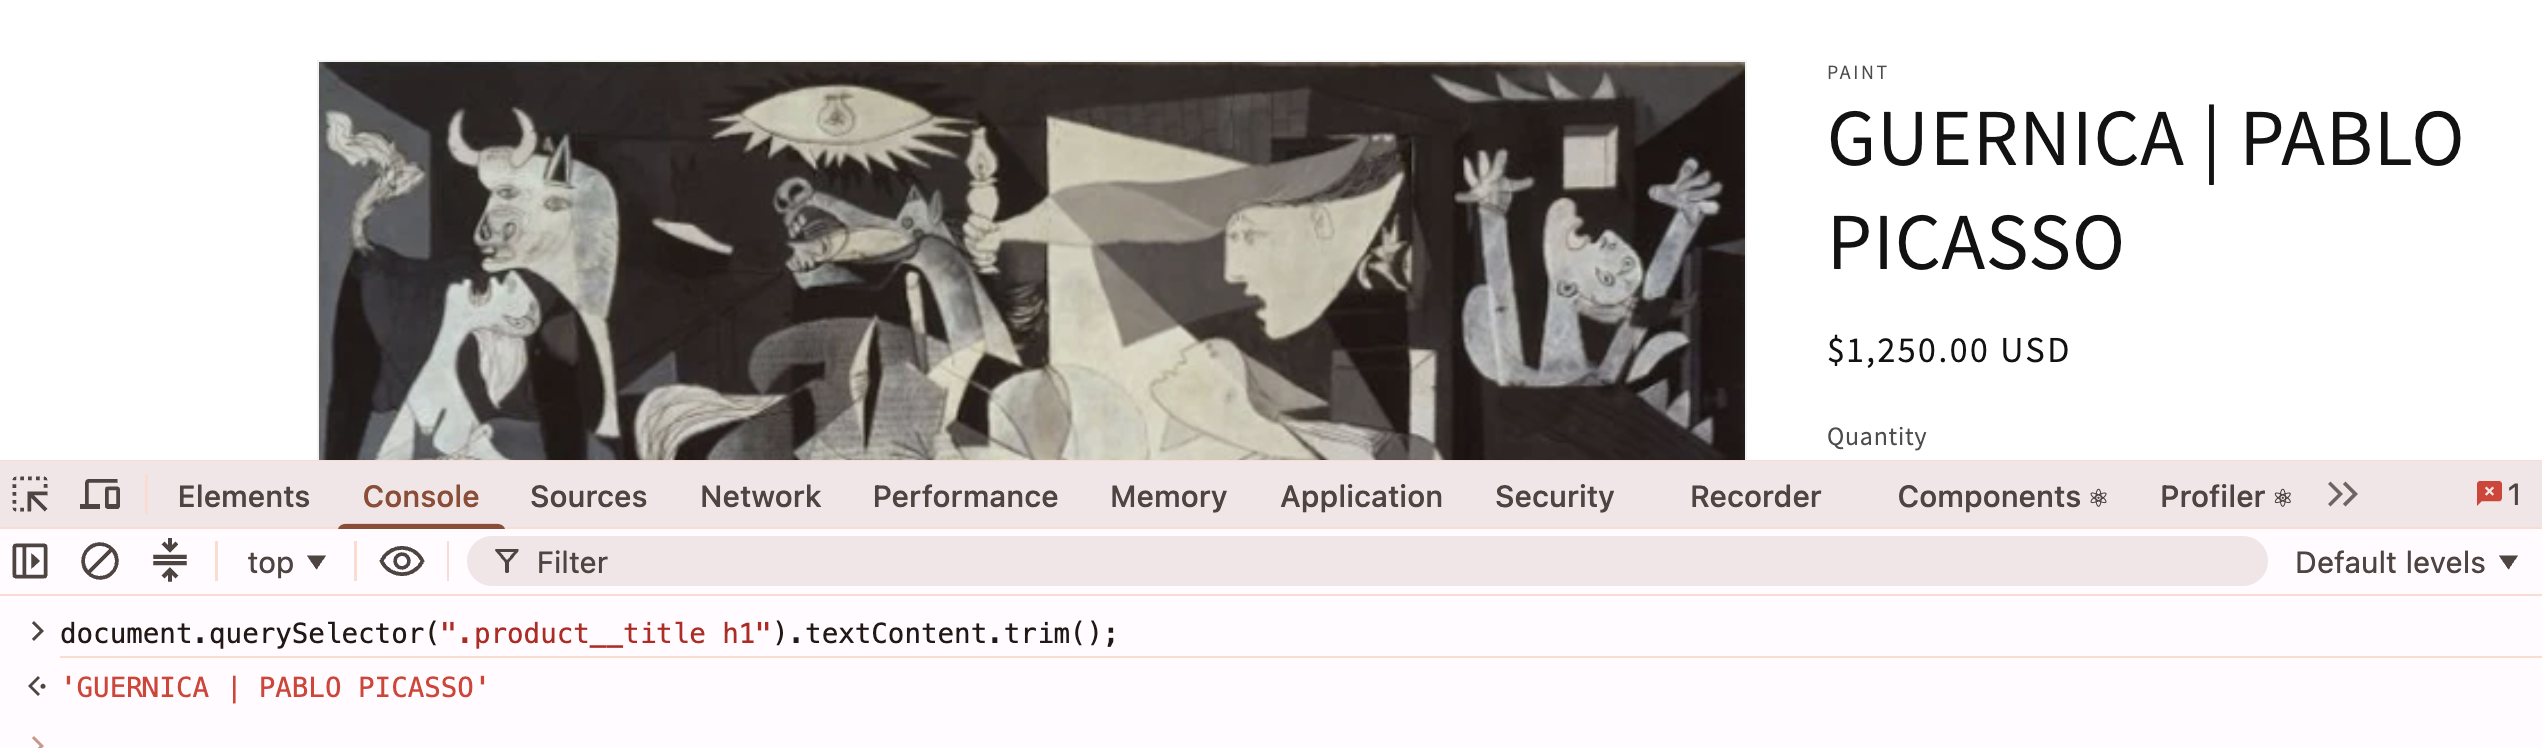
If the console returns the expected value, you can assign it to your Custom Variable.
window.productName = document.querySelector(".product__title h1").textContent.trim();
The window.productName variable can now be referenced using:
{{productName}}
Using AI to Help Build a Selector
If you're unsure which selector or JavaScript to use, AI tools can often help.
Copy the HTML for the element you want to retrieve along with a small amount of surrounding HTML. Including the parent container often gives AI enough context to build a reliable selector.
For example:
"Here is the HTML for my product page. I want to retrieve only the product title and assign it to
window.productNamefor use with a personalization token. What JavaScript should I use?"You can even add in this support doc URL to help it understand your goal.